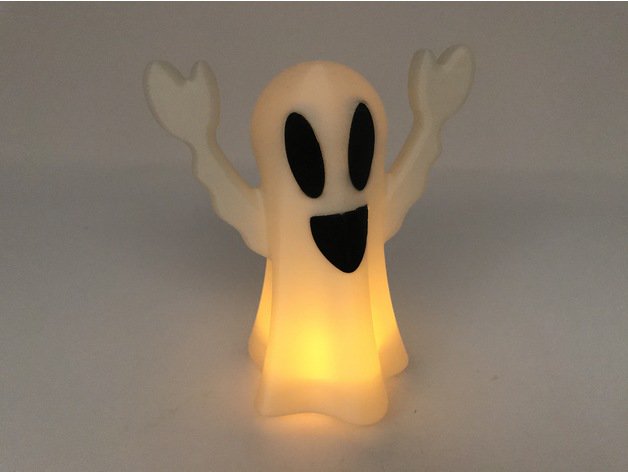
Want to make your Halloween decorations more cheerful this year? This 3D printed Tea Light Ghost will make a happy addition to your seasonal adornments, greeting all of the trick-or-treaters with a smile.
Halloween is a time for haunted houses, elaborate costumes and frightening amounts of candy, but not every decoration has to scare you out of your socks. Why not lighten up the mood with a friendly-looking 3D printed Tea Light Ghost lamp, designed by maker Greg Zumwalt.
This grinning ghost is equipped with a base for a LED tealight candle, which emits light throughout the model and creates a subtle lamp effect. It’s the perfect addition to a house that is haunted with smiles rather than spookiness. It’s easy to print and doesn’t require much time to make, making it an ideal project for beginners or makers looking for a quick way to add some Halloween ornaments to their seasonal display.
If you want to consider a different approach to this project, you can also check out Zumwalt’s Illuminated Happy Ghost Lamp on Instructables. Otherwise, let’s take a quick look at how to conjure up the spirit of your own 3D printed Tea Light Ghost.
Illuminated Happy Ghost: What You Need & How to Build it
The files for this 3D printed ghost lamp are available to download via Thingiverse. There are two versions of the ghost – one for single extrusion and another for dual extruder 3D printers. The ghost itself can either be printed as one piece or with the eyes and mouth separately.
Aside from your 3D printer and some filament, you’ll also need LED tealight candles (37.5mm in diameter), which act as the base of the lamp. You can find them at a local hardware store or order them on Amazon. Zumwalt suggests printing the parts with a 20 percent infill, no support structures necessary.
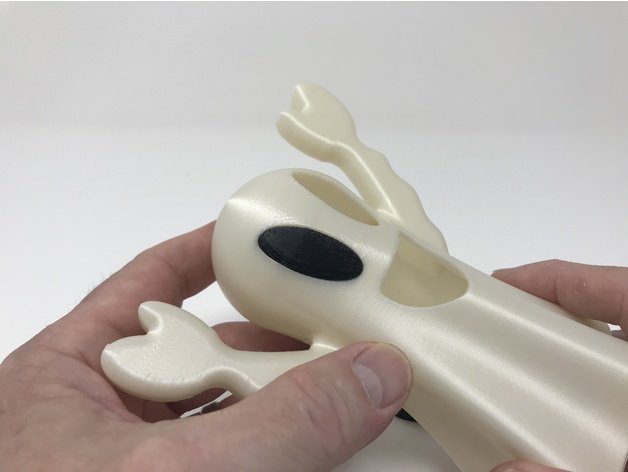
There’s no assembly process with the dual extrusion version; simply print it out and insert the tealight candle at the base. If you opt for the single extruder model, you’ll need to apply some thick cyanoacrylate glue to attach the right eye, left eye, and mouth. While mounting the eyes, you can insert your pinky finger through the mouth hole for support. When attaching the mouth, go through the bottom base to secure the ghost’s wide smile.

The final step is simple. Just press the tealight candle into the base of the ghost and turn it on. Now you have giddy decoration to lighten the spooky Halloween mood.
This project is easy to create and doesn’t take too much time or effort, so feel free to make a collection and have yourself a friendly ghost party!

Website: LINK
Schreibe einen Kommentar
Du musst angemeldet sein, um einen Kommentar abzugeben.