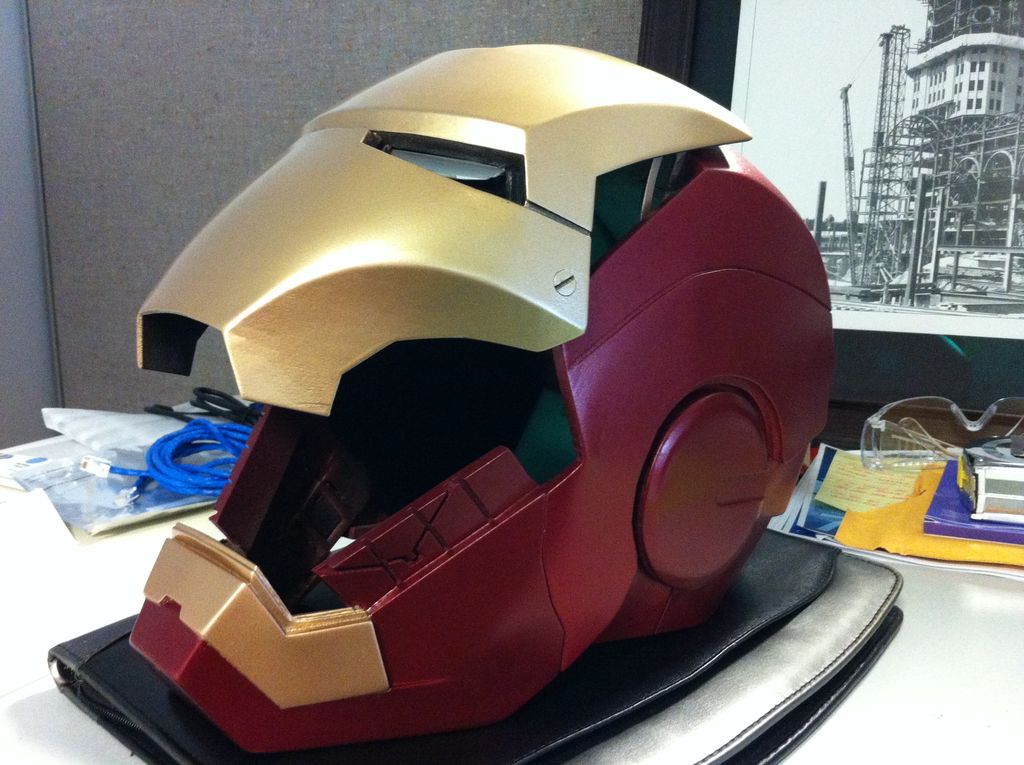
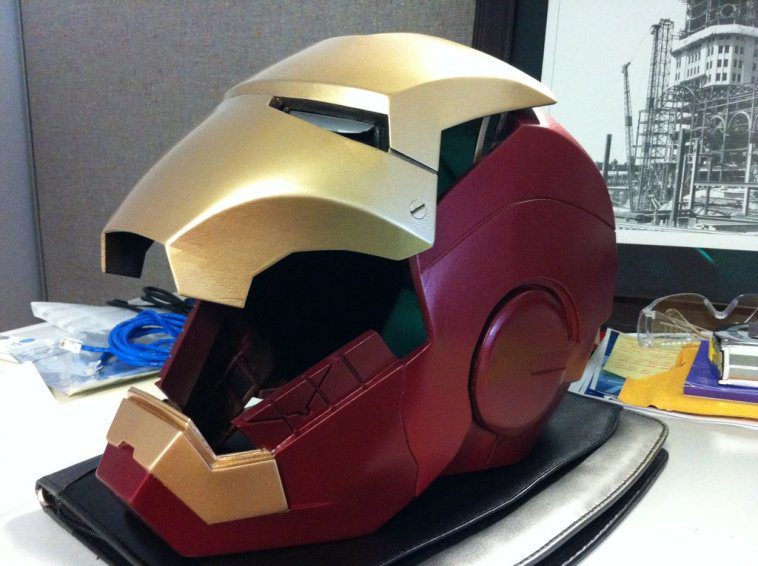
Looking forward to the release of Avengers: Infinity Wars? Why not 3D print a fully functional Ironman helmet. This wearable looks like it came straight out of the big screen, equipped with light up eyes and a retractable face plate.
Unless you’ve been living under a rock, or, if you reside in the Marvel universe, on the moon of Titan, you’ve probably heard the hype about the new Avengers: Infinity Wars film. As superhero movie buffs flock to theatre this weekend, show them how much of a fanboy-or-girl you are with some 3D printed cosplay.
Originally created by Instructables user “samohtep” back in 2012, this 3D printed Ironman helmet is one of the most realistic prints we’ve seen come out of Stark Industries. This advanced project will show you how to produce a wearable Ironman helmet that is equipped with a retractable faceplate and light-up eyes.
This project is probably not exactly suitable for beginners, but should be doable for more experienced makers. But hey, each superhero needs to start somewhere. Of course, if you think this project is too tough for you, you can always opt for an easier print, such as this Captain America helmet or Thor’s hammer. There are also easier options for 3D printing an Ironman helmet, but this version was definitely the best we could find.

3D Printed Ironman helmet: What Do You Need?
This is not your average 3D printed helmet, as it requires a handful of assembly steps and some heavy post-processing. Firstly, you’ll need the STL files, which are available in the Instructables post detailing the project.
Aside from a sizable 3D printer, some red and gold PLA filament, and the suave of Tony Stark, here’s what else you need to create your own 3D printed Ironman helmet:
Components for the helmet:
Post-processing checklist:
Be advised that you’ll need to wear rubber gloves, long sleeved clothing, and a breathing helmet with eye protection throughout the assembly process. In order to make a realistic helmet, there are some potentially hazardous chemicals that will be used, such as the fiberglass cloth, primer spray, automotive paints, and so on. Find a ventilated and open area to assemble the Ironman helmet, it’s always better to be safe than sorry.

3D Printed Ironman helmet: Putting it Together
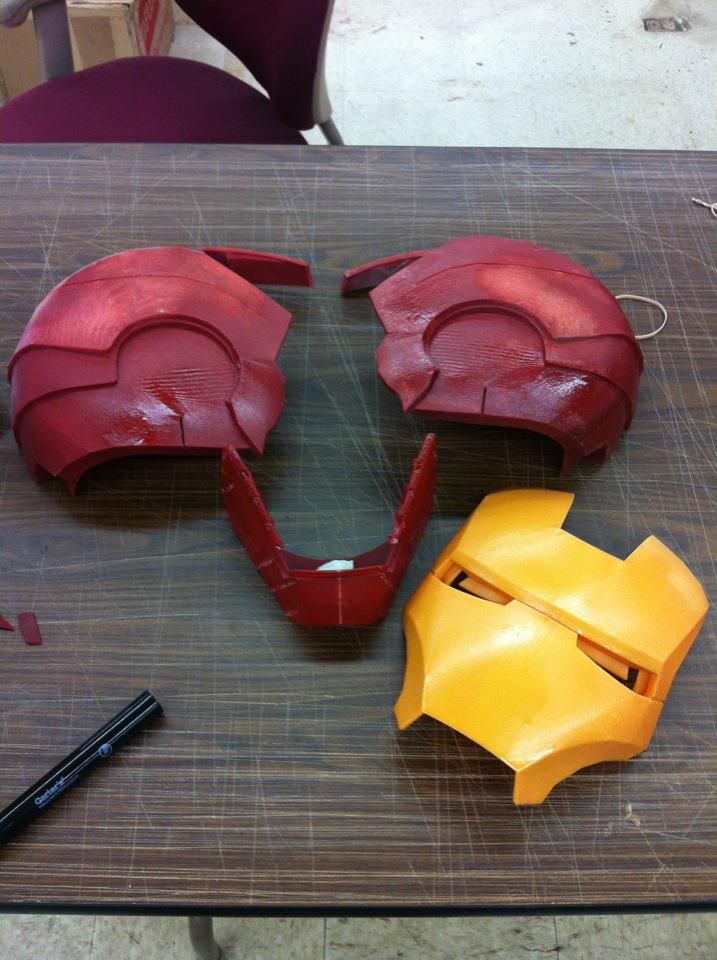
For the 3D printing process, samohtep stresses making the parts thick, so that they don’t warp. After some trial and error, the original STL files were thickened to provide a better structure. After the various parts are printed, it’s time to assemble them together.
To do this, the creator of the project first connected the two main halves of the helmet and clamped them together. After this, he laid down three layers of fiberglass cloth and epoxy resin. Once hardened, he added a few layers of bondo to the outside and sanded it down to fill the gap on the exterior surface. At this point, it would be wise to wear your protective gear, as the fiberglass cloth can irritate both your skin and eyes.
Once the 3D printed parts are assembled, samohtep installed the cabinet hinges, which are used to open and close the face plate. Using hot glue, the top piece of the hinge was attached to the top edge of the interior face of the faceplate. This took some tweaking to ensure that both the faceplate could open and close, and also that it didn’t cause discomfort to the wearer. He also added a pair of center release buckles to each side of the neck opening.
After the hinges and jaw connectors are properly placed, the maker added a layer of padding inside of the helmet. To do so, he cut several 1″ wide strips of foam and attached them to the back with a dab of hot glue.

Next, he used a .375″ wide circuit board and five bright white LEDs for the eyes, placing them inside a container made from an index card and electrical tape. According to samohtep, it took more trial and error to situate the lights properly, which you can follow along in more detail via his Instructables post.
After priming the entire helmet, the maker used red and gold spray paint from Duplicolor Perfect Match to add the signature Ironman look. Keep in mind that, if you use the same automotive paint used by samohtep, you should continue wearing your breathing mask during the priming and painting process. In between the four to five coats of paint, he did some light sanding to keep the surface of the helmet as pristine as possible.
Lastly, to keep the faceplate up, the ambitious maker decided to add .1875″ round rare earth magnets to the upper rim of the face to help keep the faceplate open. Final touches include some more sanding and adding more padding or felt to areas that could use more comfort.
All in all, this 3D printed Ironman mask is a difficult yet rewarding way to celebrate the release of Avengers: Infinity Wars. You might not have the riches or charm of Tony Stark, but with this project, you can at least match his powers.
If you want to learn more or get the full instructions, check out the Instructables post here!
Website: LINK


