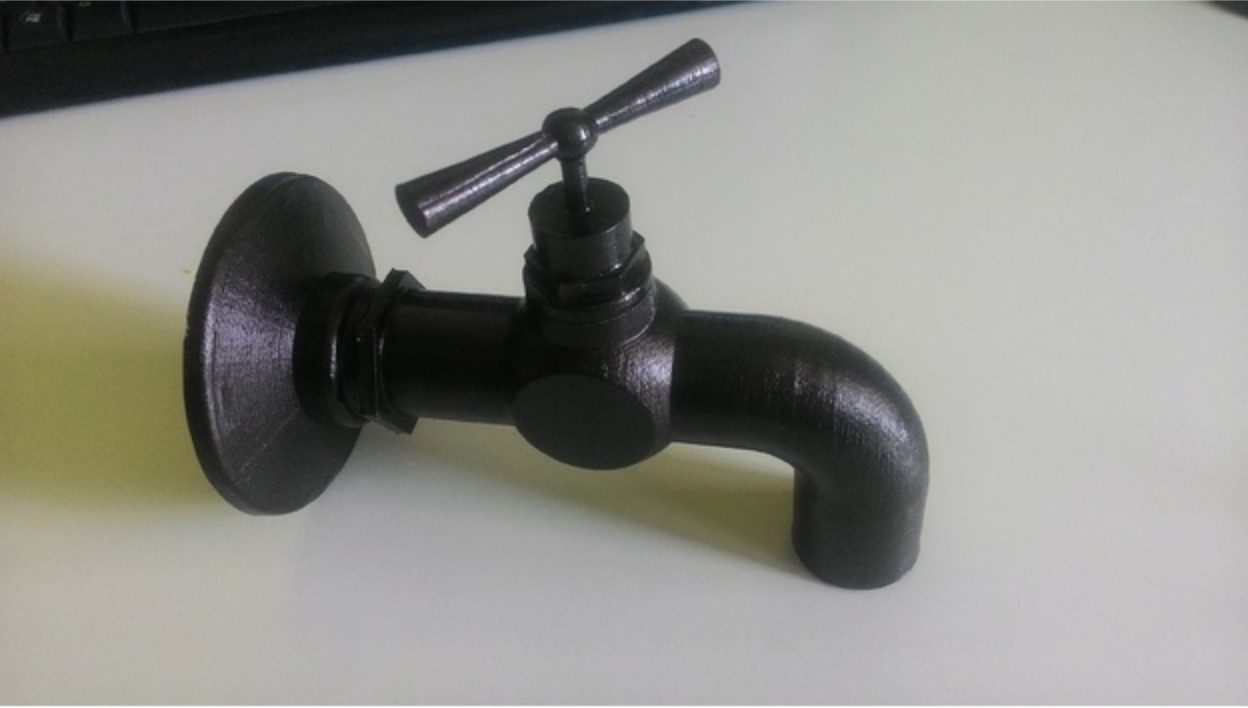
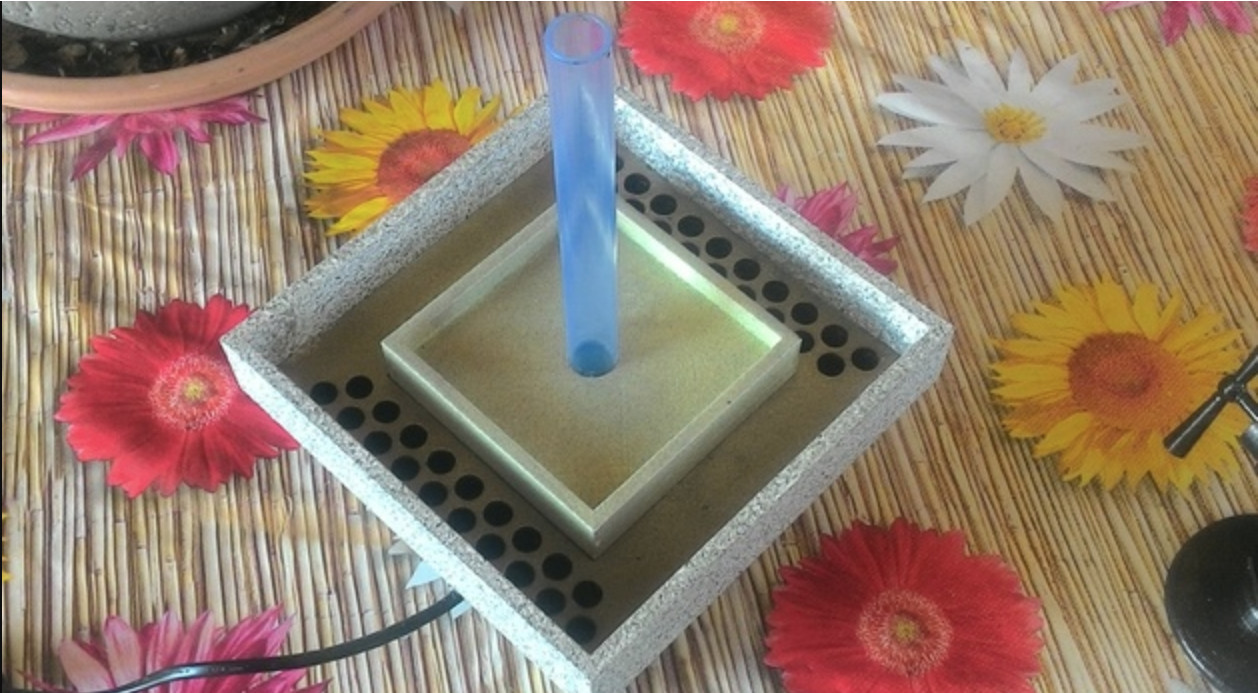
A floating faucet? Sounds interesting, doesn’t it? This 3D printed Magic Faucet is a wonderful project for those who love optical illusions. It’s relatively easy to make and simply amazing to look at.
In our never-ending endeavor to provide users with fun and useful projects to take on during the weekend, we’ve stumbled across a handful of 3D printed fountains to help wash away the boredom. However, we’ve yet to find anything quite like the Magic Faucet created by designer Manuel Arrigoni (who goes by “hazon” on Thingiverse).
This remarkable fountain uses 3D printed parts and components that are commonly found online or at your local aquarium shop to create the illusion of a floating faucet. You can decorate it with different colors and knickknacks, so you can also customize your fountain the way you see fit.
Having some mental blockage and need a 3D printing project to help the creativity flow? Look no further than this Magic Faucet. Let’s take a quick look at what you need and how to build this one-of-a-kind Weekend Project.
3D Printed Magic Faucet: What You Need & How to Build it
You can build your own Magic Faucet with a 3D printer and a few components. There are 12 different parts of the fountain that need to be 3D printed, all of which are freely available on Thingiverse.
Here’s what else you need to create your own Magic Faucet:

Now for the assembly process… The designer has separated the .STL files into two categories: the “faucet” and the “vase” (or base). Once the parts are 3D printed, you can perform some post-processing and spray paint them in the color of your choice.
For the pump cable, you can either run it through the pot or pull it out of the top of the base. Arrigoni has provided different models depending on how you want to situate the pump cable. If you decide to run the pump cable through the pot you should cut it to avoid potential harm from the electric current.
He also notes that the “faucet water diffuse.stl” model must be printed in its pre-determined position with the supports, as this is critical to the functionality of the internal part.

Once everything is 3D printed, use the silicone sealing to connect all of the parts together. The designer also suggests using the silicone to isolate the cable that passes through the faucet’s base.
If you want more information or have questions on this unique Magic Faucet, head over to Thingiverse and drop a comment to the designer. He also provides a hefty amount of photos to help make the assembly process easier.

Website: LINK


