Want to capture all 360 degrees of an object with your camera? Adafruit has recently shared a 3D printing project that shows you how to create an inexpensive turntable made for photographers and videographers.
As anyone in the photography or film world knows, the many different types of production equipment that are available can be incredulously expensive. Even something as simple as a turntable (no, not the kind you spin your father’s old records on) can be quite costly for aspiring photographers or even a professional on a budget.
A photography turntable is a flat platform that has one job: spinning. In doing so, it provides a 360 degree view of whatever object happens to be stationed upon it at the time. This piece of equipment is oftentimes used for product photography, adding motion to video clips, as well as for capturing intricate details and propping up an object to improve lighting.
There’s no doubt that this tool is helpful, but it can be difficult for a frugal photographer to justify spending $100+ on a platform that simply spins around. Thankfully, the open source hardware pioneers at Adafruit have recently shared a DIY turntable that you can create with 3D printing and various electronic components.
This turntable platform has an adjustable rotation speed, clockwise and counterclockwise rotation, and interchangeable platforms that you can 3D print. Let’s take a look at what you need to build your own 3D printed motorized turntable for photography and videography purposes.
3D Printed Motorized Turntable: What do you Need?
As this project was featured on Adafruit, most of the non-3D printed supplies you’ll need can be obtained directly from them. The STL files for the turntable and base are available on Thingiverse. Aside from your 3D printer and filament, here’s what else you’ll need to build your own 3D printed motorized turntable:
Without including the 3D printing filament that you’ll end up using for this project, all of the required electronics and components will only cost you around $35. Now that’s a bargain!

3D Printed Motorized Turntable: Putting it Together
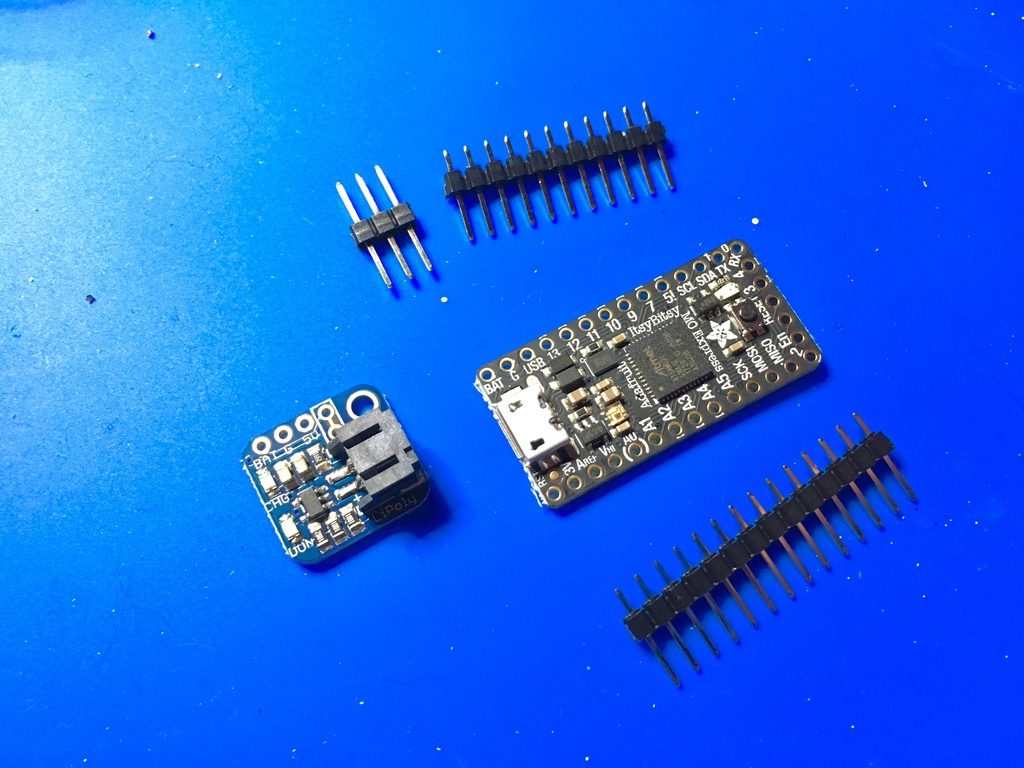
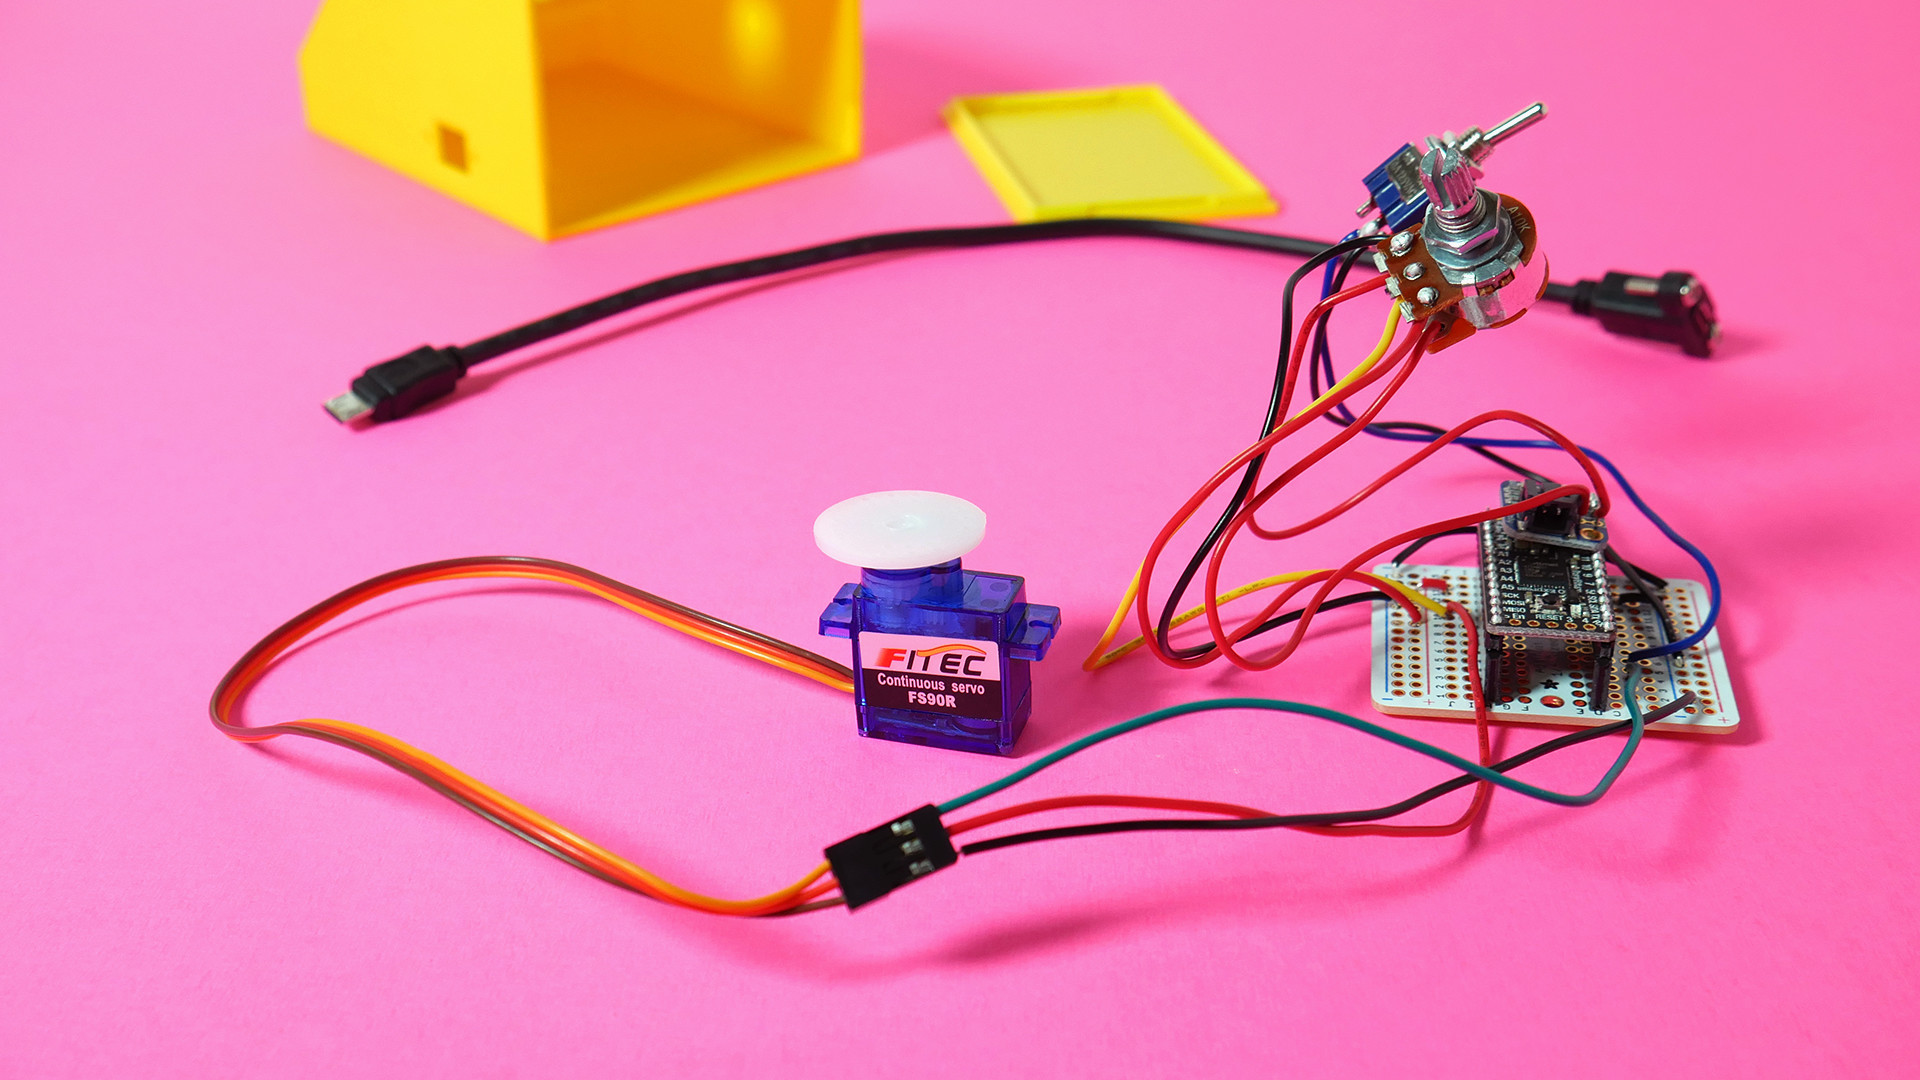
If you’re relatively inexperienced with electronics, this project is actually the perfect place to start learn some soldering skills. The circuitry for the turntable is quite easy to follow, using just five components. The main source here is the Itsy Bitsy board, which runs CircuitPython code to control the mechanics of the turntables and supply power via USB or battery.
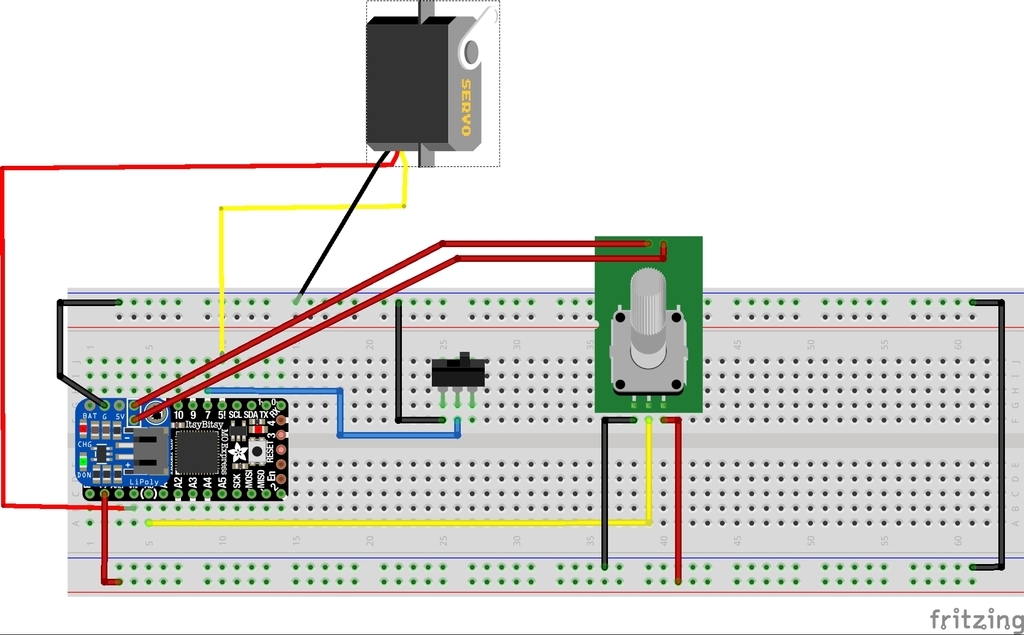
You’ll have to solder a LiPo battery to the board, and also mount the potentiometer, which controls the rotation speed; the SPDT switch controls, which determines whether the turntable spins clockwise or counterclockwise; and the servo motor, which keeps things spinning along. Check out the circuit schematic below.

Once the electronics are assembled, the next step is to run the CircuitPython code on the Itsy Bitsy M0 board. You can find the script and further programming instructions on the Adafruit website.
There’s only two primary parts that you’ll need to 3D print: the electronics enclosure and the turntable platform. The 3D models are designed to make the assembly process easy, equipped with a snap-fit back to allow access to the electronics, as well as cutouts for both the USB and servo motor.

According to Liz Clark, the author behind this project, she 3D printed the parts at a 0.2 layer height with 20 percent infill. The maker also suggests using supports to ensure that the cutouts have accurate dimensions. She also points out that the 3D models can be easily modified or resized on Fusion360 to fit your needs.
The final step is putting it all together, starting off with soldering the electronics. Once the soldering process is completed, Clark explains how to properly wire the components into the 3D printed enclosure, beginning with mounting the USB micro B extension into the cutouts and finishing up with the servo. We won’t go into every detailed step here, so if you’re planning on taking this project for a “spin”, be sure to check out the Adafruit project page for the entire play-by-play.
Once you complete the assembly process and place the 3D printed turntable platform on top of the servo, you’ll have your very own 3D printed motorized turntable. Now you can take 360 degree photos or videos of your 3D prints, products, or anything else that manages to fit on this affordable, yet highly capable, DIY turntable!

Website: LINK


