Getting started with a new device management platform is a drag. You have to get familiar with the terminology and the environment. You have to create new devices, dashboards, widgets, and read a lot of documentation and that’s usually very time consuming, even if the platform is very easy to use.
Furthermore, it is even more tedious if the platform is targeted to manage physical devices. You need to have some devices close at hand, you need to learn how to code your hello world or getting started examples and subsequent programming. Even if the platform is very intuitive, this is something that usually pulls users back.
At the end of the day, what users want to have is a straightforward way to evaluate what they can achieve with the platform, the performance, the look and feel and the global interaction experience.
What is the Arduino Cloud?
The Arduino Cloud enables makers, IoT enthusiasts, and professionals to build easily connected projects based on a wide range of Arduino, ESP32, and ESP8266 boards.
Following Arduino’s vision, it has been carefully designed to provide the most user-friendly and intuitive experience, abstracting the complex tasks that create barriers for users who are not familiar with coding. The result is an integrated platform where users can develop, deploy, manage, and monitor their connected devices.
Development and firmware deployment can be done with the online web editor where a large number of templates and projects can help you get started easily. Over-the-air (OTA) firmware updates are additionally available for Arduino boards.
Managing and monitoring the devices and connected sensors is done with the IoT Cloud. The platform allows the creation of devices, things, and variables that can be managed through rich and customizable dashboards that help users visualize their device’s status and data. They are accessible remotely via a native mobile app and users’ web space and integration with third-party platforms like Alexa or IFTTT is possible.
The Arduino Cloud platform is very intuitive and well documented, with tons of examples, tutorials, and projects. But, sometimes, users don’t find the time to go through that documentation and they would like to have a more straightforward path to evaluate its features.
Why not use your phone as your initial device?
If we think about a way to get started with any new platform, what can be easier than using the tool that we use more extensively and handy: our mobile phone?
Arduino Cloud has a feature called phone device that does precisely that. The goal is to provide the users with a tool that allows them to have a quick out-of-the-box experience with the IoT Cloud without the need of using a Cloud-compatible board.
By installing the Arduino IoT Remote App (available for Android and iOS), you’ll automatically see your phone as a usable device in the IoT Cloud, with a number of variables automatically created and associated with it. Those variable Thing 2 Things are associated with some of the sensors in your phone such as accelerometer, GPS, microphone, compass or barometer. A dashboard is also automatically created so that all those variables can be monitored.
With this feature, there is a straightforward and simple path for those newbies who may want to know what they can do with the platform even without owning a compatible device. But it also enables makers, who may want to use their phone sensors to activate certain actions on their other things, to build more advanced use cases with Thing 2 Thing communication (for example, when my phone is near my office, turn on my AC).
How do I get started?
Getting started is as simple as installing the Arduino IoT Remote app or updating it to the latest version, if you had it already installed.
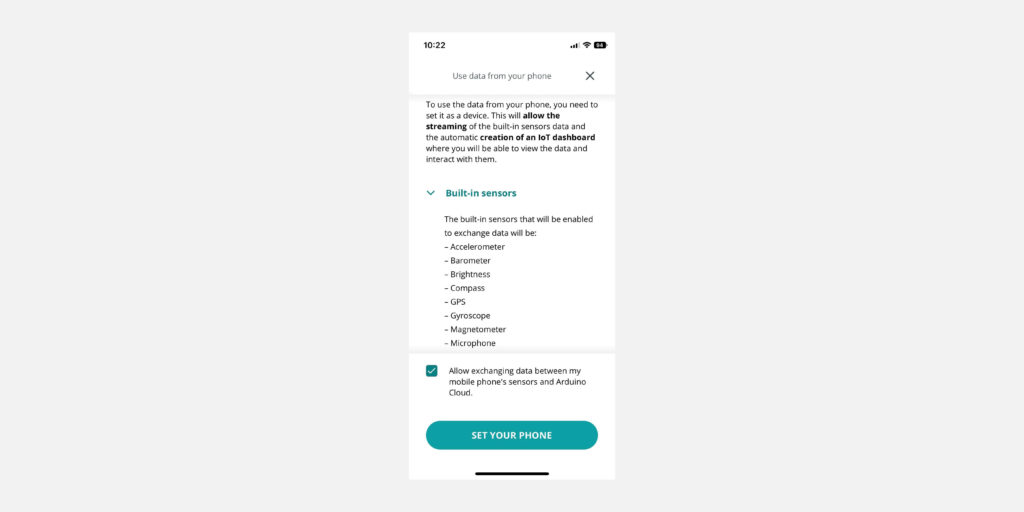
The first step is to open the app, and select “Use data from your phone” from the main menu. Then the wizard will start, asking to allow data exchange between the phone and the Arduino Cloud.

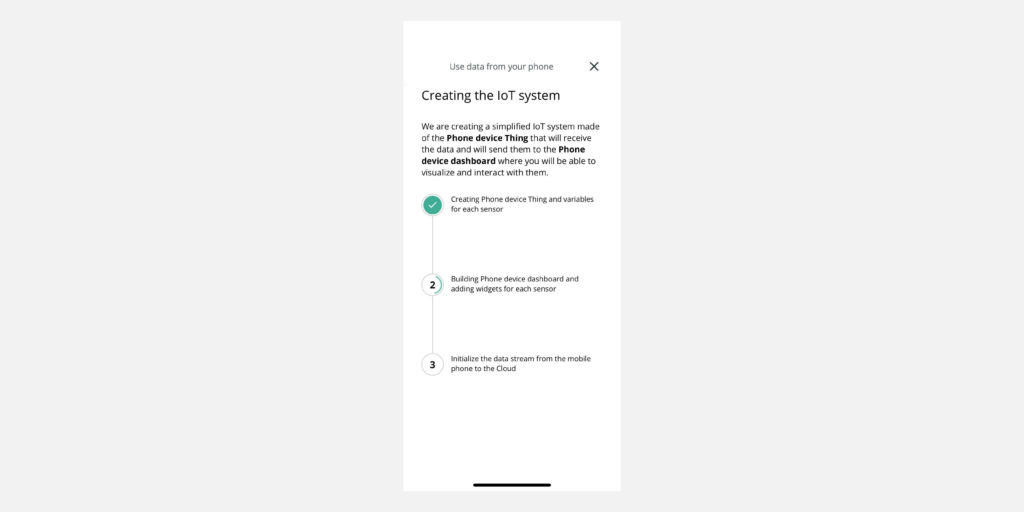
After tapping on “Set your phone,” the creation of the related device, thing, and dashboard will take place. During the creation of such resources, permission for using the phone location, camera, and microphone will be asked.

At the end of the process, you will see the created dashboard, with the live data coming from your phone sensors.

Learn more
If you want to learn more about the Arduino IoT Cloud, you can check the official documentation and resources available on the Arduino Cloud web site.
Website: LINK


