Electric eye
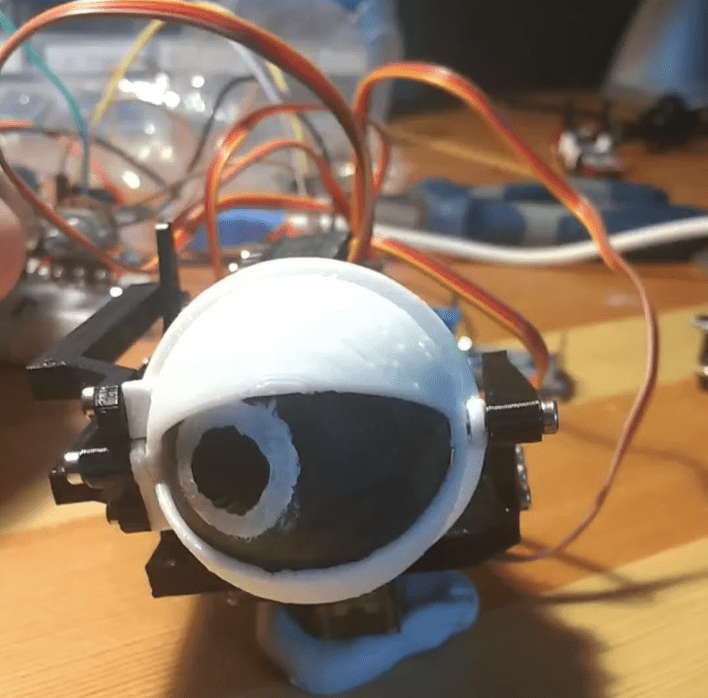
The design is based around a two-eye concept by Will Cogley which Sean cut down to be a single eye, and have space for the camera module as well.
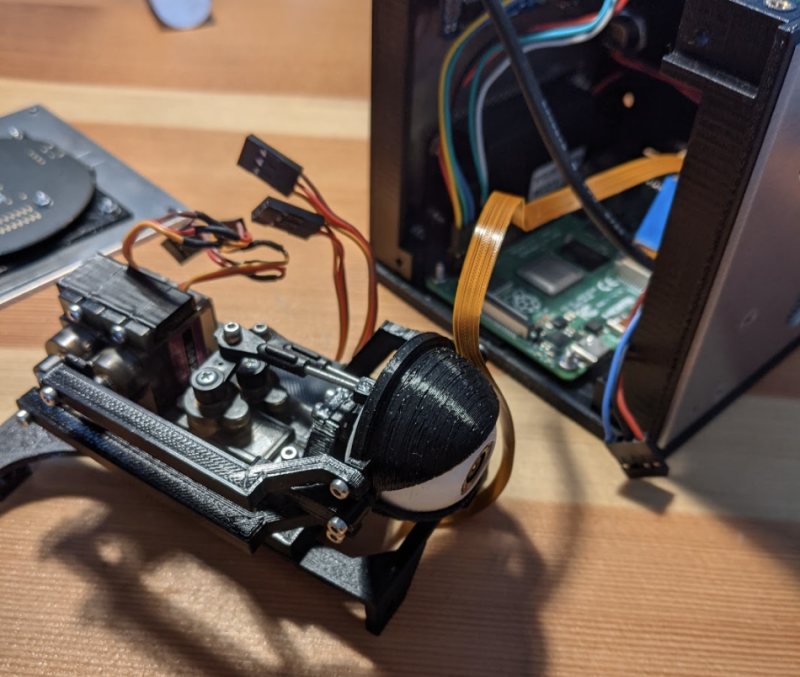
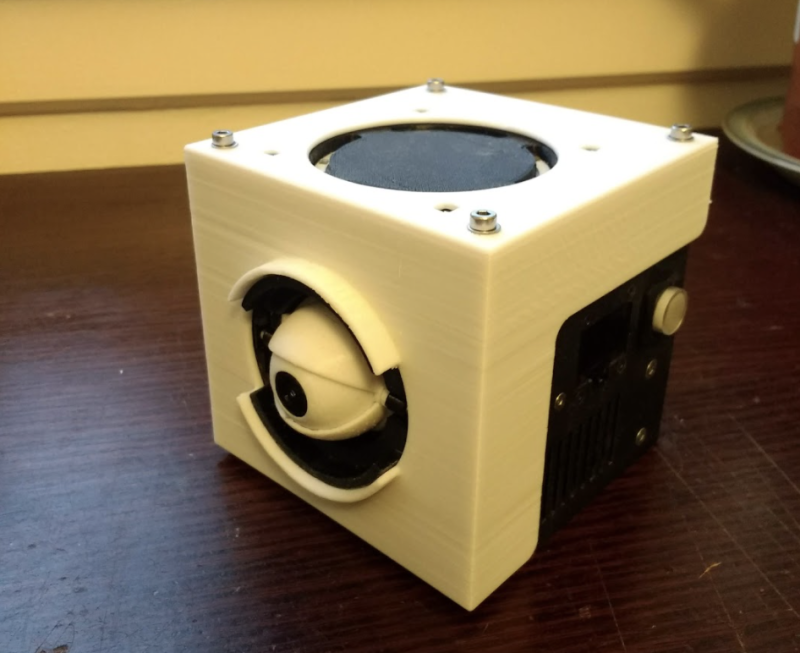
“I then modelled (using Autodesk Inventor) an enclosure for the eye, Raspberry Pi, and the other electronics: including two speakers, amplifier, real time clock, servo controller, custom power circuit, OLED display, microphone, button, and two 5 V power connectors (one micro USB and the other a DC power jack).” Sean tells us. “My first design was entirely 3D-printed, with a white shell covering up most of the exposed bolt heads. It was strongly based on the design for my microphone robot I built previously, with space made inside to mount the eye mechanism, replacing the large speaker with two smaller ones.”
It’s a very compact design, with a lot of components squeezed in.
“There were a number of drawbacks with this design,” Sean says. “The biggest one being that the eye was mounted too far forward. If the robot was dropped on its face, the eye would be damaged, and there was no way to move the eye back as the case dimensions were too small. I wanted to try building with sheet metal as a challenge. I designed a case with 3D-printed braces to hold together four pieces of 2 mm aluminium sheet metal, cut with the help of my Dad. The braces hold the sides together with an assortment of nuts and bolts. Since the case was slightly bigger than the previous one, the eye mechanism could be mounted further back.”
Sean also replaced the power circuit, added an accelerometer, and changed a couple of other small bits to get the eye to where it is now.
Follow along
As well as servos that control the direction of the eye (pan and tilt), there’s also two that control the upper and lower eyelid. These are controlled via Raspberry Pi, which tacks faces using OpenCV.
“Also connected is an audio amplifier that powers the two side-mounted speakers, with the audio signal coming from the 3.5 mm audio jack on Raspberry Pi.” Sean continues. “The microphone array is connected through USB, while two USB ports and the Ethernet port are left exposed for programming. The power circuit connects to the 5 V input, the on/off button, and the micro USB input. All that’s left is the real time clock module and the accelerometer, which are both connected through I2C, as is the servo driver… using all of this, I was able to make the eye track people in real time, and say their name if it saw their face (it would have to have their face recorded first). It also blinks at random intervals.”
With all that, it works well, although apparently a little too well for some, as Sean explains peoples’ reactions: “Very positive! However, I have had people comment on the ‘uncanny valley’ of the single mechanical eye following them around, and blinking at them.”


Schreibe einen Kommentar
Du musst angemeldet sein, um einen Kommentar abzugeben.