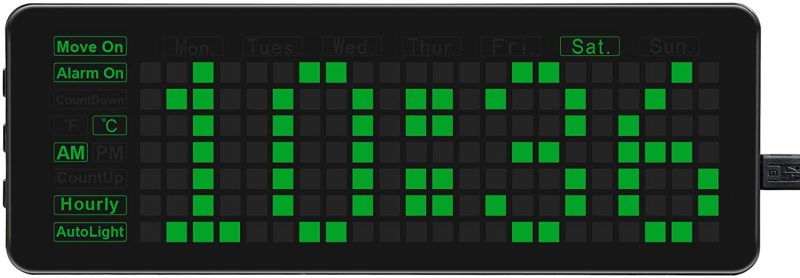
Lifting off the rear panel reveals the electronics and two female headers to mount your Raspberry Pi Pico (not included). First, however, you’ll need to flash Pico with the software. The online manual is confusing, as there’s no need to compile anything with terminal commands if using a Raspberry Pi: just drag the downloadable UF2 across to the mounted Pico.
You can then mount Pico onto the rear headers, close the rear panel (securing it with the supplied screws), plug it in, and the clock will start working.
Customisable clock
With settings adjusted using three push-buttons on the side, standard clock functions include two alarms, a timer, and an hourly chime option, all using the on-board piezo buzzer. There’s also the option of scrolling the display every three minutes to show the date and temperature (in °C or °F, read from the on-board RTC chip’s built-in sensor).
That RTC (real-time clock), along with a CR2032 coin cell battery, means the clock will remember the correct time even if disconnected from 5 V power (via the supplied USB to micro USB cable), although you’ll lose any custom settings. There’s also an option to automatically adjust the LED brightness based on the built-in photoresistor.
The unique selling point of this clock is the ability to customise the example code and add extra functions, which is done solely in the C/C++ programming languages – there’s no official MicroPython support.


