When Electrical Engineer Alan Platt was given the task of converting old cine film to digital footage for his father-in-law’s 70th birthday, his first instinct was to look online.
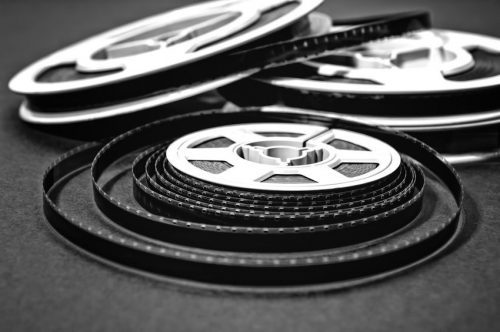
“There are plenty of companies happy to convert old films”, he explains, “but they are all extremely expensive. In addition, you have to send your original films away by post, and there’s no way to guarantee that they’ll be safe in transit.”
Alan was given a box of Super 8 films covering 15 years of family holidays and memories. A huge responsibility, and an enormous challenge. Not content to let someone else do the hard work, Alan decided to convert the films himself — and learn how to program a Raspberry Pi at the same time.
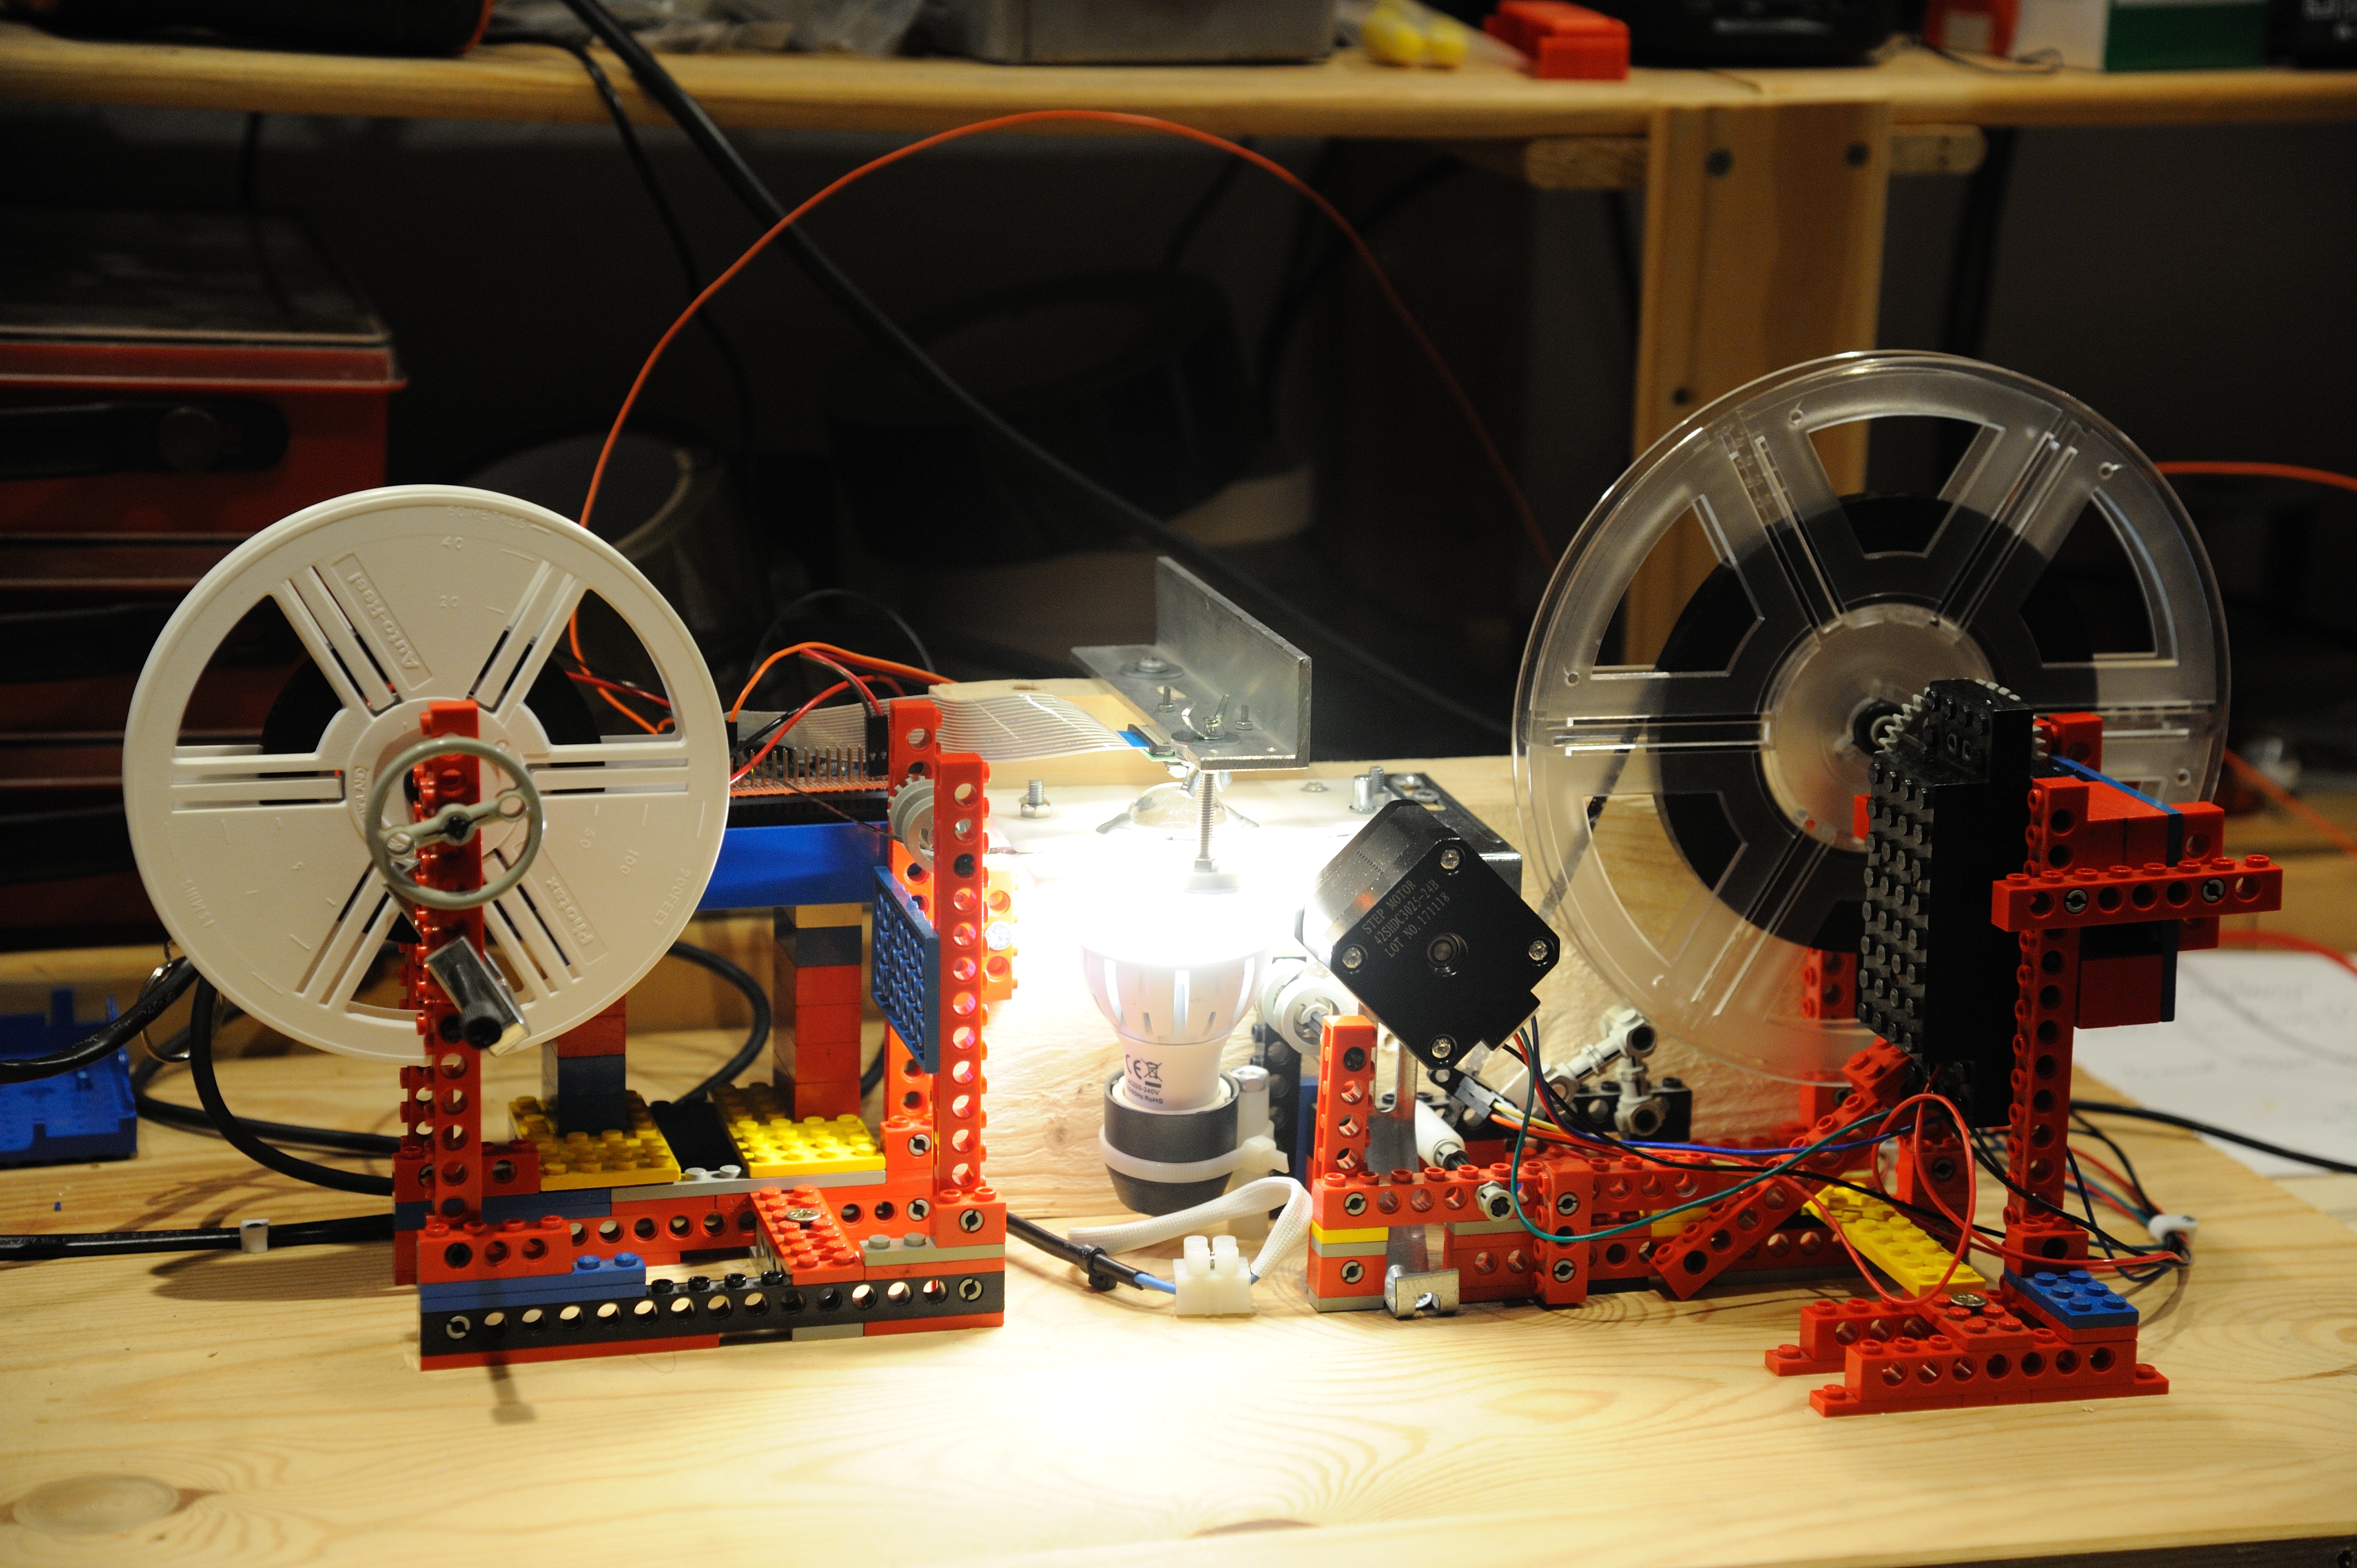
Alan’s cine film digitising machine
The best-laid plans
Alan’s initial plan involved using his father-in-law’s cine projector as the base for the conversion process, but this soon proved impossible. There was no space in the projector to house both the film-playing mechanism, and the camera for the digitisation process. Further attempts to use the projector came to an end when, on powering it up for the first time, the 50-year-old machine produced a loud bang and a large cloud of smoke.
Undeterred, Alan examined the bust projector’s mechanism and decided to build his own. This began with a large eBay order: 3-D printed components from Germany, custom-shaped PTFE sheets from the UK, and optical lenses from China. For the skeleton of the machine, Alan’s box of Technic LEGO was dusted off and unpacked; an old TV was dug out of storage to interface with the Raspberry Pi Zero.
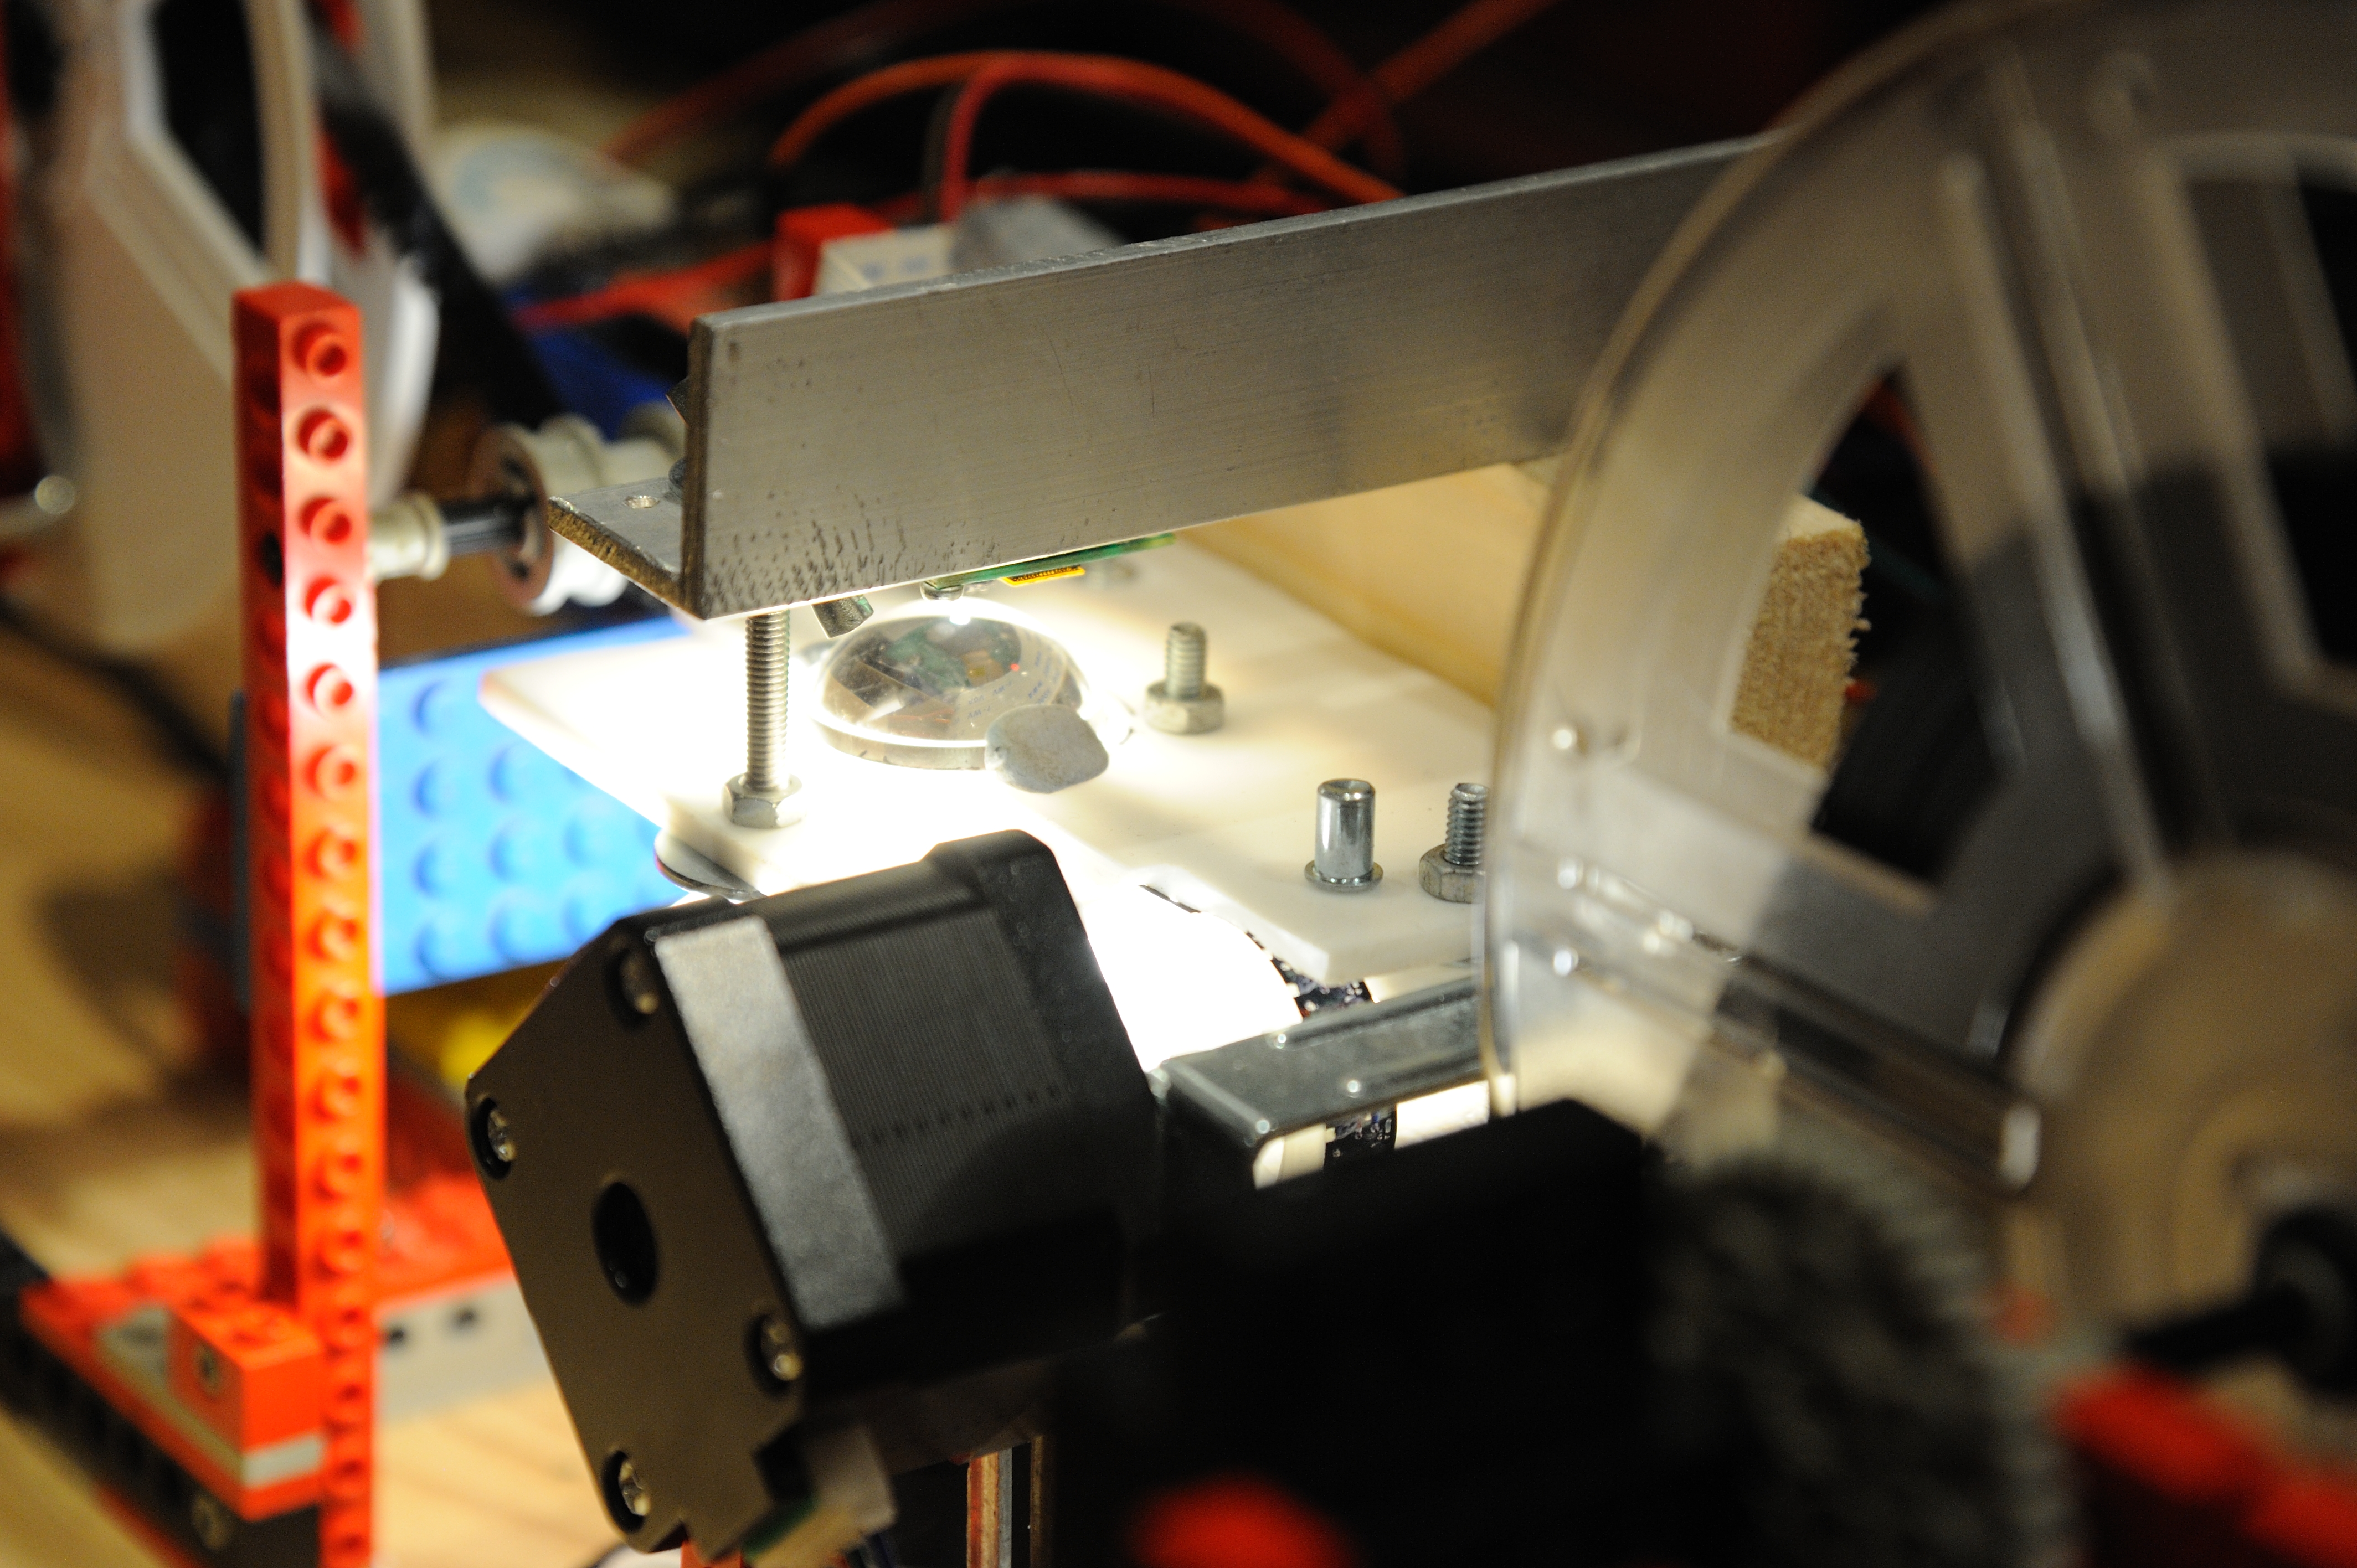
Experimentation: Technic LEGO, clamps, and Blu Tack hold the equipment together
The build commenced with several weeks of trial and error using scraps of cine film, a Camera Module, and a motor. With the Raspberry Pi Zero, Alan controlled the motion of the film through the machine, and took photos of each frame.
“At one point, setting the tension on the film required a helper to stand next to me, holding a sledgehammer connected to the pick-up reel. Moving the sledgehammer up or down varied the tension, and allowed me to work out what power of motor I would need to make the film run smoothly.”
He refined the hardware and software until the machine could produce reliable, focused, and stable images.
A slow process
Over a period of two months, the finished machine was used to convert all the cine films. The process involves loading a reel onto a Technic LEGO arm, feeding the film through the mechanism with tweezers, and winding the first section on to the pick-up reel. The Raspberry Pi controls a stepper motor and the Camera Module, advancing the film frame by frame and taking individual photos of each film cell. The film is backlit through a sheet of translucent PTFE serving as a diffuser; the Camera Module is focused by moving it up and down on its aluminium mounting.
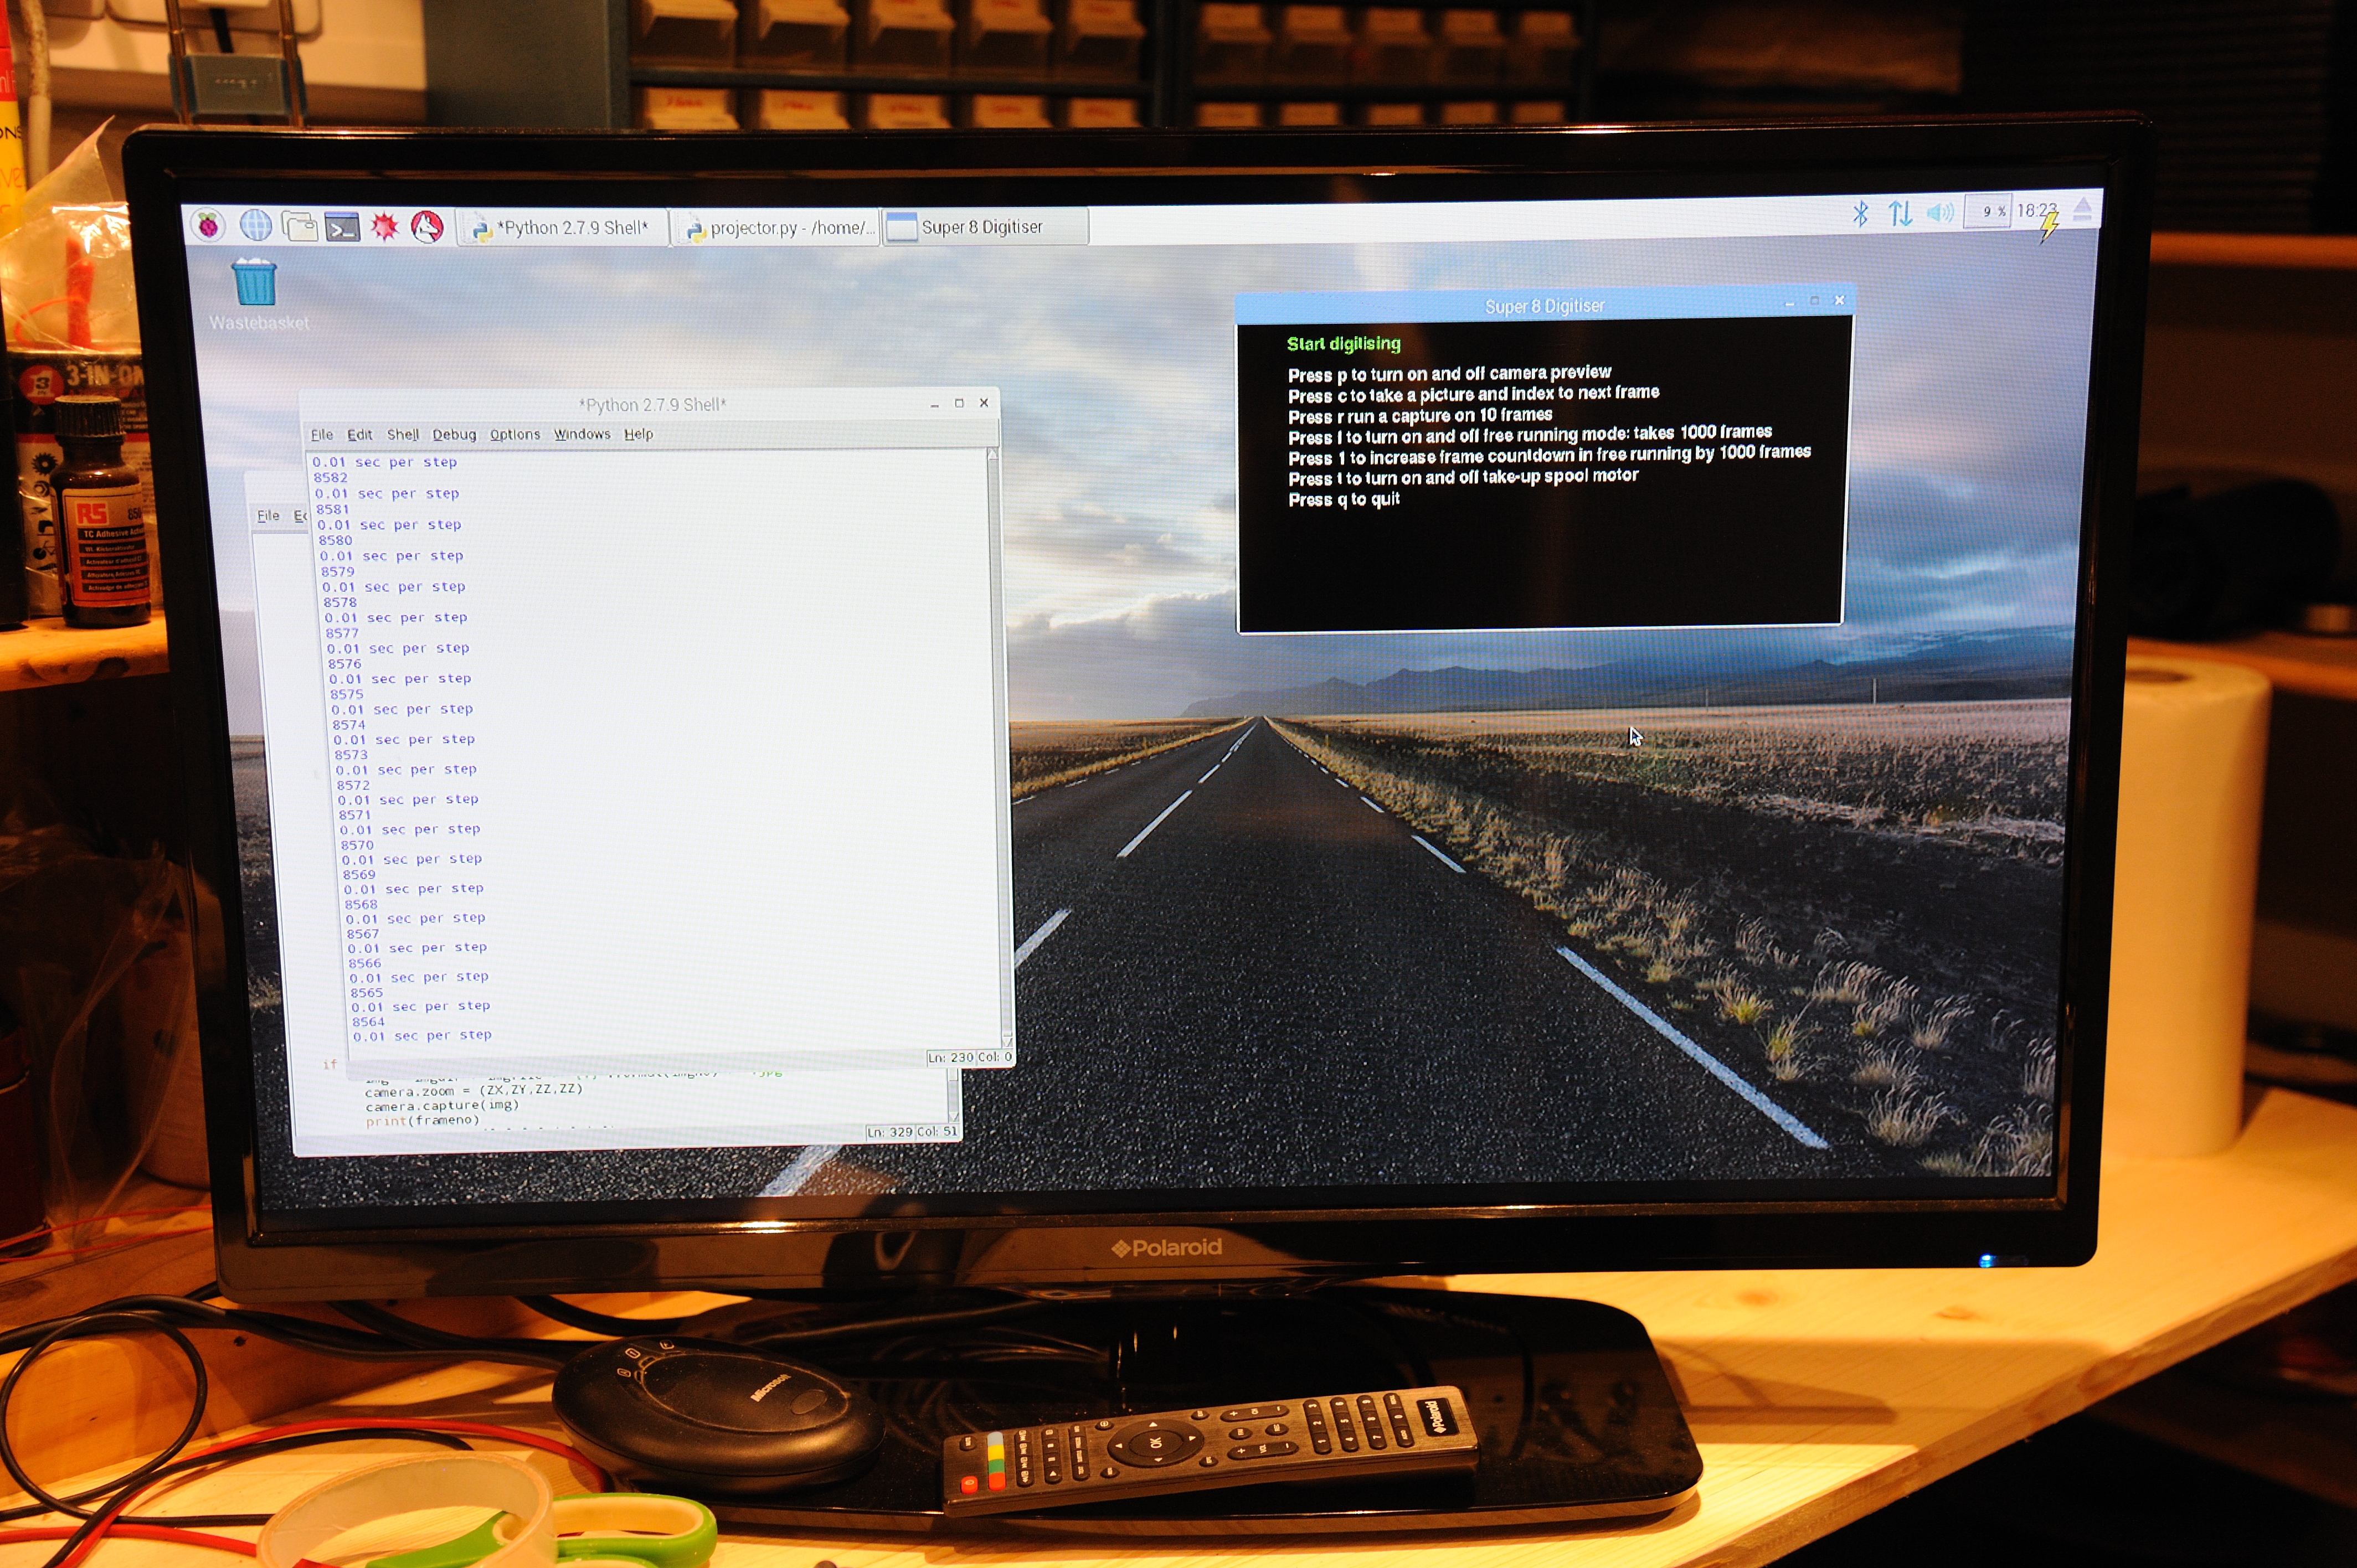
Alan taught himself to program in Python while working on this project
Finally, Alan used Avidemux, a free video-editing program, to stitch all the images together into an MP4 digital film.
The verdict
“I’m incredibly proud of this machine”, Alan says. “It has taken more than a quarter of a million photos, digitised hundreds of meters of film — and taught me to program in Python. It demonstrates you don’t need to be an expert software engineer to make something really cool!”
And Alan’s father-in-law?
“He was thrilled! Being able to watch the films on his TV without having to set up the projector was fantastic. It was a great present!”
Here, exclusively for the Raspberry Pi blog, we present the first moments of footage to be digitised using Alan’s machine.
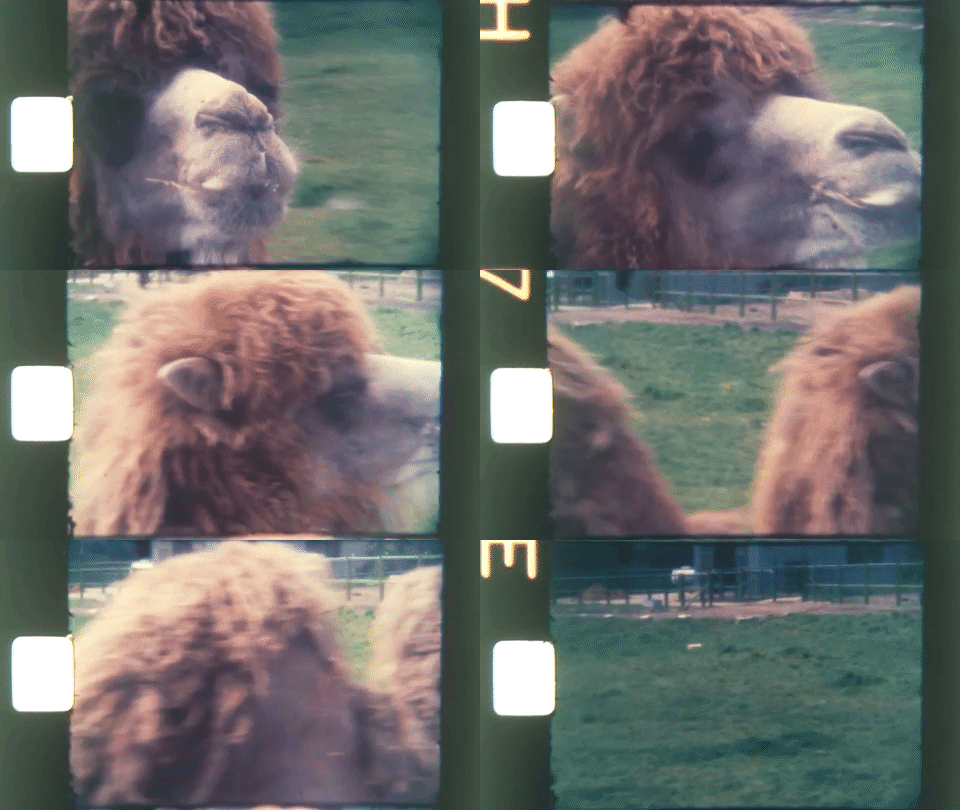
Gripping footage, filmed at Windsor Safari Park in 1983
Digital footage
Have you used a Raspberry Pi to digitise family memories? Do you have a box of Super 8 films in the attic, waiting for a machine like Alan’s?
Tell us about it in the comments!
Thanks again, Rachel
Website: LINK
Schreibe einen Kommentar
Du musst angemeldet sein, um einen Kommentar abzugeben.