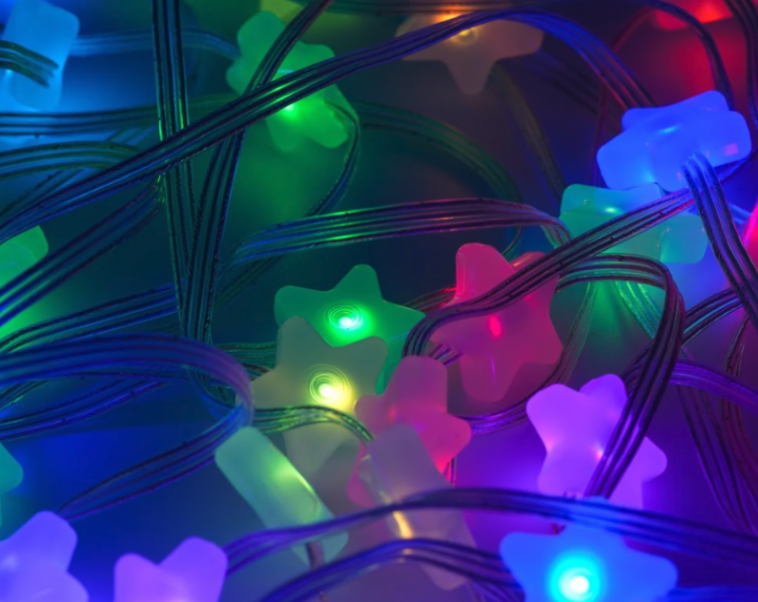
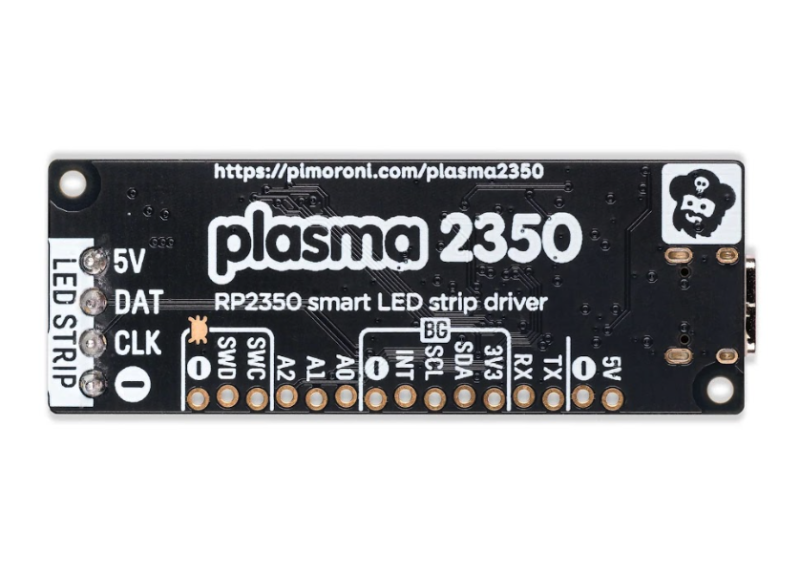
You can buy the Plasma 2350 board on its own or in a Starter Kit (£34.50 / $38) with a USB-A to USB-C cable and 10m string of 66 individually addressable frosted LED stars. These look superb when lit up, and are a great way of showcasing the capabilities of the Plasma 2350. We also tried out a long 300-LED strip and there was easily enough current (up to 3A) from the USB-C power connection to light them all.
Wired for light
Connecting your LED string or strip to the board is simple. As on the Plasma 2040, there are four screw terminals on one end: for 5V power, data, clock, and ground. While WS2812/NeoPixel LED strips have only three wires, omitting the clock connection, the latter is needed for DotStar LEDs. A little care needs to be taken to make sure each wire is in the correct terminal and that they’re screwed securely.
Despite coming in a slimmer ‘gum stick’ form factor than the Plasma RP2040, the board manages to cram in many useful features. There’s an unpopulated header down one long edge to break out selected GPIO pins, offering access to UART and I2C interfaces, along with analogue inputs, PWM outputs, and PIO state machines. There’s also a Qwiic/STEMMA QT connector for breakout boards, as well as Pimoroni’s new proprietary SP/CE (Serial Peripheral / Connector Evolution) port – an eight-pin JST-PH connector including four pins for SPI.
Buttons for everything
One slight downside of the SP/CE’s inclusion is that there’s no room for a B user button next to the A one (as on the Plasma 2040), although the Boot button doubles as a user input. There’s also a handy Reset button, to save repeatedly disconnecting and connecting the USB-C power. An on-board RGB LED is a nice touch, too.
Before you can start programming some light patterns, you’ll need to install MicroPython. In its RP2350 GitHub repo, Pimoroni provides a custom UF2 file for the Plasma 2350. To install it, connect the board to your computer via USB while holding the Boot button, to mount it as a drive, then drag the file over to it. Alternatively, if you prefer CircuitPython, with which you can utilise Adafruit’s excellent LED Animation library, there’s also a UF2 image for that.
Using MicroPython in the Thonny IDE, we tried out some code examples from Pimoroni’s GitHub repo, altering the constant for the number of LEDs to match our string. While there are only a few examples there – including a nice ‘rainbow’ colour-cycling effect – we found that most of the ones for the Plasma 2040 and Plasma Stick 2040 W still work. Impressive lighting effects include alternating/random blinkies, sparkles, snowfall, fire, pulsing and a lovely rainbow sweeping across the string of LEDs.
Since the Plasma 2350 lacks on-board Wi-Fi, you can’t get your LEDs to react to data from the network, but you could always connect a breakout input such as a temperature sensor.
Verdict
9/10
An easy way to control NeoPixel/DotStar LED strings with programmable effects, with extra processing power if you need it.
Features
Features: RP2350A processor; Boot, Reset, and user buttons; on-board RGB LED
LED compatibility: 5V WS2812/NeoPixel, APA102/DotStar
Connections: 4 × screw terminals, USB-C port for power/programming, Qwiic/STEMMA QT, SP/CE, unpopulated 15-pin GPIO header


