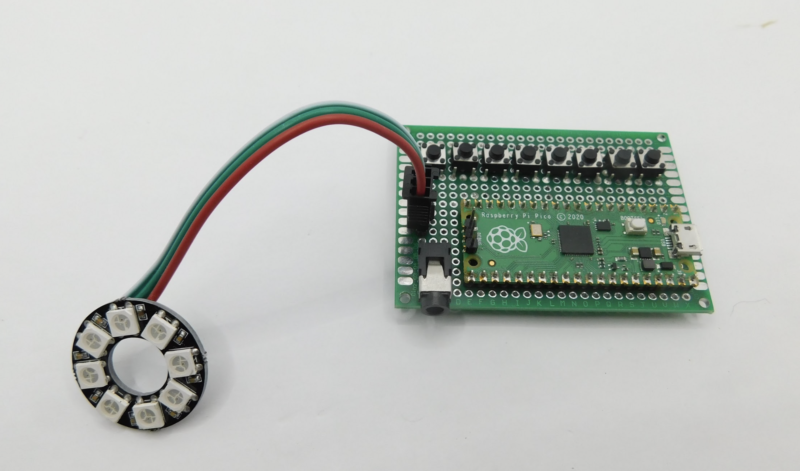
In the latest issue of HackSpace magazine, Ben Everard shows us how to create a framework for building audio devices using Raspberry Pi Pico, called PicoPicoSynth.
Raspberry Pi Pico combines processing power with the ability to shuffle data in and out quickly. This makes it a good fit for a lot of different things, but the one we’ll be looking at today is sound synthesis.
There are a huge number of ways you can make sound on a programmable electronic device, but there’s always space for one more way, isn’t there? We set about trying to create a framework for building audio devices using Raspberry Pi Pico that we’ve called PicoPicoSynth, because it’s a small synth for Pico.

Sequencer magic
The program is powered by a sequencer. This is a structure that contains (among other things) a sequence of notes that it plays on a loop. Actually, it contains several sequences of notes – one for each type of noise you want it to play. Each sequence is a series of numbers. A -1 tells the sequencer not to play that note; a 0 or higher means play the note. For every point in time (by default, 24,000 times a second), the sequencer calls a function for each type of noise with the note to play and the time since the note first sounded. From these inputs, the callback function can create the position of the sound wave at this point, and pass this back to the sequencer. All the sounds are then mixed and passed on to the Pico audio system, which plays them.
Manipulating waveforms
This setup lets us focus on the interesting bit (OK, the bit this author happens to find interesting – other people may disagree) of making music. That is playing with how manipulating waveforms affects the sound.
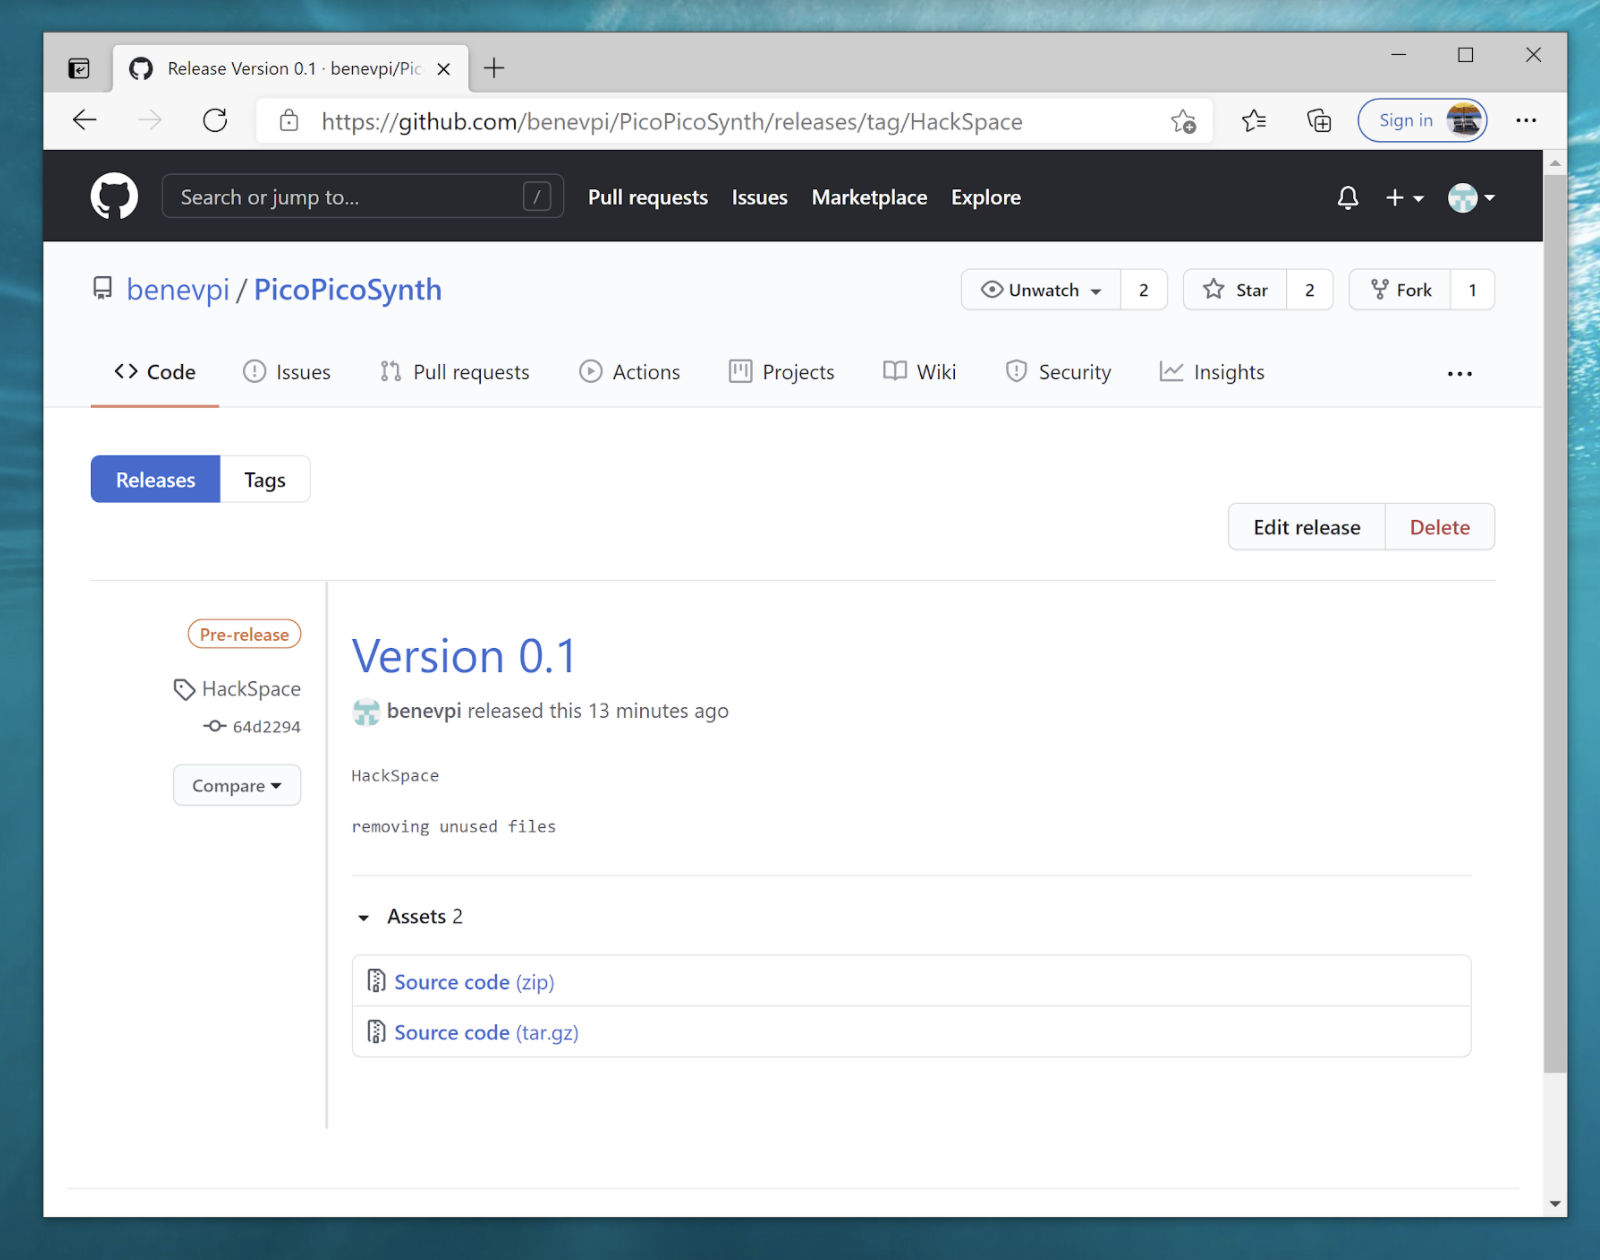
You can find the whole PicoPicoSynth project at hsmag.cc/GitHubPPSynth. While this project is
ongoing, we’ve frozen the version used in this article in release 0.1, which you can download from hsmag.cc/PPSythV1. Let’s take a look at the example_synth file, which shows off some of the features.

You can create the sound values for PicoPicoSynth however you like, but we set it up with wavetables in mind. This means that you pre-calculate values for the sound waves. Doing this means you can do the computationally heavy work at the start, and not have to do it while running (when you have to keep data flowing fast enough that you can keep generating sound).
The wavetables for our example are loaded with:
low_sine_0 = get_sinewave_table(50,24000);
low_sine_1 = get_sinewave_table(100,24000);
bongo_table = create_wavetable(9054);
for (int i = 0; i < BONGOSAMPLES; i++) {
bongo_table->samples[i] =bongoSamples[i] * 256;
}
The first two create sine waves of different frequencies. Since sine waves are useful, we’ve created a helper function to automatically generate the wavetable for a given frequency.
The third wavetable is loaded with some data that’s included in a header file. We created it by loading a bongo WAV file into hsmag.cc/WavetableEd, which converts the WAV file into a C header file. We just have to scale it up from 8 bits to 16 by multiplying it by 256. There’s no helper function to do the job here, so we have to load in the samples ourselves.
Callback functions
That’s the data – the other thing we need are the callback functions that return the values we want to play. These take two parameters: the first is the number of samples since the note was started, and the second is the note that’s played.
int16_t bongos(int posn, int note) {
if (note == 0 ) {
return no_envelope(bongo_table,1, posn);
}
if (note == 1 ) {
return no_envelope(bongo_table,0.5, posn);
}
else {
return 0;
}
}
int16_t low_sine(int posn, int note) {
if (note == 0 ) {
return bitcrush(envelope(low_sine_0, 1, posn, posn, 5000, 10000, 15000,40000),32768,8);
}
if (note == 1 ) {
return bitcrush(envelope(low_sine_1, 1, posn, posn, 5000, 10000, 15000,40000),32768,8);
}
else {
return 0;
}
}
The note is 0 or higher – it corresponds to the number in the sequence, and you can use this however you like in your program. As you can see, both of our functions play sounds on notes 0 and 1.
The library includes a few functions to help you work with wavetables, the main two being
no_envelope and envelope. The no_envelope function also takes a multiplier – it’s 1 in the first instance and 0.5 in the second. This lets us speed up or slow down a sample, depending on what we want to play.
Attack, decay, sustain, and release
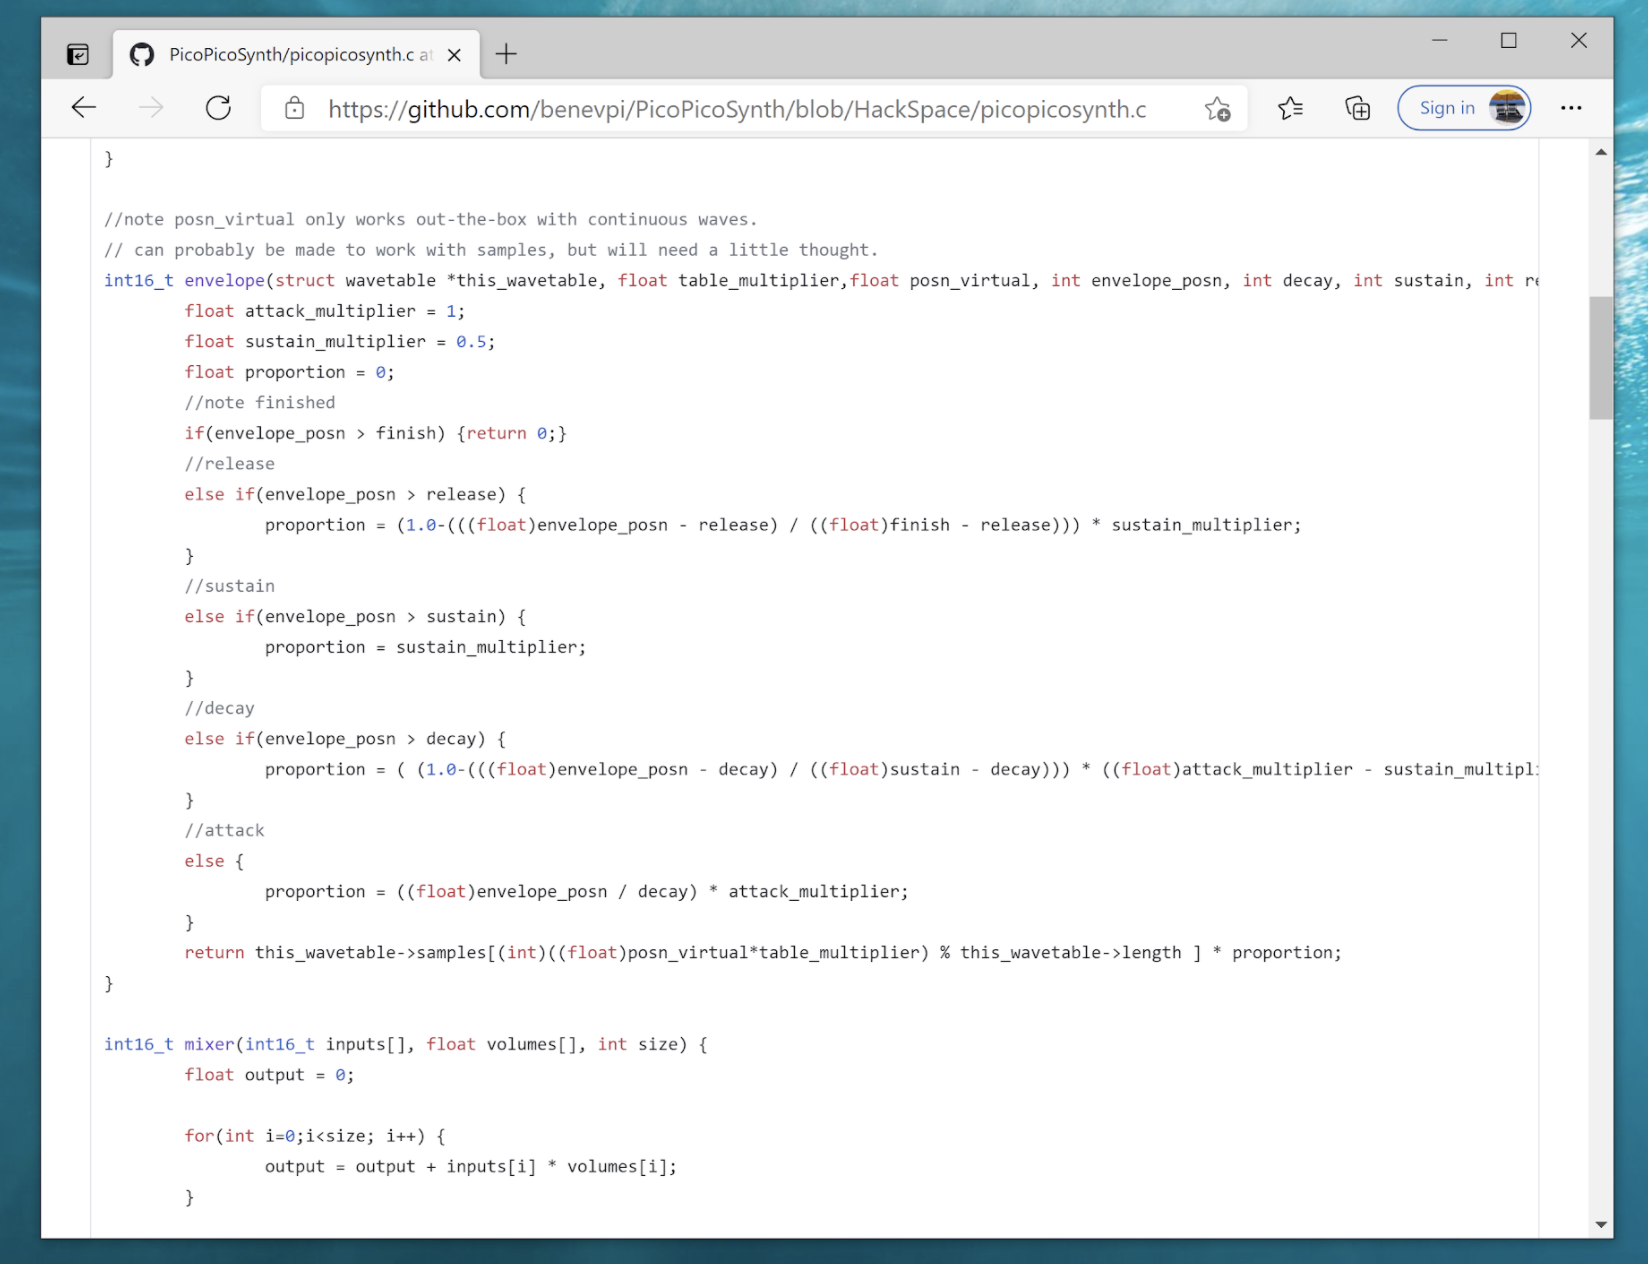
An envelope may be familiar to you if you’ve worked with synths before, and it’s used to convert a constant tone into something that sounds a bit like an instrument being played. You supply four values – the attack, decay, sustain, and release times. During the attack phase, the volume ramps up. During the decay phase, it partially drops to a level that it holds during the sustain phase, and finally it drops to 0 during the release phase. This gives a much more natural sound than simply starting or stopping the sample.
The envelope function also has a multiplier, so we could use the same wavetable for both, but it’s more accurate to generate a specific wavetable for each note if you’ve got the space to store it.
There are also a few sound effects in the synth library that you can apply – BitCrunch, for example. This compresses the sample bit depth down to give the sine wave a distorted sound.
These callbacks don’t have to be sound. You could equally use them to co-ordinate a lighting effect, control physical hardware, or do almost anything else.
Last coding stretch
Now we’ve got the sounds set up, it’s time to link them all together. This is done with the code below.
int bongo_sequence[] = {1, 1, -1, -1, -1,0, -1, -1};
int low_sine_sequence[] = {-1, -1, 1, -1,-1, -1, 0, -1};
struct sequencer main_sequencer;
init_sequencer(&main_sequencer, BEATNUM,BEATFREQ);
//add up to 32 different sequences here
add_sequence(&main_sequencer, 0, bongo_sequence, bongos, 0.5);
add_sequence(&main_sequencer, 1, low_sine_sequence, low_sine, 0.5);
Sequences are stored as int arrays that have to be the same length as the sequencer (stored in the BEATNUM macro). This can be any integer up to 32. The numbers in here can be anything you like, as they’re just passed back to the callback functions defined above. The sole limitation being that only numbers 0 or greater are played. We also pass the BEATFREQ value which contains the number of samples per beat.
The final step in setting up the sound is to add up to 32 different sequences to your sequencer.
With everything set up, you can set the music playing with:
while (true) {
//do any processing you want here
give_audio_buffer(ap, fill_next_buffer(&main_sequencer, ap, SAMPLES_PER_BUFFER));
}
Each time this loops, it calculates the next 256 (as stored in the SAMPLES_PER_BUFFER macro) and passes them to the audio system. You can do any other processing you like in the loop, provided it can run fast enough to not interrupt the sound playing.

That’s all there is to it. Set this code running on a Pico that’s plugged into a Pimoroni Audio Pack (you should be able to make it work with other audio systems – see the ‘Audio output’ box, overleaf) and you’ll hear some strange bumps and wobbles.
Of course, it’s unlikely that you’ll want to listen to exactly this strange combination of distorted sine waves and low bitrate bongos. You can take this base and build your own code on top of it. The callback functions can do anything you like, provided they run quickly enough and return a 16-bit integer. How you use this is up to you.
Issue 44 of HackSpace magazine is on sale NOW!
Each month, HackSpace magazine brings you the best projects, tips, tricks and tutorials from the makersphere. You can get it from the Raspberry Pi Press online store or your local newsagents.

As always, every issue is free to download from the HackSpace magazine website.
Website: LINK

