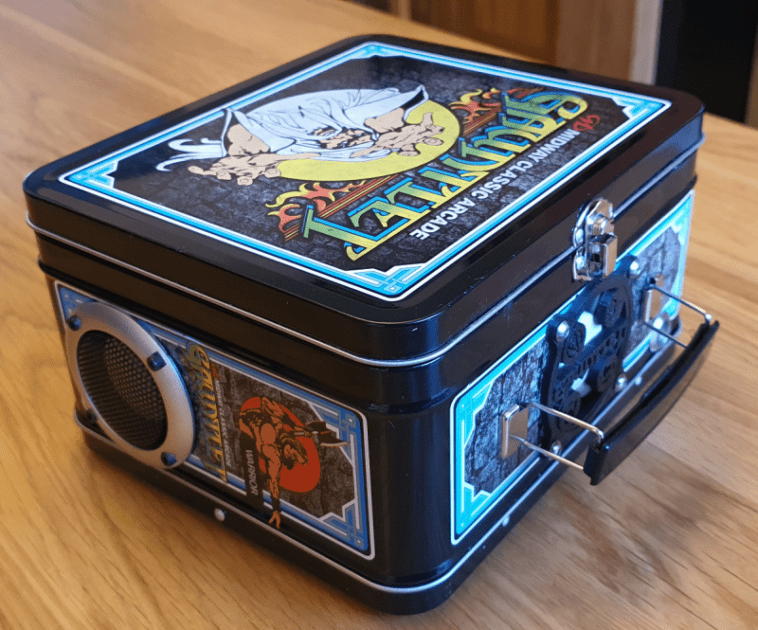
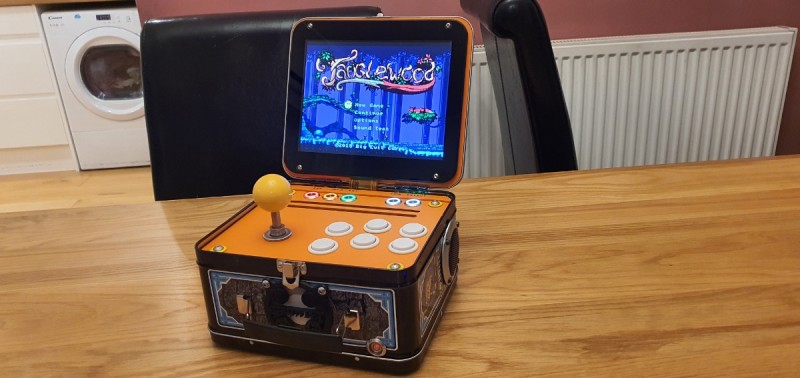
He eventually chose one celebrating a different game, kicking off his Raspberry Pi-based Lunchbox Arcade Game project.
“I used to have a cool metal Pac-Man lunch box for school but trying to get a Pac-Man one is nearly impossible, and ones that do come up go for silly money on eBay,” he explains. At more than £60 a tin, he couldn’t bring himself to drill holes in an original 1980s version. Instead, Rich decided to modify a Gauntlet one.
Most of the parts for what became a roughly £250 build came from Arcade World.
Lunch bunch
Rich had already built three Windows-based arcade machines having moved on from assembling his own PCs, plus one using Raspberry Pi. For his Lunchbox Arcades, Raspberry Pi was a shoo-in.
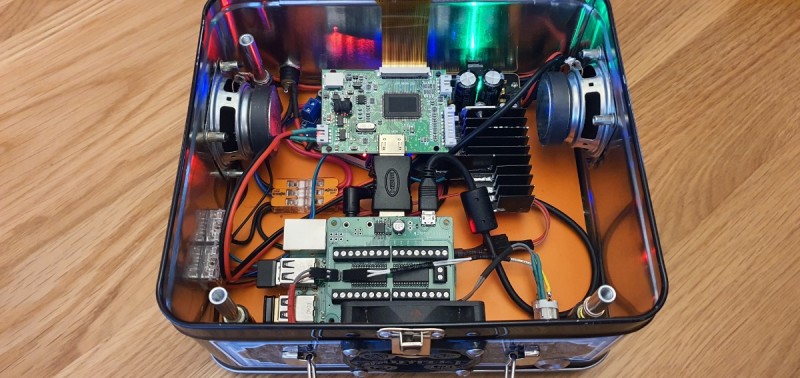
“So much power in such a small form factor makes Raspberry Pi a great choice for mini arcade machines,” says Rich. “With all my machines the sound quality is important, so I’ve fitted the largest speakers the lunchbox could realistically support.” He strengthened the tin all round using plywood in the base and fitted new rivets into the metal sides.
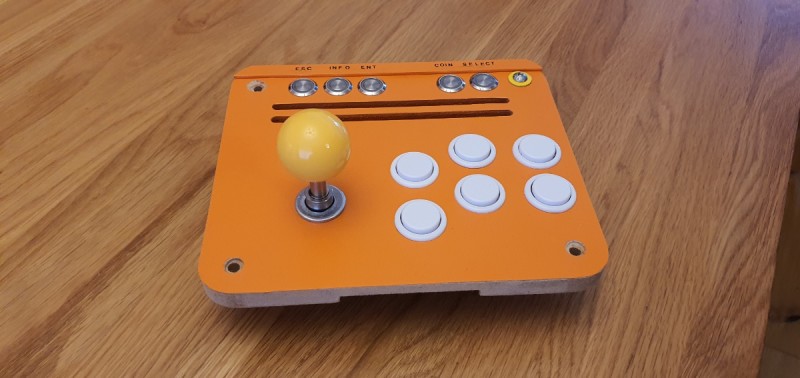
Next came the lid. He removed the original hinge, realising it wasn’t strong enough to support the LCD screen. “I was able to gain some height with new hinges. This allows the screen to fold inside the casing, giving a seamless look when shut,” Rich says. “The joystick is removable to allow the lid to close. It’s a modified Sanwa joystick shaft with a quick release system. The sprung release shaft comes off easily and can be stored in the back of the machine. The original latch holds the lid shut.”
It wasn’t all straightforward, though. “Airflow was also important, so a 60mm fan forces air inside over Raspberry Pi and out of two slots cut in the control panel.” With hindsight, says Rich, this could have gone on the rear rather than where the handle is. A Gauntlet fan grille he created on a 3D printer now covers it up a bit.
Power play
The Lunchbox Arcade runs off a 12V, 6A power supply. A buck voltage reducer takes this down to 5V for Raspberry Pi and the screen. “The buck voltage PCB will also look after a rechargeable battery, so I’m trying to source a 12V battery that will fit in the case and also provide a good few hours playtime,” says Rich.
Although the project has the potential to be self-powered, he didn’t want to compromise on the speakers. “The speakers and amp were the whole reason behind the 12 volt power supply. I didn’t want some tiny speakers and a 5V amp.” Despite having to reposition the heatsink to accommodate the amp, the audio setup proved worth the extra hassle. “The speakers sound really good as they resonate through the tin and have good bass, which surprised me,” says Rich.
He thinks others might enjoy making something similar. Raspberry Pi is perfect for this size of machine. It has plenty of power, great visuals, and no slow-down in the games,” he enthuses. If you’re embarking on your own arcade project he advises, “Always think about maintenance and how you’re going to access all the components in the future. The controls need to be easy to remove, so making up some sort of quick wiring connect that you can just unplug will save a lot of hassle in the future.”


