Since the release of the Raspberry Pi Pico microcontroller in 2021, we have seen people all over the world come up with creative Pico-based inventions.
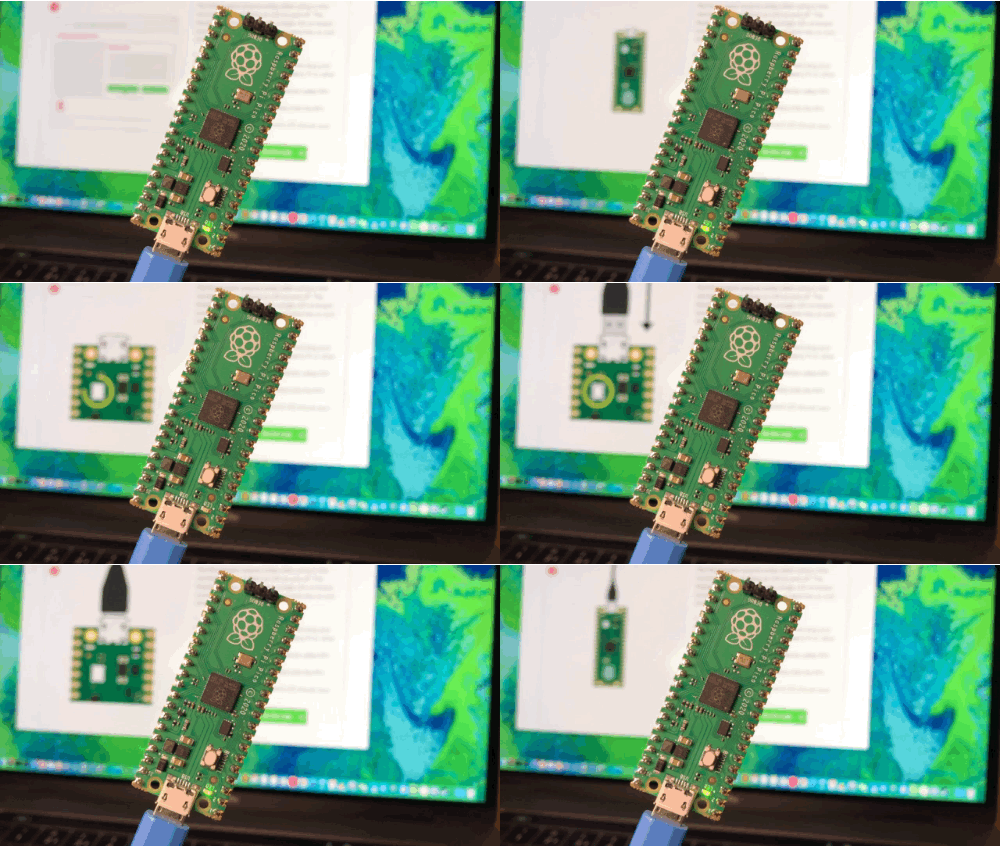
Now, thanks to our brand-new and free ‘Introduction to Raspberry Pi Pico’ learning path, young coders can easily join in and make their own cool Pico projects! This free learning path has six guided projects to help kids to independently develop their coding skills, and their skills in physical computing and electronics.
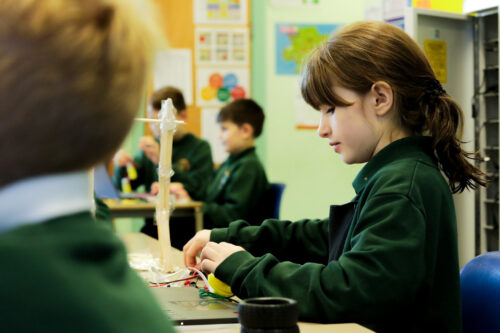
In this post, I’ll tell you about Raspberry Pi Pico, what kids can make by following our free ‘Intro to Pico’ path, and what skills they will be learning.
Meet Raspberry Pi Pico
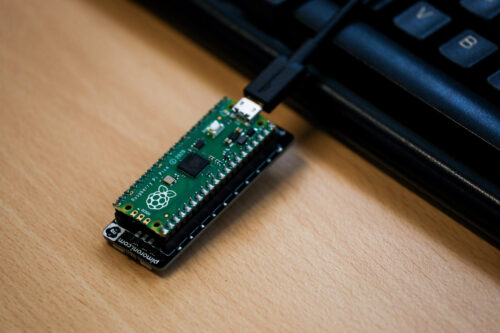
Raspberry Pi Pico is a physical computing device that is low-cost and easy to use. It’s much smaller than any Raspberry Pi computer, and it needs much less power. That’s because it’s not a full computer but instead a microcontroller. That means Pico is a device that you program by writing code on any computer, and then sending that code to Pico via a USB cable.
In the ‘Intro to Raspberry Pi Pico’ path, we’ve designed new digital making projects specifically using Pico. By following the projects in the path, young people learn to make things with different electronic components. They’ll bring to life their own LED fireflies; they’ll make music with a sound machine and dial (a potentiometer); they’ll look after themselves and people around them by making a mood indicator and a heart rate visualiser. To find out more, visit the path, or scroll to the bottom of this post and click on ‘Details about the projects’.
The specially designed structure of our learning paths helps kids become confident and independent coders and digital makers. Through this project path, we want to show young people what is possible with Raspberry Pi Pico and inspire them to continue their digital making journey beyond the six projects. Seeing tech creations from our amazing community is super special to us, and we would love to hear about what your young coders have made with Pico. Kids can share their projects in the path gallery, or you can tag us on social media if you post photos!

Learning skills and independence with our project paths
While young people make all these Raspberry Pi Pico projects, they will learn the skills and independence to make and code their very own, unique creations with a Pico. We have designed our new project paths to help kids become independent digital makers. As they progress through a path, kids gain new skills, practise what they have learnt, and finally write and follow their own project brief.
Our learning paths help kids develop many of the skills that are important to all coders and digital makers, no matter how much experience they have:
- How to turn an idea on paper into a tech creation
- How to debug a project
- How to combine new information with what they already know about digital making
The learning paths also encourage kids to make projects about the things that matter to them.
Key questions answered
Who is this path for?
We have written the projects in this path with young people around the age of 9 to 13 in mind.
Programs for Raspberry Pi Pico are written in a text-based language called MicroPython. That means a young person who wants to start the ‘Intro to Pico’ path needs to be familiar with typing on a keyboard.
If your kid has never coded in a text-based language before, they could complete our free ‘Introduction to Python‘ project path first, but this is not a prerequisite.
What will young people learn?
To help with the programming aspects of the projects, the instructions in the path tell young people about:
- Displaying output
- Arithmetic expressions
- Importing from a library
- While loops
- Nested if statements
- Defining and calling functions
- Events
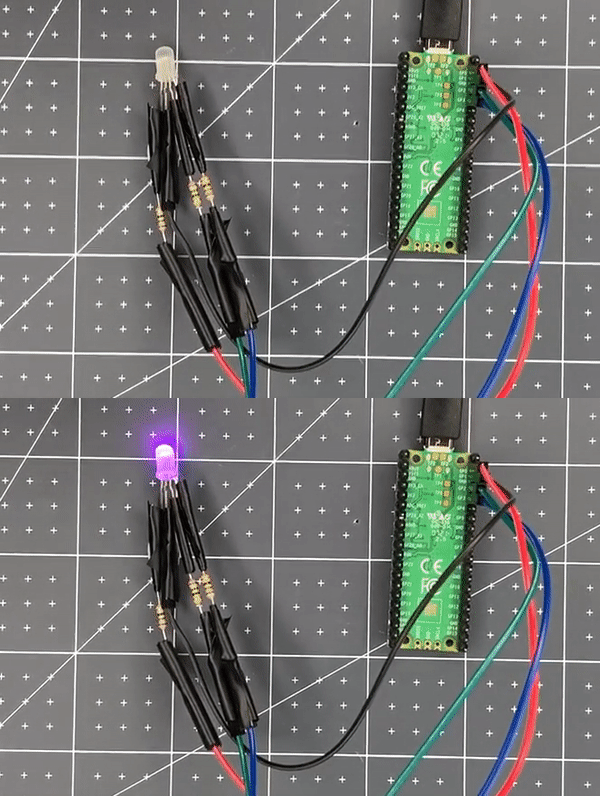
One of the great things about this project path is that it helps young people explore physical computing and electronics. In the ‘Intro to Pico’ path, they’ll use:
- Single-colour LEDs
- Multi-colour LEDs (so-called RGB LEDs)
- Buzzers
- Switches (including switches the kids will make out of craft materials!)
- Buttons
- Potentiometers (dials)
How much time is needed to complete the path?
We’ve designed the path to be completed in around six one-hour sessions, with one hour per project. However, the project instructions encourage kids to upgrade their projects and go further if they wish. This means that they might want to spend a little more time getting their projects exactly as they imagine.
What software is needed for the projects?
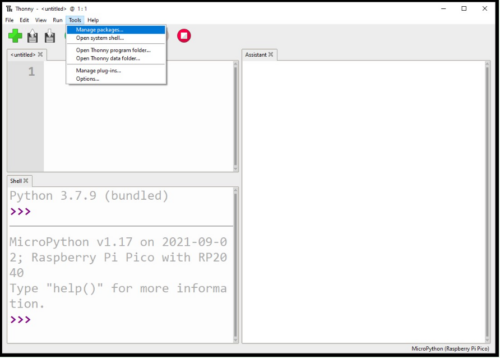
Young people need a web browser so they can follow the project instructions. The first two projects in the path provide detailed instructions for how to install the free software needed for the projects.
What hardware is needed for these projects?
The first step of each project lists what components are needed to create the project. You can purchase a kit from Pimoroni that includes all of the components used in the path:
‘Intro to Raspberry Pi Pico’ kit list (click here)
- 1 × soldered Raspberry Pi Pico
- 1 × USB cable
- 1 × red LED
- 1 × blue LED
- 2 × yellow LEDs
- 6 × single-colour LEDs (random)
- 3 × RGB LEDs
- 15 × 75 ohm resistors (max 220 ohm)
- 2 × potentiometers
- 8 × push buttons (optional, these can be made from crafting materials)
- 15 × pin–socket jumper wires
- 38 × socket–socket jumper wires
- 4 × pin–pin jumper wires
What can young people do next?
Explore Python coding with us
If your young coders enjoy MicroPython, they’ll also love our Python learning paths: ‘Introduction to Python‘ and ‘More Python‘. Both are structured in the same way as our Pico path, and will help young people learn Python while creating their own visual designs.
Details about the projects in ‘Intro to Raspberry Pi Pico’
The ‘Intro to Raspberry Pi Pico’ path is structured according to our Digital Making Framework, with three Explore projects, two Design projects, and a final Invent project. You can also check out our learning graph to see the progression of skills and knowledge throughout the path.
Explore project 1: LED firefly

The ‘LED firefly’ project introduces creators to Raspberry Pi Pico while they make their first project with a blinking LED. They program the LED with a blink pattern that is common to fireflies in the wild. To upgrade their projects, creators can place their LED firefly into a glass jar to create a twinkling effect.
Explore project 2: Party popper

‘Party popper’ introduces creators to the RGB LED and a buzzer. To form the popper, they craft a pull switch out of kitchen foil and cardboard. When the popper is activated, the RGB LED flashes in their chosen colour, and a ‘tada’ sound plays on the buzzer.
Explore project 3: Beating heart

‘Beating heart’ uses a potentiometer (dial) to control the pulsing speed of an LED. Creators craft their own hearts using red paper and origami before placing the pulsing LED inside. In this way, they create a model of a heart they can use to learn about medicine or to bring to life a favourite toy.
Design project 1: Mood indicator

In the ‘Mood indicator’ project, kids use switches and an RGB LED to create a device that can communicate a need or a mood to another person. This Design project gives young creators lots of opportunities to use their new skills to create something personal to them.
Design project 2: Sound machine

‘Sound machine’ is a project for kids to work with the different tones that a buzzer can make. They can use the buzzer to create sound effects, or to recreate their favourite songs. Once they have decided on their sounds, they can think about how a user of their project might choose to play them.
Invent project: Sensory gadget

This project gives creators that chance to pick their favourite elements of the path to create something totally unique to them. They could make all sorts of sensory gadgets, from a Picosaber to a candle that can be blown out. Creators are encouraged to showcase their creations in the path gallery to give other young makers inspiration.
Website: LINK
