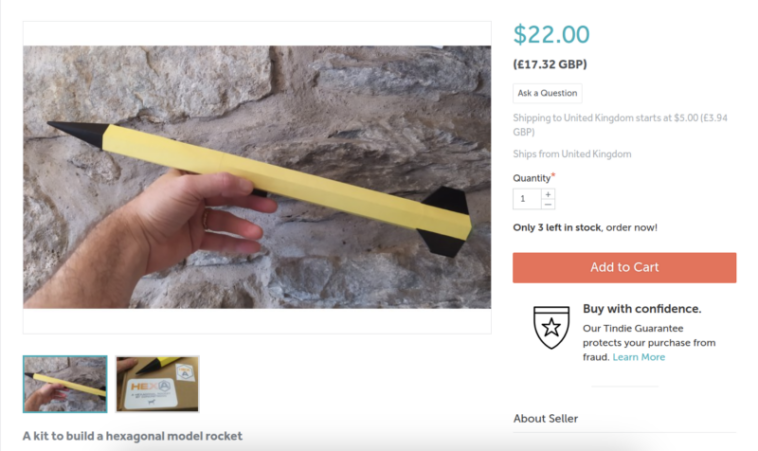
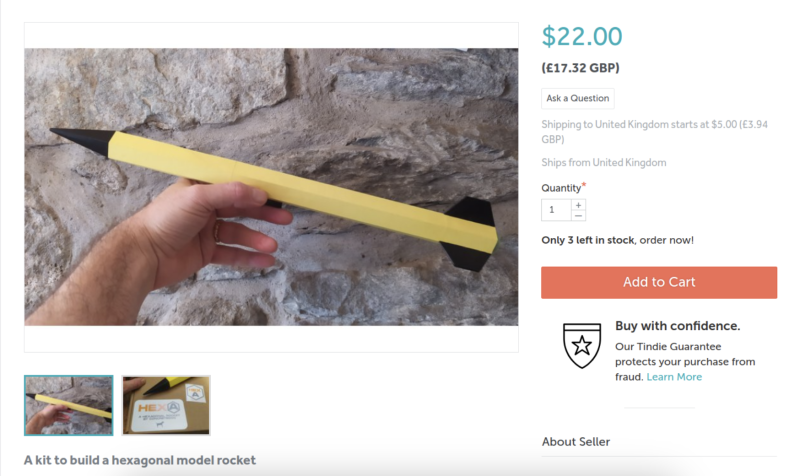
Signing up for Tindie is pretty trivial. You need a basic account to be able to buy from Tindie, and every account has all the options to start selling. Your need to give your store a name, then set up a verified PayPal account, and then you are ready to list your first product. A couple of things to note about Tindie is that you must have an image of your actual product on the product page, you can’t have a render of a product that you will make if you get an order. Neither can you list a product that you plan to make, so you can’t use Tindie to act as a pre-order system.
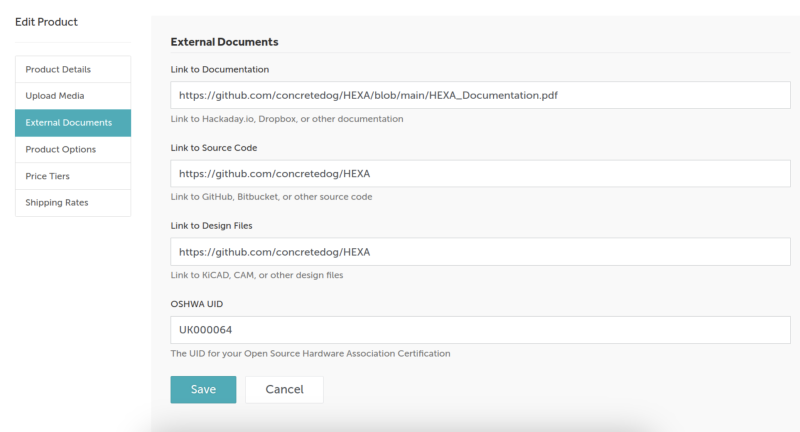
Listing a product is pretty straightforward: you fill in some details about the product, then supply links to any documentation and any source files you are sharing. Brilliantly, Tindie is also set up to promote open-source hardware projects well, so there are dialogue options to add OSHWA certification numbers, see Figure 1. You can add multiple images and also links to videos which automatically embed in the bottom of the project page. Save your product listing as a draft, and you can preview the page and check your work; it’s very similar to creating a blog post. When you are ready to launch the product you submit the product for approval and the Tindie team will take a look before setting it live on the site.
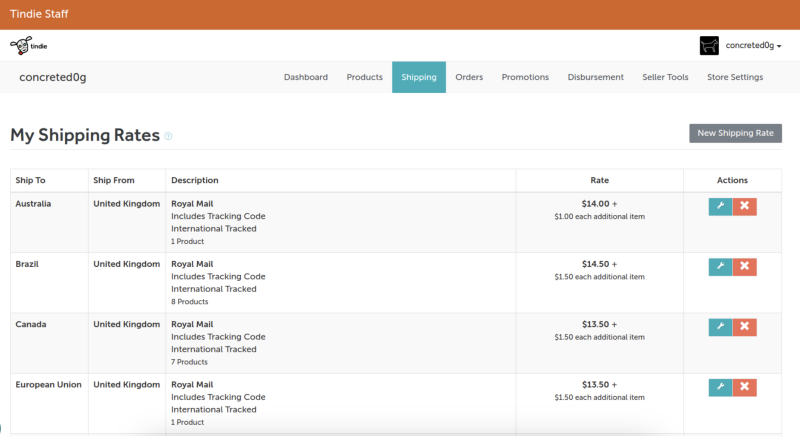
When someone orders your product you get a notification in your store menu and an email to your registered email address. You have two weeks from the time of order to ship the item and mark it as such. If you don’t ship it in that time then Tindie will refund the buyer and cancel the order. On Tindie you can add shipping options for different regions and services and then assign them to different products. This makes for a very flexible system. For example, many of my products can ship within the UK as a large letter weighing under 100 grams so can set up that postal option and then assign it to numerous products as in Figure 2.
Each shipping option has an “additional item cost,” so you can add an extra charge for additional packaging. You can use this functionality to push a postage option into a different service, so for example if someone buys one item they pay for a 100g large letter, but the additional item costs mean that if they buy three items which would weigh over 100g then the additional item cost has raised the postage price so that it covers the 250g large letter option. It takes a little thinking about, and trial and error, but it becomes pretty straightforward after a few sales. I tend to use tracked services so that items are insured and that delivery to the person is somewhat guaranteed; this perhaps loses me some sales as my shipping rates are higher, but keeps the stress levels lower! The majority of my sales are to the UK or the US but occasionally I will get a notification that someone has requested a shipping option for a product to a new region. This doesn’t guarantee a sale, but you can research shipping options to the destination and set up an option in response and the potential customer will be notified.
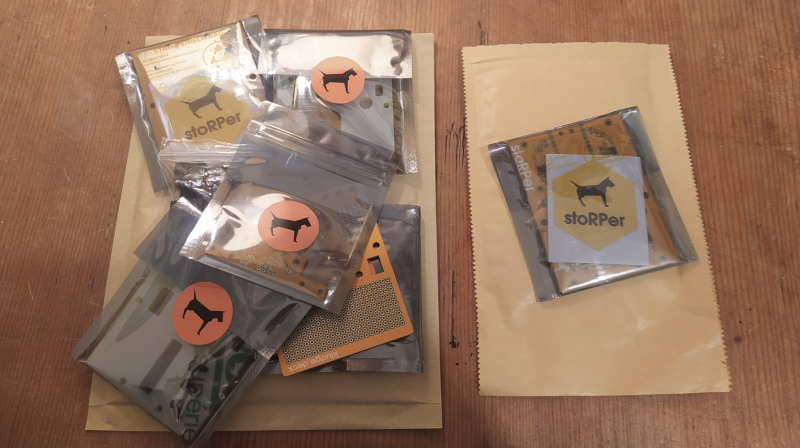
Yet another consideration around postage, which may be a little less obvious, is packaging and the storage of packaging. Often this can be tricky and you may well need to allocate more space than you need to store your product packaging. Many of the products I sell are small electronics, and as such the actual kit is packed into small anti-static packaging which can be shipped in a very small padded envelope. Some of the larger products require a bigger envelope, and sometimes products require a range of padded mailer envelopes to accommodate the range of options.
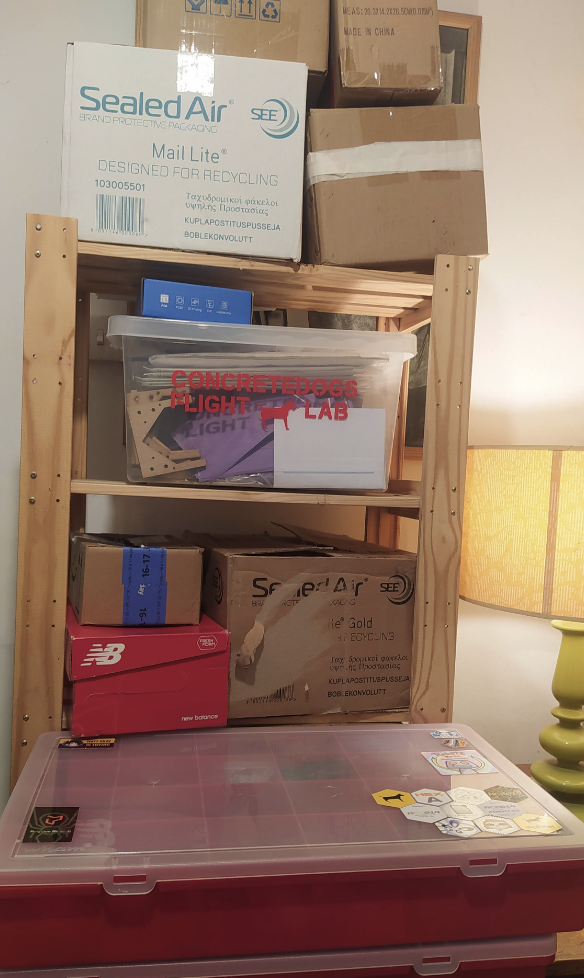
As an example I can send a basic PCB and header kit of the StoRPer robot PCB in a size 000 small padded mailer, but if I need to add 3D-printed motor mounts and a laser cut ‘deck’ as add-on options then I often need to jump to a larger envelope. If I packed the items in the smaller mailer it becomes too wide for the ‘large letter’ service, see Figure 3. It also makes sense to bulk buy your shipping packaging, and for my range of products this means the shipping packaging takes up at least as much storage space as the actual stock items, as in Figure 4.
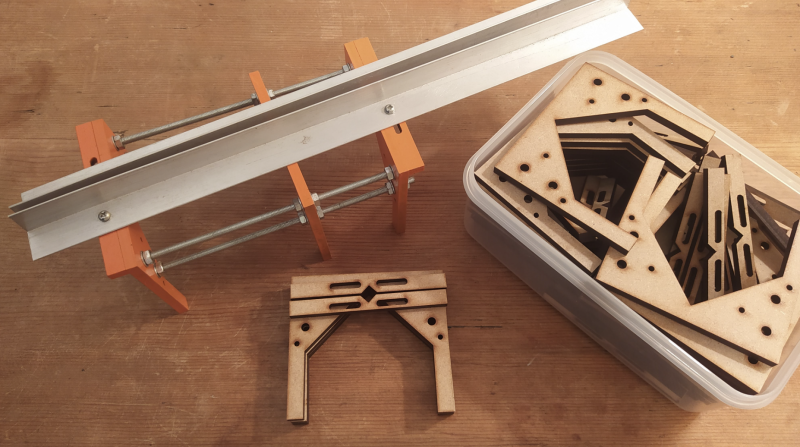
StoRPer: Genesis Within the stock subject there are a couple of things worth considering. The first is how much stock are you capable of making and storing. I live in a pretty small and packed old Welsh mining cottage and I have physical limitations on how much space I can give to stock. When I first started and just had some of the early products like my rocketry screw switches and centre of pressure and gravity stickers, everything could fit in a shoe box. As I added products and product options this has grown somewhat. Stock storage and also stock value have affected how products and designs are sold. An example of mine is the Laser Cut Fin Jig Short Kit. The Fin Jig product is a tool that once assembled allows rocket builders to position fins onto rocket body tubes incredibly accurately. Getting fins on straight and vertical and well aligned is a key concept in getting a rocket to perform well. The jig has numerous laser cut parts and also quite a bit of metalwork in the form of longish 90° angle aluminium sections and 5mm threaded rod sections plus lots of nuts and bolts. A full kit with all the metalwork included would be heavy and costly to post, and would require me to stock and warehouse lots of long metal sections. The threaded rods and angle sections are the type of thing that can be found in most parts of the world but perhaps not everyone has access to a laser cutter. The solution therefore was the ‘short kit’ in Figure 5, which just offers the laser-cut MDF parts from which you can build the whole tool. I am sure this approach has lost me some customers, but it means that I can at least do something with the design and it has become a reasonably well sold item. I can keep around a year’s worth of stock in a shoe box and the postage is pretty affordable.
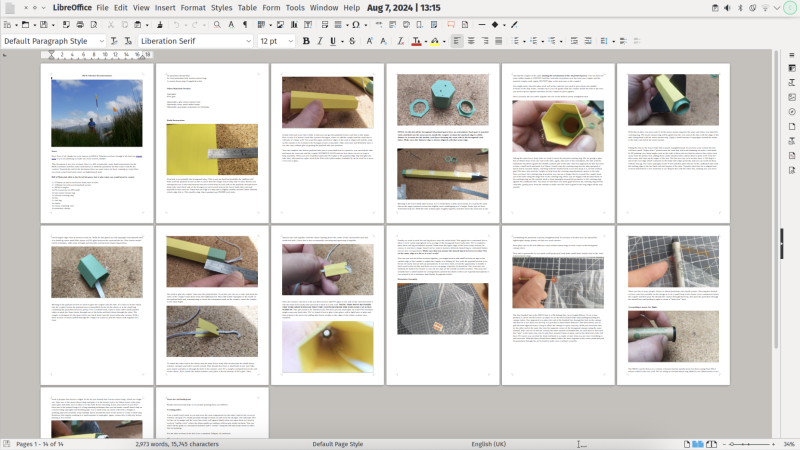
Aside from developing an item to the point you feel confident it is a quality product, documentation is a key bit of work that you need to do. Documentation has a couple of roles in a maker business. First and foremost it needs to explain the product and give the technical information that a customer might need. It also though is crucial in terms of making a sale. If there are parts of a product that seem unclear and unexplained and the potential customer can’t find an answer quickly then it is much less likely they will purchase the product. The level of documentation a product needs is hugely variable. For example I haven’t felt the need to document things like my centre of pressure and centre of gravity stickers, but the recently launched HEXA model rocket kit has a 14-page PDF about the assembly of the kit and usage, as in Figure 6.
One thing I have noticed is that you need to repeatedly make content about items that you sell to keep bringing them to the attention of potential customers. I am not particularly good at this, as I tend to really immerse myself in creating projects and products and then move on to the next idea. The people who excel at building business in this sector are those who can create content that regularly shows new features or applications of products. Wonderfully, sometimes people talk about their build of your product online, and this can serve to generate interest in your designs. This is one reason why considering open-source approaches may help, as others may be more inclined to use your project and share it.
In the Night market
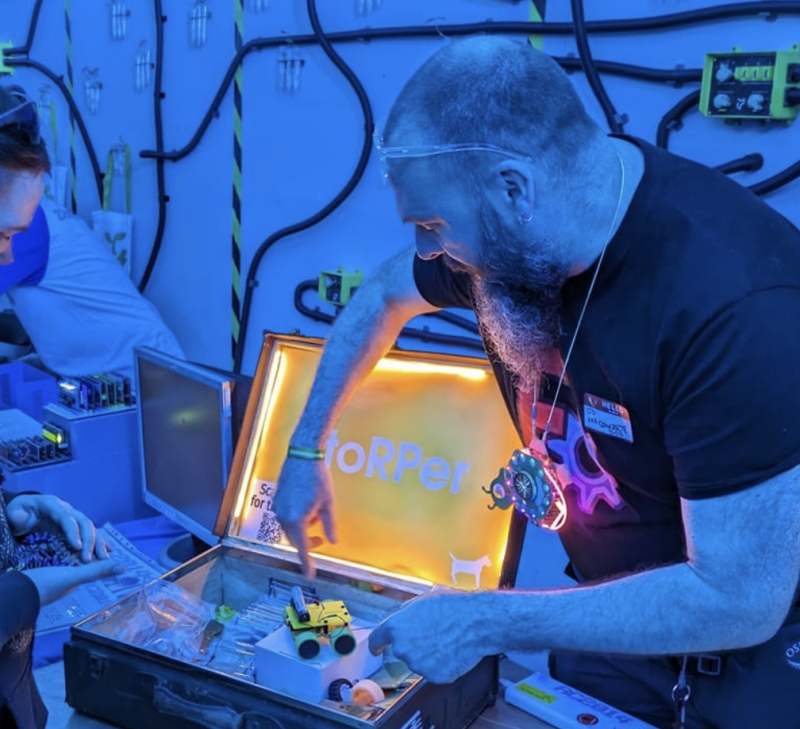
While this article has predominantly looked at Tindie and online sales, you can of course find places and events where you can sell directly to customers. If your products are less specific than mine and appeal to a general population then, of course, craft fairs and markets are a great potential source of sales. I recently applied for and was allocated space at EMF Camp’s excellent solar-punk themed night market in the Null Sector area of the festival. Even at a festival full of hacker types it’s unlikely I would do that well selling niche high-power rocketry parts, so I opted to just take StoRPer, my modular, open-source, Raspberry Pi Pico-powered robot platform. Getting into the theme, I even modified a vintage travel case to contain stock, be branded and lit: it’s in Figure 7.
I felt it was important to have a few examples of the robot built up, and you have to be prepared to talk a lot about your product and the design choices you have made. You also need to work out how you can receive money from sales – a small amount of customers will carry and use cash, but it’s far more common for people to use contactless payment. There are a few contactless reader options available for small businesses and it’s worth looking around them all. You may even find that you can manage contactless payments using a smartphone. I opted for a common solution from Sumup, where I bought a Sumup Air card reader for £40 as a one-off expense.
Sumup, and other similar services, set you up with an account and charge a small transaction fee. Contactless payments are first transferred into the Sumup account and you can then transfer the money out to whatever bank account you prefer. The card reader device connects to the Sumup application on my phone via Bluetooth, and you can quickly set up a charge/transaction in-app. This works excellently. As a side note, if you have less than perfect data coverage or Wi-Fi at an event it isn’t totally critical, so long as the contactless transaction has completed it will be logged in the application and everything will pass through when connectivity is re-established. Similarly, this means that, perhaps with the help of a USB powerbank, you can be totally off-grid!
I hope this article has inspired you to have a go at selling some of your creations. It can be challenging but also rewarding, sometimes financially, but often it’s the fact that people enjoy using your designs and product that really motivates you to make and sell more. It’s also a great way to connect and communicate with like-minded makers who are interested in similar projects to yourself.

