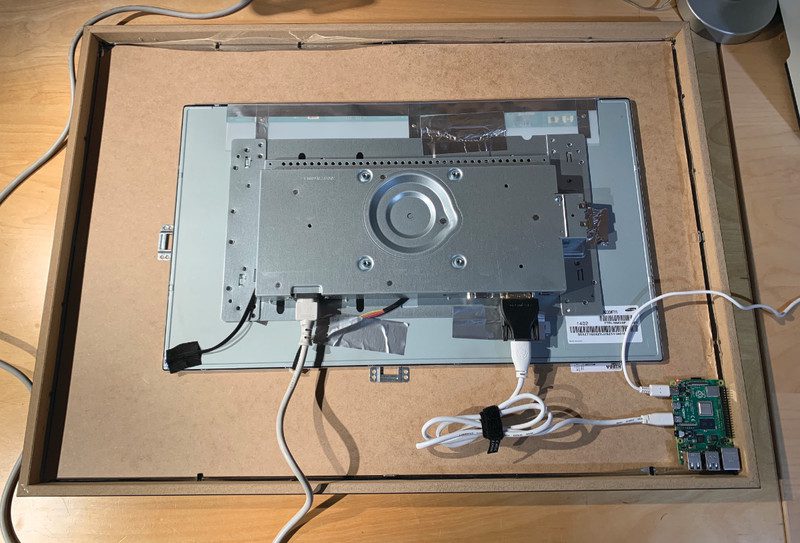
Building a magic mirror is one of the easiest, and most rewarding Raspberry Pi projects. Follow our Build a magic mirror tutorial to get your own mirror up-and-running.
Orientate your magic mirror
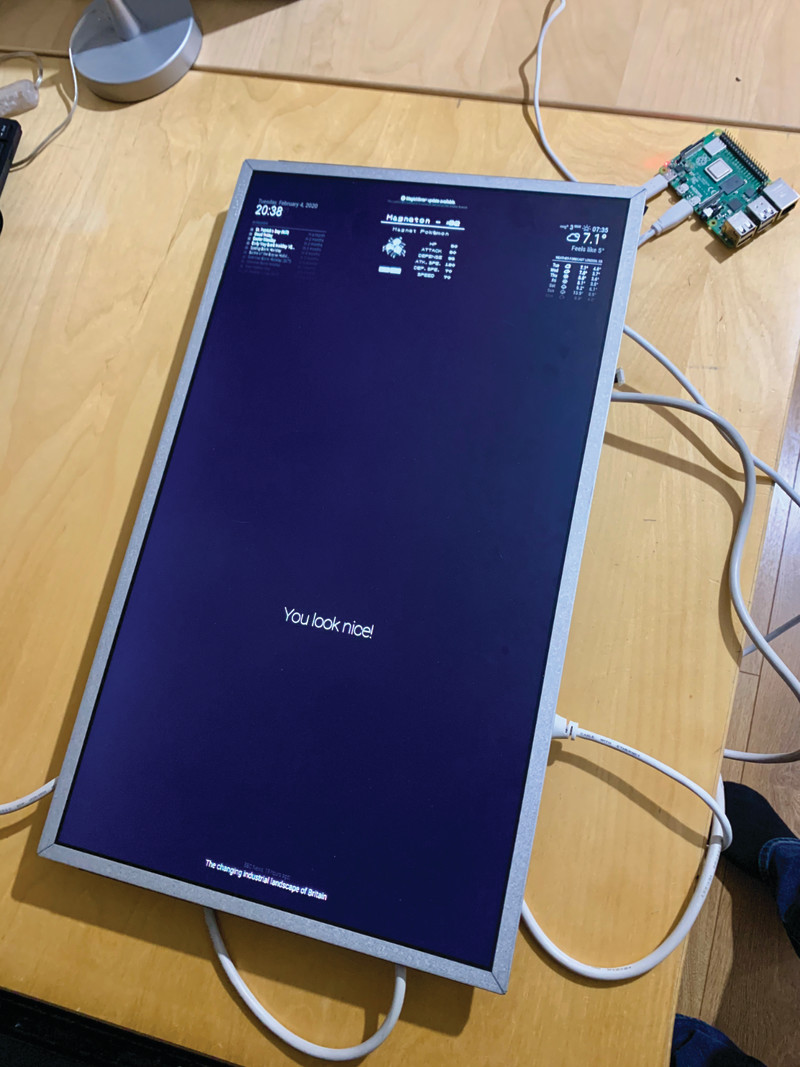
Can a mirror be upside-down? A magic mirror can! Most mirrors tend to be portrait, whereas screens are normally landscape. Normally we could make some changes to /boot/config.txt to easily rotate the screen, but with Raspberry Pi 4’s fancy new graphics support, this is no longer possible. To rotate your display 90º so it fits your mirror, open a Terminal and enter the following:
/etc/xdg/lxsession/LXDE-pi/autostartNow add this line to the end of the file:
@xrandr --output HDMI-1 --rotate rightSave the file (CTRL+X) and reboot. Your display should now be portrait.
Safety first
Sadly, MagicMirror2 doesn’t (yet) come with an easy configuration utility. For now, you will need to do some text editing of config.js. Don’t worry: as long as you make copies of your files, it’s going to be hard to break anything. If MagicMirror2 refuses to start, just copy the file back. Here’s how it works from a Terminal:
cd ~/MagicMirror/config
cp config.js config.js.backup
If anything goes wrong, just copy the config backup back and try again:
cp config.js.backup config.jsEach time you edit config.js, you’ll need to restart MagicMirror2 for changes to take effect. To do this at any time:
pm2 restart MagicMirror Meet the config file
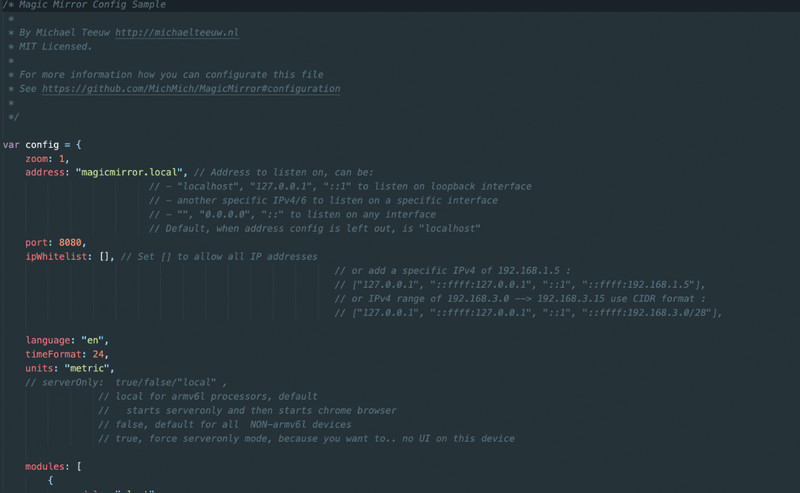
Your config file controls some of the fundamental features of your mirror, as well as the various modules. It is formatted in a JavaScript file. This is a very well-structured language but unforgiving. A misplaced ‘{’ or ‘[’ and nothing will work (hence the previous step). The config.js.example file is a great way to explore without changing anything. You’ll see how to change the ‘zoom’ (text size), units (metric or imperial), and whether you want a 24-hour clock or not. Most importantly, the ‘modules’ section controls which modules (code that gives certain functionality) are loaded and where they’re placed.
Tip! Learn JSON
If you’re serious about configuring MagicMirror2, knowing the JSON data format is essential. Have a look at json.org.
The default MagicMirror2 modules
MagicMirror2 comes with a selection of modules pre-installed. Start by tailoring them to your specific needs. Find the ‘modules’ section in config.js. Within the two square brackets are sections contained within curly brackets: { }. Each one is a single module. Each module has different requirements but each one requires a ‘module’ line like this:
module: "name-of-module",Most also require a ‘position’, which can be ‘top_bar’, ‘top_left’, ‘lower_third’, and many others. This controls where the module is displayed on the mirror. If a title is required, then ‘title’ allows you to change the text of the header. Finally ‘config’ will contain information that is specific to that module.
Whatever the weather
Let’s use the weather module as an example. Under ‘modules’, find ‘weatherforecast’. You have the option to change the title (maybe ‘Will it rain?’) and the position of the module on the screen. In ‘config’ you have three pieces of information to complete. To get your own weather forecast, go to openweathermap.org and register for a free account. You can then create an API key (a secure way of your mirror communicating with the service), which you need to specify here in ‘appid’. Change the name of your location as you wish and finally change the location ID to the correct one listed in this file: magpi.cc/citylist. Restart MagicMirror2 and see your local weather!
Breaking (glass) news
The default news feed on the mirror comes from The New York Times, which may not be your cup of tea. The ‘newsfeed’ module works with any RSS feed, of which there are millions to choose from (and you can have multiple newsfeeds if you wish). Let’s change the newsfeed to the BBC. Find the module ‘newsfeed’ and you’ll see under ‘config’ the ‘feeds’. This is surrounded with square brackets [ ], which means we can have multiple entries. Change ‘New York Times’ to ‘BBC News’ and the ‘url’ to ‘http://feeds.bbci.co.uk/news/rss.xml’. Restart MagicMirror2 and now you’re getting the headlines from the UK.
Vampire mode (no reflection)
By now you may be finding it a little frustrating if you’ve already put up your mirror. With a bit of reconfiguration, you can access the mirror display using a web browser and work on it from your desktop. Edit config.js and have a look at the first few lines under ‘config’. These control access to the display. It’s locked down by default (which is good), but we can allow other computers access. Change these following lines as shown:
address: "",
ipWhitelist: []
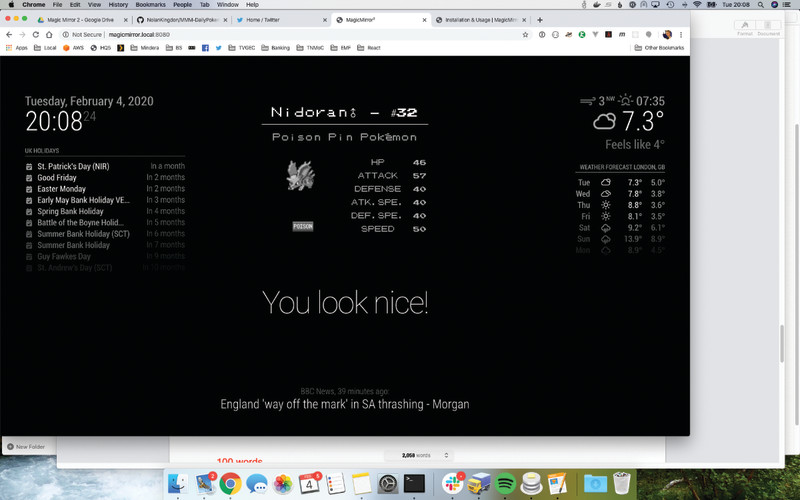
This allows any IP address on your network to access the server. You’ll need to restart MagicMirror2 for changes to take effect. Now you should be able to see your display at http://<your mirror’s IP address>:8080.
Client and server mode
The reason we can so easily see the display in a web browser is that MagicMirror2 is split in to two parts: the client, the software that displays the screen; and the server, which generates the content. This clever split allows you to generate the content from a separate computer on the network, which is handy if you want to do something really intensive. It also allows you to have multiple mirrors that all show the same display, which makes rolling out changes really easy.
To start an installation of MagicMirror2 without a display (server):
node serveronlyTo create a client that gets its content from the server:
node clientonly --address <ip of server> --port 8080Editing modules
Let’s have a look at modifying existing modules. You’ll have seen in the centre of the screen, there are ‘compliments’ rotating every few seconds. You can change these in config.js, but let’s look in the actual code so we can get a feel of how things are arranged. In Terminal, navigate to where the default modules are installed:
cd ~/MagicMirror/modules/defaultIf you do an ls to get a directory listing, you’ll be able to tell what’s available. We’re interested in the ‘compliments’ module:
cd complimentsNow edit the file:
nano compliments.jsLook at the various text strings and change them to whatever you like. Save the file and restart MagicMirror2 to see your new messages. A sample compliments.js file can be seen here.
More MagicMirror2 modules
Great news: you are not restricted to the default modules. There are hundreds of community-built modules that are free to download and install. They cover all kinds of useful information, including stock prices, local transportation, prayer guides, and even how your local Minecraft server is holding up. Luckily, a directory of MagicMirror2 modules is maintained on the main site’s wiki.
Most modules will require some configuration, so make sure you look at the README file and follow the instructions carefully. There’s no limit to how many modules you can have, bar the positions available on the screen.
Installing modules
Sadly, we don’t have a nice package manager for MagicMirror2, so installing modules tends to involve using Git to fetch the code. For an example, we’re going to install ‘Daily Pokemon’. From the Terminal, we’ll go to the modules directory, then get the code from GitHub.
cd ~/MagicMirror/modules
git clone https://github.com/NolanKingdon/MMM-DailyPokemon
cd MMM-DailyPokemon
npm install
The final command gets all the libraries that the module needs to run. Once completed, edit the config file:
nano ~/MagicMirror/config.jsCreate a new line after modules: [ and add the code from the Figure 1 listing (or use the download link for the full, edited config.js file). Make sure you end with a comma. Restart MagicMirror2 and admire your daily Pokémon.
More MagicMirror2 modules
As we’ve already said, there’s a dizzying array of modules to choose from, and you can even write your own. If you’re in the mood for customising, here are a few of our favourites. You can find all of them, along with installation instructions at magpi.cc/mirrormodules.
magpi.cc/mmmstocksEvery information screen needs a stock ticker, right?
magpi.cc/mmmwikiUp your knowledge as you get ready to leave the house with these random snippets from Wikipedia.
magpi.cc/mmmukrailIs your train going to be on time? If you’re in the UK, this module will let you know. Many other countries have equivalent modules too.
Click here to download the full code.
modules: [ { module: "MMM-DailyPokemon", position: "top_center", config: { updateInterval: 600000, minPoke: 4, maxPoke: 151, grayscale: true, showType: true, language: "en", genera: true, gbaMode: true, nameSize: 26 } },


