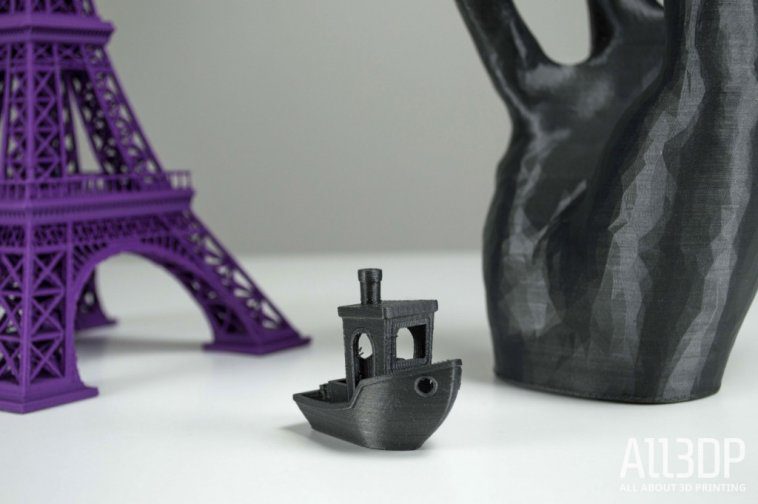
We use a lot of different 3D printers here in the All3DP workshop. And making the jump between them often highlights the quirks and foibles of each one. In the case of the Creality CR-10, one pitfall is the fact that you must auto-home the 3D printer before each print job. Forgetting to do so mostly results in the print head trying to rip the print bed off. You only make that horrifically jarring mistake once or twice before causing irreversible damage.
Initial prints on the Creality CR-10 exhibited ringing, and some quite noticeable layer skipping. Nothing too troubling for a semi-assembled kit since such printers are usually a work-in-process — you should expect to be making tweaks to the Creality CR-10 as you put more prints under the machine’s belt. For our first few Benchy prints, a once over with hex wrench to tighten screws helped. As did removing some of the comically excessive lubricant on the lead screw.
Scaling ambitions to match the print volume, you start to see why the Creality CR-10 is so beloved in the community. The mind clears of the tat and trinkets smaller build volumes tend to nurture, and you begin to see handy large-scale inspiration everywhere.
Creepy wall-mounted hand coat holders? Charming lamp-shades for the kids’ room? Check and check. 1-1 scale Oscars trophy? Well, perhaps not. Of the few print problems encountered using the Creality CR-10, one was minor tangles in filament spools pulling the control box (to which the filament holder is mounted) over onto its side. What might have otherwise cleared with a little pressure from the extruder instead throws part of the printer on its side. Not ideal.
The other issue lay with warping and print bed adhesion. The Creality CR-10 comes with large individual sheets of painters tape and, curiously, a roll of the stuff too. Its just natural to use what they provide, but we found the Creality CR-10’s glass bed with a spritz of print adhesive more than enough for flawlessly sticking prints.
That is, of course, for filaments that don’t have a tendency to curl at the first sign of trouble. In our experience, printing ABS with the Creality CR-10 out of the box is difficult, if not impossible. The print bed, while rated for 100 degree Celsius, barely manages to hold this and, as such, has a tough time holding ABS. This fact rings true regardless of which adhesives you use.
And that’s just the first layers. With 400mm of possible print height completely open to the room and temperature fluctuations, warping and cracks are probably guaranteed. Which is curious then, that stores such as GearBest list it as good for ABS.
Add an enclosure to keep all that heat in and around the print, and we suspect the Creality CR-10 could handle ABS admirably. But with an open design and large, as well as an exposed heated bed that reaches 100 degrees, it just didn’t seem to go well.
And speaking of the heated bed, crikey does it take an age to heat to high temperatures. On a couple of occasions, we thought the print had stalled and resorted to a hard resetting the printer to try and fix the “problem”. It turns out at the upper end of its range, it takes a long time to achieve its target temperature.
But it’s not all doom and gloom. As with most 3D printers, it’ll only print as well as you have the settings dialed in, and we’d like to think we achieved some exceptional prints with the Creality CR-10.
By no means perfect, the complexity of a large Eiffel Tower proved an impressive demo for the Creality CR-10. Printed twice, once in 3DK Berlin’s purple PLA and once in Verbatim’s transparent PLA, the Creality CR-10 managed to complete both without failure — surviving bridging, severe overhangs and a mind-boggling number of retractions in the process all over some 60 hours of print time combined.
Website: LINK


