Get flappers flapping and balls bouncing off bumpers. Mark Vanstone has the code in the new issue of Wireframe magazine, available now.
There are so many pinball video games that it’s become a genre in its own right. For the few of you who haven’t encountered pinball for some reason, it originated as an analogue arcade machine where a metal ball would be fired onto a sloping play area and bounce between obstacles. The player operates a pair of flippers by pressing buttons on each side of the machine, which will in turn ping the ball back up the play area to hit obstacles and earn points. The game ends when the ball falls through the exit at the bottom of the play area.

Recreating pinball machines for video games
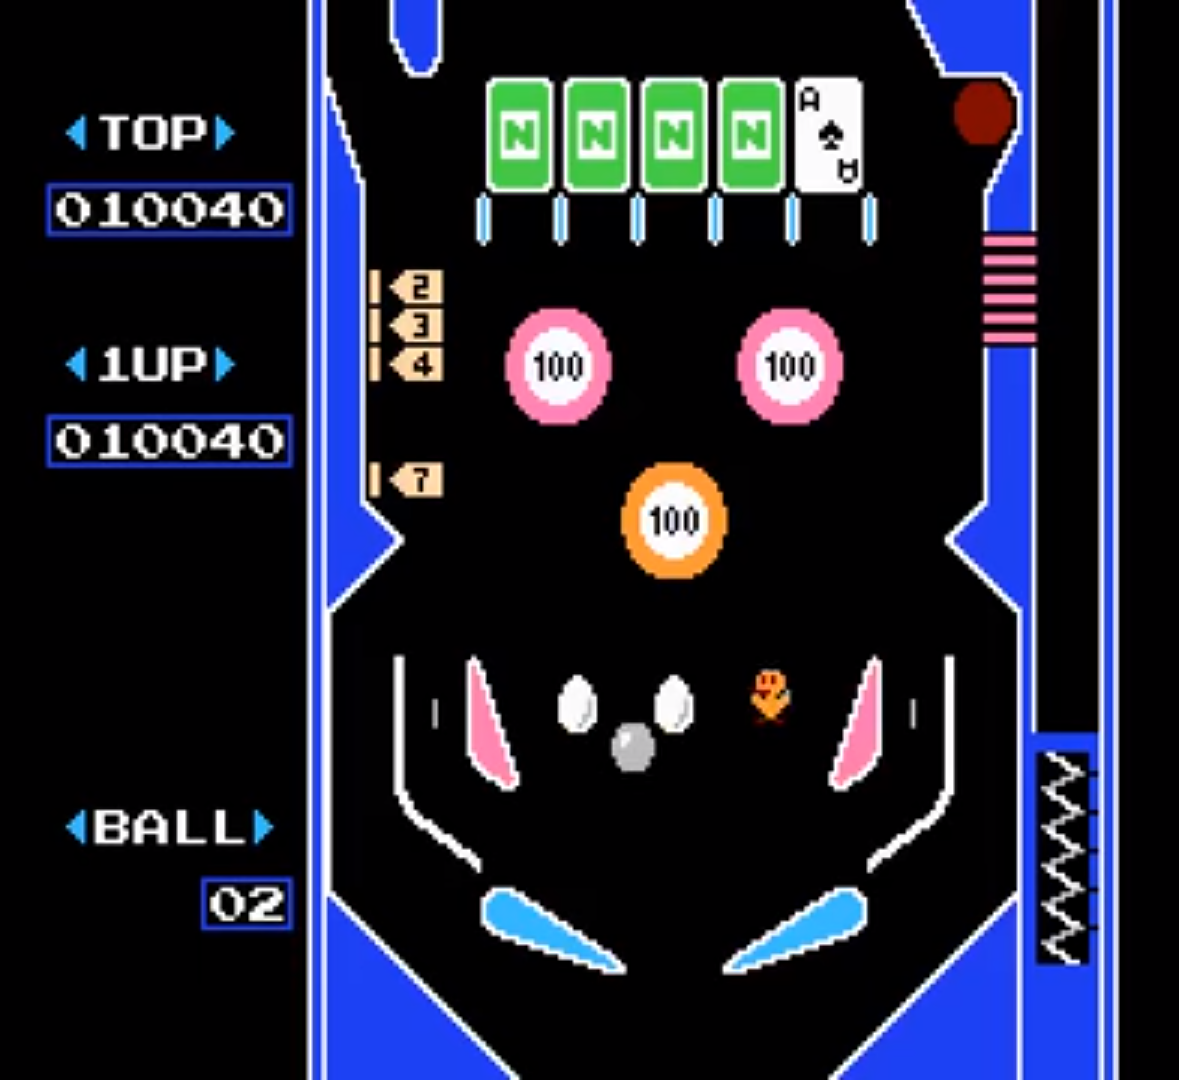
Video game developers soon started trying to recreate pinball, first with fairly rudimentary graphics and physics, but with increasingly greater realism over time – if you look at Nintendo’s Pinball from 1984, then, say, Devil’s Crush on the Sega Mega Drive in 1990, and then 1992’s Pinball Dreams on PC, you can see how radically the genre evolved in just a few years. In this month’s Source Code, we’re going to put together a very simple rendition of pinball in Pygame Zero. We’re not going to use any complicated maths or physics systems, just a little algebra and trigonometry.
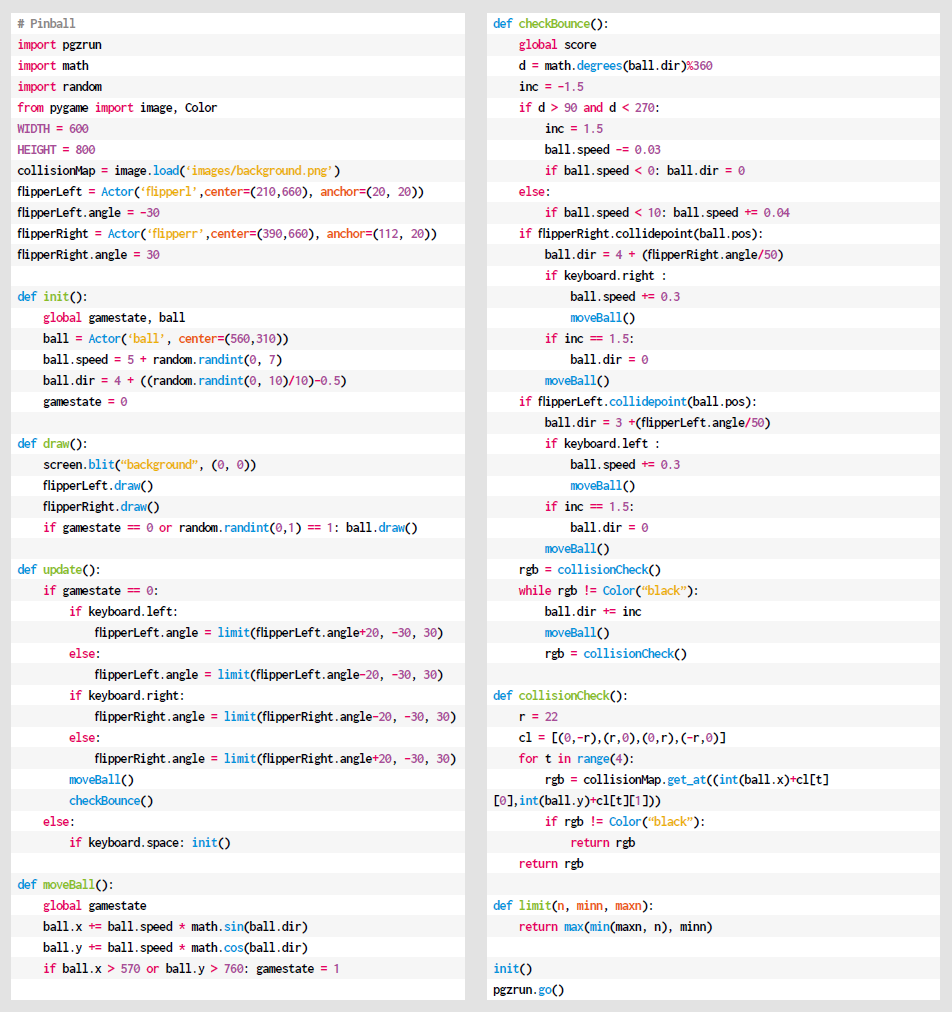
Let’s start with our background. We need an image which has barriers around the outside for the ball to bounce off, and a gap at the bottom for the ball to fall through. We also want some obstacles in the play area and an entrance at the side for the ball to enter when it’s first fired. In this case, we’re going to use our background as a collision map, too, so we need to design it so that all the areas that the ball can move in are black.

Next, we need some flippers. These are defined as Actors with a pivot anchor position set near the larger end, and are positioned near the bottom of the play area. We detect left and right key presses and rotate the angle of the flippers by 20 degrees within a range of -30 to +30 degrees. If no key is pressed, then the flipper drops back down. With these elements in place, we have our play area and an ability for the player to defend the exit.
All we need now is a ball to go bouncing around the obstacles we’ve made. Defining the ball as an Actor, we can add a direction and a speed parameter to it. With these values set, the ball can be moved using a bit of trigonometry. Our new x-coordinate will move by the sin of the ball direction multiplied by the speed, and the new y-coordinate will move by the cos of the ball direction multiplied by speed. We need to detect collisions with objects and obstacles, so we sample four pixels around the ball to see if it’s hit anything solid. If it has, we need to make the ball bounce.
Get the code

If you wanted more realistic physics, you’d calculate the reflection angle from the surface which has been hit, but in this case, we’re going to use a shortcut which will produce a rough approximation. We work out what direction the ball is travelling in and then rotate either left or right by a quarter of a turn until the ball no longer collides with a wall. We could finesse this calculation further to create a more accurate effect, but we’ll keep it simple for this sample. Finally, we need to add some gravity. As the play area is tilted downwards, we need to increase the ball speed as it travels down and decrease it as it travels up.
All of this should give you the bare bones of a pinball game. There’s lots more you could add to increase the realism, but we’ll leave you to discover the joys of normal vectors and dot products…
Get your copy of Wireframe issue 53
You can read more features like this one in Wireframe issue 53, available directly from Raspberry Pi Press — we deliver worldwide.

And if you’d like a handy digital version of the magazine, you can also download issue 53 for free in PDF format.
Website: LINK

