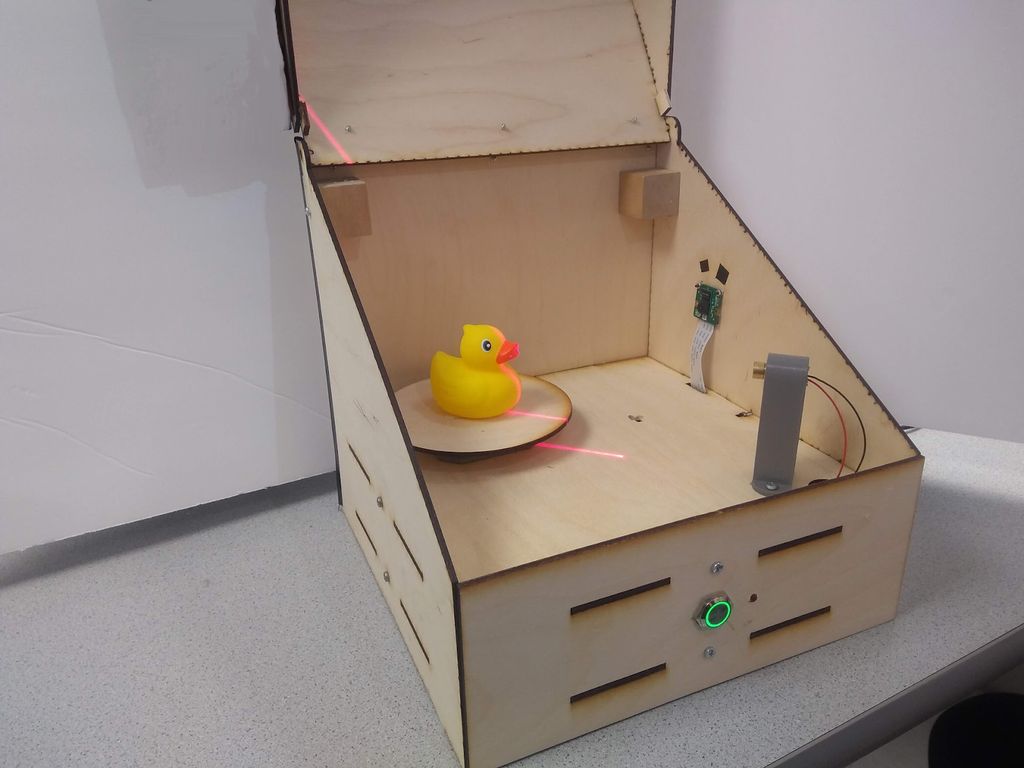
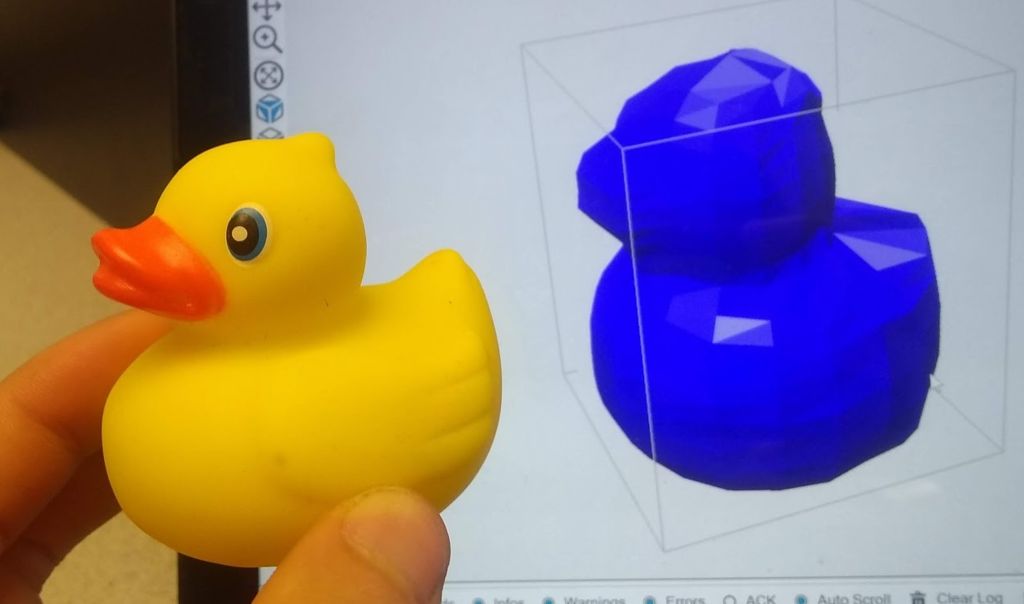
You really don’t need anything too fancy to build this Raspberry Pi laser scanner, and that’s why we think it’s pretty wonderful.
Rasperry Pi 3D Laser Scanner
Cornell University: ECE 5725 Michael Xiao and Thomas Scavella
– Werbung –– Werbung –
Building a Raspberry Pi laser scanner
The ingredients you’ll need to build the laser scanner are:
- Raspberry Pi
- Raspberry Pi Camera Module v2
- Stepper motor and driver
- Line laser
- Various LEDs, resistors, and wires
- Button
To complete the build, access to a 3D printer and laser cutter would come in handy. If you don’t have access to such tools, we trust you to think of an alternative housing for the scanner. You’re a maker, you’re imaginative — it’s what you do.
How does the laser scanner work?
The line laser projects a line an object, highlighting a slice of it. The Raspberry Pi Camera Module captures this slice, recording the shape of the laser line on the object’s surface. Then the stepper motor rotates the object. When the object has completed a full rotation and the camera has taken an image of every slice, the Raspberry Pi processes all the images to create one virtual 3D object.
Instructables user mfx2 has written a wonderful tutorial for the project, which also includes all files needed to build and program your own version.
Website: LINK


Schreibe einen Kommentar
Du musst angemeldet sein, um einen Kommentar abzugeben.