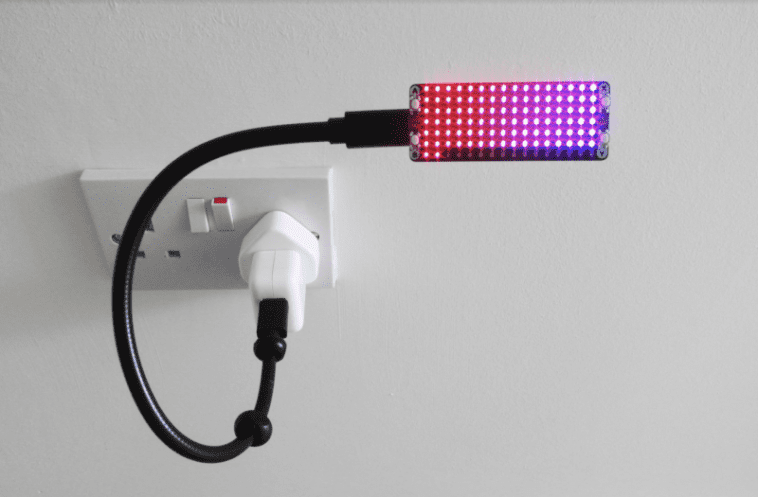
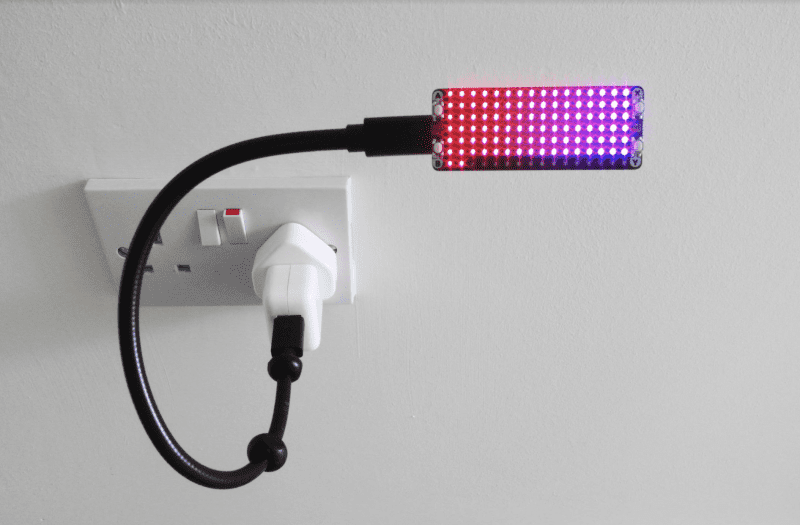
But pairing a Raspberry Pi Pico with the bright LEDs of a Unicorn Pack means you can see at a glance when your next break is approaching and, if you keep it just out of your eyeline, that warm red glow is a reminder to carry on working.
Step 01: Give your Pico some pins
We want to attach Pico to a hardware array of LEDs – but, as Pico lacks the GPIO header of a regular Raspberry Pi, we’ll first need to solder a header to the long row of holes on either side of Pico itself. With the USB socket uppermost, fit Pico over the shorter pins on either header and use a small amount of solder on each one to create a contact with the corresponding metal strip on Pico. Don’t allow solder to stray across adjacent strips or pins, or you’ll create a short circuit.
Step 02: Fit the Unicorn Pack
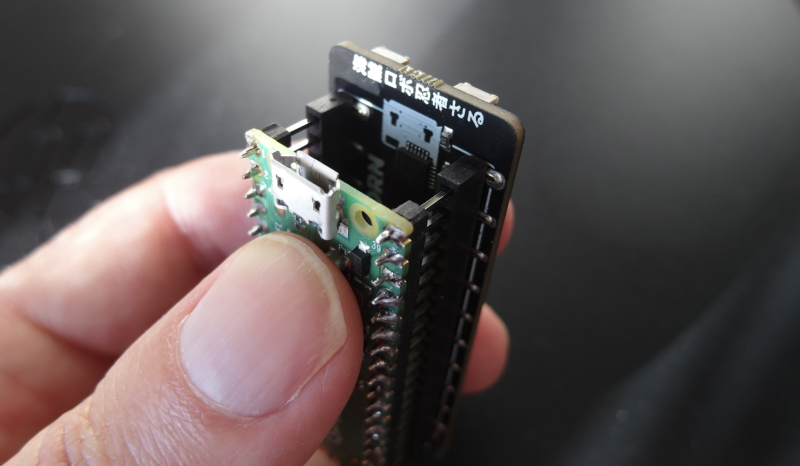
When the solder has had time to cool, turn over Pico so that the longer end of each pin is pointing up and the USB socket is underneath. Now check the back of the Unicorn Pack, where you’ll see there’s a white painted illustration of Pico’s USB socket. Line up this illustration with the actual USB socket, then press the Unicorn Pack onto the header pins on Pico. Be firm but gentle and try to keep equal pressure on either end to reduce the risk of bending any pins on either of the headers.
Step 03: Flash Pico body
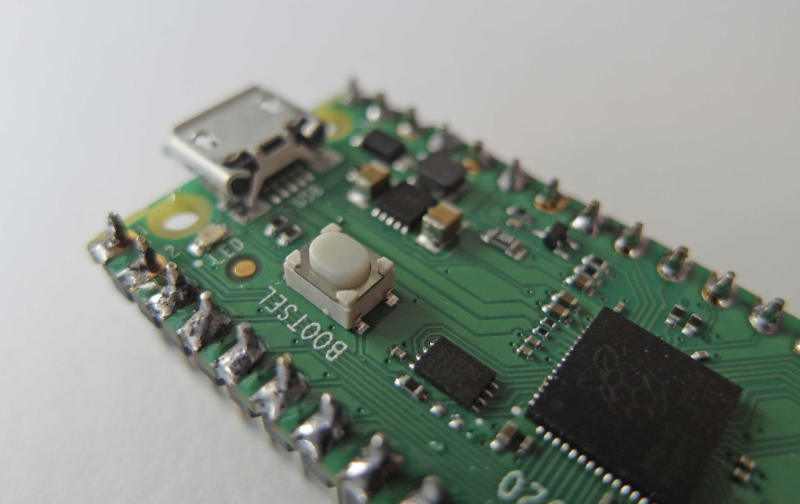
Your Pico contains a web link to Raspberry Pi’s own firmware, but this doesn’t include the additional hooks required to work with the Unicorn Pack. Instead, you need Pimoroni’s custom MicroPython firmware image. Point your browser at magpi.cc/pimoronipicoreleases and download the most recent UF2 (.uf2) file – examples for use are at magpi.cc/pimoronipicogit. Press and hold Pico’s BOOTSEL button while plugging it into a USB port on your computer (Raspberry Pi, PC, or Mac). When it appears, drag the UF2 file from your Downloads folder onto Pico. It will then reboot with the updated firmware.
Step 04: Redirect Thonny body
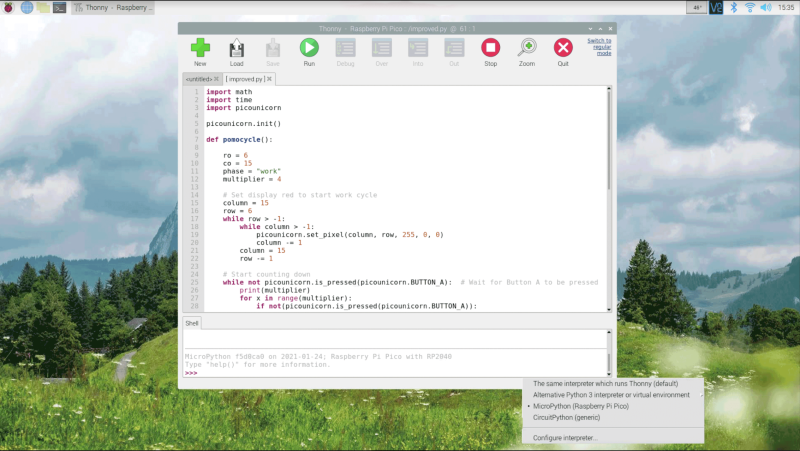
We’ll code Pico using the Thonny Python IDE, which is included in Raspberry Pi OS, and free for Windows and macOS (thonny.org). By default, it works with and executes code stored locally, but we want to address Pico directly so that we can take advantage of the custom firmware. Click Python in the lower-right corner of the Thonny window and select ‘MicroPython (Raspberry Pi Pico)’ from the list of options to redirect its output – you’re now ready to start coding. Make sure you save your code regularly as main.py and, when asked where you want to save, choose ‘Raspberry Pi Pico’.
Step 05: Set up the environment
The first three lines of code set up the environment in which our program will run by referencing the libraries that handle time and the specific features of our Unicorn Pack add-on. We’ll use the utime library to count the length of each work and rest cycle – which are 25 minutes (1500 seconds) and five minutes (300 seconds) respectively – and divide the number of seconds in each stretch by 112. Then, every time one 112th of a cycle has passed – 13.4 seconds on a work cycle and 2.7 on a rest cycle – we’ll extinguish one of the LEDs on the Unicorn Pack.
Step 06: Define a new process
We’ll define a process that can be kicked into action as soon as the X button is pressed. We’ve called this process
pomocycle, as detailed on line 6. The first job is to define the variables we’ll be using, which include values for the red and green mix in the colours we want to display (red for work, green for rest), and a column and row count. Why 6 and 15 when there are 7 rows of 16 LEDs on the Unicorn Pack? Because the first row and first column of each is counted as 0, not 1.
Step 07: Build them up…
We now start a loop that keeps running as long as button Y hasn’t been pressed. If it has, we exit the process and go back to waiting for a press of the X button, which starts the work and rest cycles all over again. The first job is to illuminate every LED on the Unicorn Pack, so we work through a couple of cycles, one of which is embedded within the other so they can target each pixel directly and set it to either red or green, depending on whether we’re working or resting, as defined in both the opening variables and the reset cycles that appear later in the code.
Step 08: …and knock them down
Now we start extinguishing the LEDs one by one. The important element here is the multiplier, which defines how long Pico will wait after turning off a light before targeting the next one. We could have told it to wait 13.4 seconds between each action in a work cycle, or 2.7 seconds in a rest cycle, but if we did it would only be possible to interrupt a cycle by pressing Y every 13.4 or 2.7 seconds, which would both feel very unresponsive, and be extremely irritating. We need to find a way of checking the button’s status during a sleep cycle.
Step 09: Wake, sleep, repeat
The solution is to only sleep for 0.1 seconds before checking the status of the button, and to use the multiplier to define how many times the sleep/check cycle is repeated. By repeating it 134 times for each LED when working, it will take 1500.8 seconds to extinguish all of the LEDs. Conveniently, that’s 0.8 seconds longer than a 25-minute work cycle. On a rest cycle, we set the multiplier to 27, so the repeat the sleep/check process loops 27 times for each LED, the last of which will then extinguish after 302.4 seconds, which is five minutes and 2.4 seconds.
Step 10: Subtract and start again
Every time an LED is extinguished, we subtract one from the column count and, when the next loop repeats, the LED in that spot will go out. Remember, the first column is column zero, so when the column count number hits -1 we reset the counter to 15, and instead subtract one from the row count. This continues until the row counter also hits -1, when we know there are no remaining illuminated LEDs. At this point, if we’ve been on a 25-minute work cycle, we need to switch to a five-minute rest cycle, and vice versa.
Step 11: Reset the variables
If we were working, it’s time to rest. So, we set the multiplier to 27 and swap the values for the red and green tones we’ll use to illuminate the LEDs. Then, when the process restarts, the LEDs will shine green and blink out more quickly as they count to the end of our break. If we had been resting, the LEDs are instead set to red, and the multiplier is again set to 134 to slow down the rate at which they disappear. The code now rewinds the defined process, illuminates each LED as appropriate, and starts the next countdown.
Step 12: Keep everything running
At this point, our code is all but complete. We just need to define what happens when we press the Y button. That’s handled in lines 52 to 54, which simply extinguish any remaining LEDs on the Unicorn Pack by setting the red, green and blue value for each one to zero. Then, the code comes to an end. With nothing else to do, Pico returns to where it started, waiting for the next time the X button is pressed, at which point the
pomocycleprocess kicks into action once again.

