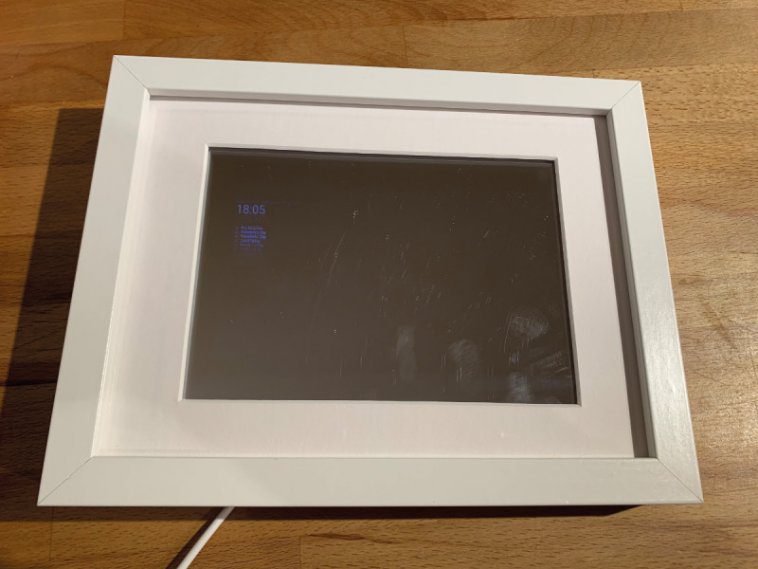
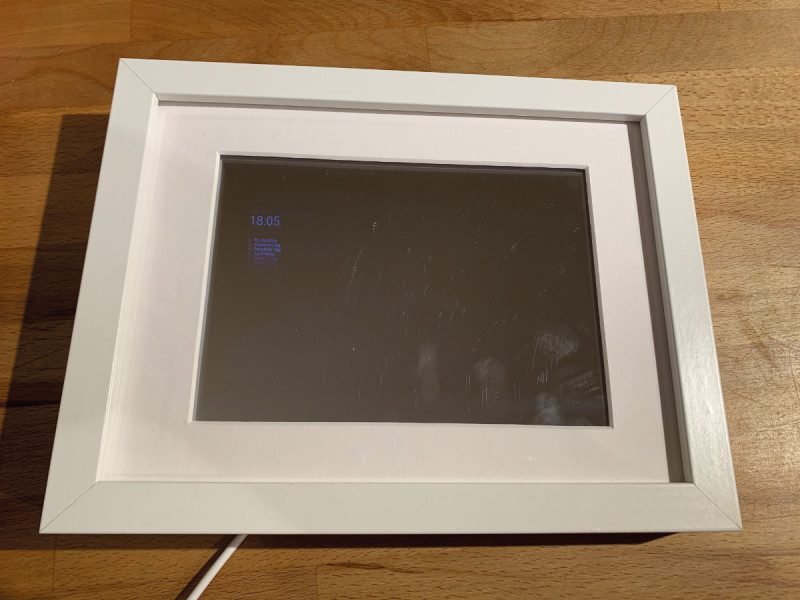
Magic mirrors have to be one of the most popular projects out there. Initially created by combining old laptops and semi-reflective observation glass, they appear as normal mirrors but with text and images that appear to float in mid-air. The information displayed is typically what you need as you’re preparing to leave the house: weather, news headlines, and transit information. Although they come across as advanced builds, the community behind the projects have made significant advances in making magic mirrors accessible to all. Let’s take a look at one of these makers and then have a go at building our own mirror.
Creating a good magic mirror requires experience in many disciplines including carpentry, electronics, programming, and graphic design. Fortunately, the team at MagicMirror2, headed by Michael Teeuw (see The MagPi issue 54), have not only compiled tutorials and fostered a great community, they’ve also built their own open-source application. This modular system takes away all the programming and design pain. Best of all, you can expand the capabilities of your mirror through the hundreds of community plug-ins available and, if you wish, you can write your own. It’s no wonder it won the number one slot in our best projects feature for The MagPi issue 50.
Assembling a simple magic mirror
Would you like a magic mirror, but don’t fancy all that carpentry? Here’s a first project to ease you in without having to reach for the band-saw
To build a magic mirror, you’ll need:
Tip! Not for Raspberry Pi Zero
A Raspberry Pi Zero would seem ideal for this project, but MagicMirror2 is incompatible with that model and the original Raspberry Pi 1.
There have been some impressive magic mirror projects as makers around the globe challenge each other to improve on previous designs. Although the results are undoubtedly impressive, it can make the hobby look a little daunting to the beginner, especially if you don’t have access to the necessary equipment to build a custom frame. In this tutorial, we’ll assemble a simple magic mirror using off-the-shelf parts. This can be built in an afternoon and is a great way to find out whether you want to take it to the next step and get working on something a bit bigger.
Prepare the frame
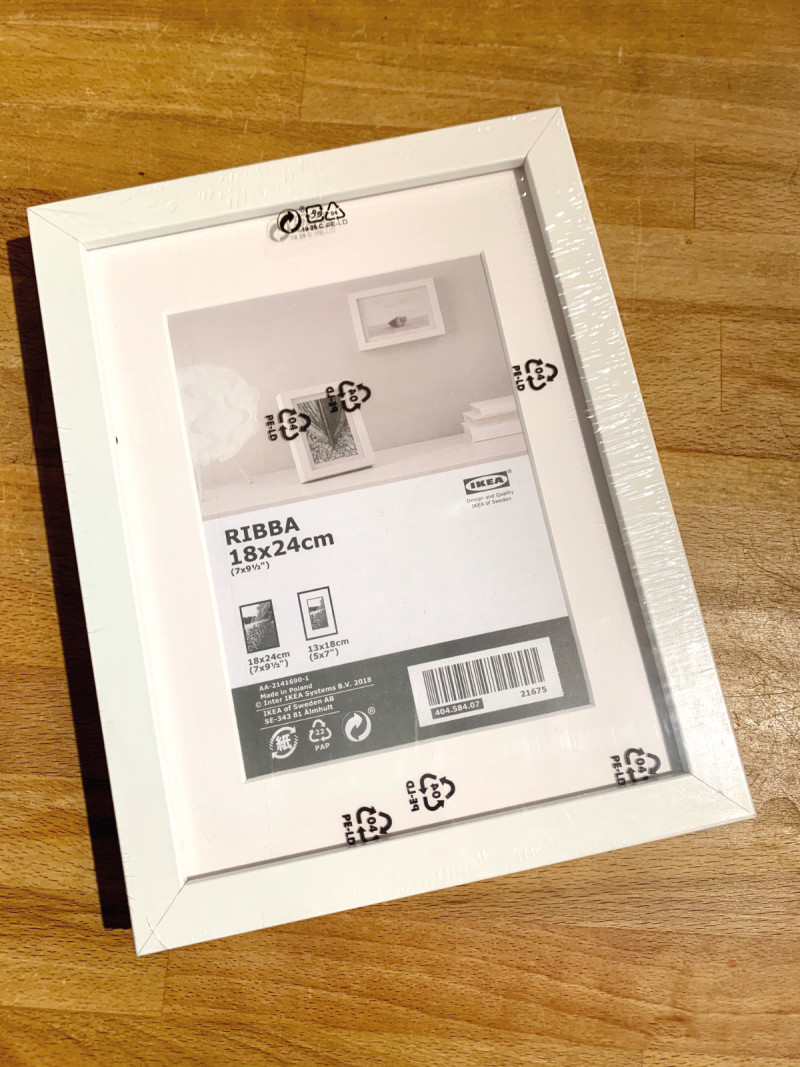
To create our magic mirror, we will create a ‘sandwich’ of the frame, a piece of observation mirror acrylic, and the screen. It’s vital that all these are kept as clean as possible during assembly as any dust will get trapped and leave an irritating mark on your lovely mirror. Unpack the frame, remove the mount, and then remove the plastic clear sheet. You’ll need to carefully peel back the two protective layers and then replace the clear sheet in the frame. This is statically charged and will start to attract dust, so lots of cleaning is required. Return the mount to the frame.
Mount the mirror
The big ‘trick’ of a magic mirror is the use of two-way material, also known as ‘observation glass’. This material is the same that is used in police interview rooms and as privacy screening. It’s only semi-reflective, so the output from your screen can be seen ‘through’ the glass but it’s still effective as a mirror (if a little darker than a regular mirror). This material is cheapest when bought by the roll, so it’s ideal for custom-build or larger mirror projects. Ours is a £5 A5 acrylic sheet. Remove the protective sheeting and place in the frame, making sure it covers the open area. Secure with sticky tape.
Add the screen
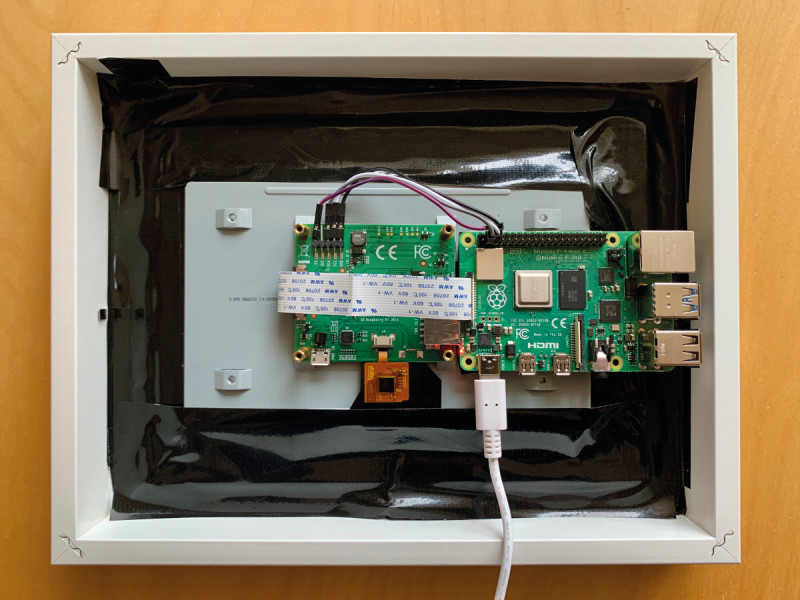
We’re using the official 7-inch touchscreen for this project to make power requirements easier; we only need one cable to drive both Raspberry Pi and the display. It also happens to be a perfect size for this project. The touchscreen needs to be carefully placed so it’s in parallel with the frame and central. Secure with sticky tape.
Secure in place
The combined weight of a Raspberry Pi computer and the touchscreen doesn’t come to much, so rather than getting into complicated mounting solutions, we will apply generous amounts of gaffer (or duct) tape to hold everything in place. This is of course a very lo-fi solution – if you want to go for something more refined, you can consider making use of the mounting points on the screen that can be used with horizontal or vertical bars to attach to the inner edge of the frame. Check for any trapped dust or marks in our ‘sandwich’ before proceeding.
Just add Raspberry Pi
Normally, you would mount a Raspberry Pi computer on top of the screen’s PCB on the provided standoffs. If you want to mount your completed mirror on the wall, this poses a problem, as the computer now sits quite a way proud of the frame. Your options are: 1) don’t care (not advisable), 2) buy a second frame and fix it to the original to double its depth, or 3) mount the Raspberry Pi computer on the side. We’ve gone with option three and it just fits, even with the supplied display cable. Make sure you line the back of the screen with insulation tape to avoid any electrical shorts and secure in place with a Velcro pad to allow for future access to the microSD card.
Check and test
With a microSD card with Raspbian installed, mount the Raspberry Pi 4 into place. Check the display ribbon cable hasn’t been stretched too much and the four jumper cables that connect the display to the GPIO are in the correct position. You should now be able to boot and see the Raspbian boot sequence through the display. It will probably look disappointingly dull. Don’t worry, we’ll address that in the next tutorial. If everything is free of dust, secured, and the display is working, shut everything down (you may need to connect a keyboard and mouse to do this).
Professional magic mirror builds
We’ve created a simple project for you here that requires no cutting or mains electricity. However, it would be remiss of us not to admire the work of those who have dedicated hours and hours to making the ultimate magic mirror. One of those is MagicMirror2 creator Michael Teeuw, who has created several mirrors completely from scratch, building his own frames and carefully mounting large monitors – all powered by Raspberry Pi computers, of course! The great thing about magic mirrors is you can start small and work up to masterpieces like this, learning as you go.


