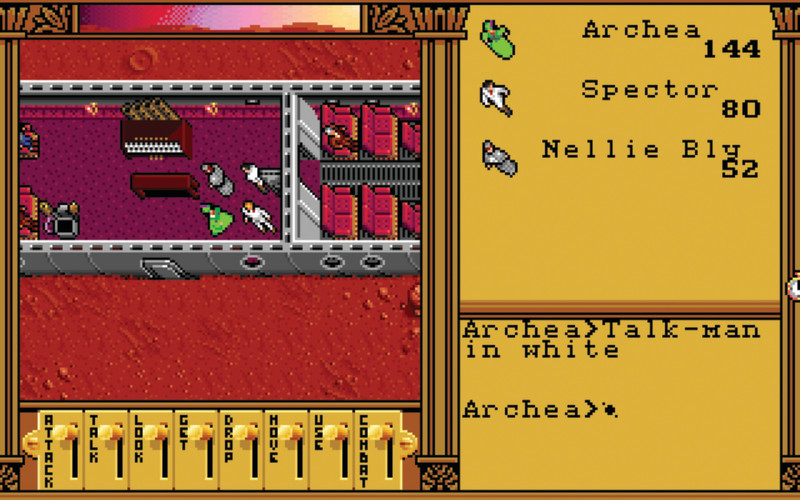
Forked from the original DOSBox emulator, DOSBox-X has more precise hardware emulation, supports a wider range of software, and can effectively run more DOS-related operating systems (up to Windows ME). It also has a sophisticated graphical interface to help you manage tasks such as configuration and virtual disk-swapping.
DOS emulation: you’ll need
Create your DOS directories
Let’s create the directory structure that we’ll use to house the software we’ll run through DOSBox-X:
mkdir -p dos/{floppy,cd,games}
The floppy and cd directories will house disk images which we’ll be able to switch between in DOSBox-X. This tutorial and our template config files presume you’ll keep everything in a /home/pi/dos/ directory, so be sure to change any paths if you’re using a different username or dos directory names.
While our generic config file should handle most DOS software well on Raspberry Pi, you can also create separate .conf files for specific programs to better match their requirements and automatically run commands.
Tweak your graphics
Assuming you’re using a standard 1920×1080 display with your Raspberry Pi, you’ll find some more demanding DOS software struggling at full resolution, particularly if you have DOSBox-X configured to use OpenGL and aspect ratio correction.
On the desktop, open the main menu, go to Preferences and select Screen Configuration. Right-click on your display – most likely marked HDMI-1 – and from the Resolution menu, select 1280×720. Running your entire GUI at a lower resolution will lighten the load of rendering and upscaling for the emulation and have no adverse effect on games from an era when 800×600 was the norm.
Install DOSBox-X
In a Terminal, enter the following:
sudo apt install automake libncurses-dev nasm libsdl-net1.2-dev libpcap-dev libfluidsynth-dev ffmpeg libavdevice58 libavformat-* libswscale-* libavcodec-*
git clone https://github.com/joncampbell123/dosbox-x.git
cd dosbox-x
./build
sudo make install
dosbox-x
DOSBox-X should open at its Z: prompt. You can’t paste commands into it from the clipboard, but there are some modern convenience features: tab auto-completes, you can scroll through your command history using the up arrow, and you can add startup commands to a config file.
Type exit to quit and ensure that the config directory, which we’ll need in the next step, is created properly.
Export a config file
Restart DOSBox-X and tell it to generate a config file that we can later modify in a text editor, based on the program’s default settings and then exit.
CONFIG.COM -all -wcd
exit
The file we’ve just made can be found in /home/pi/.config/dosbox-x and, at time of writing, is named dosbox-x-0.83.3.conf.
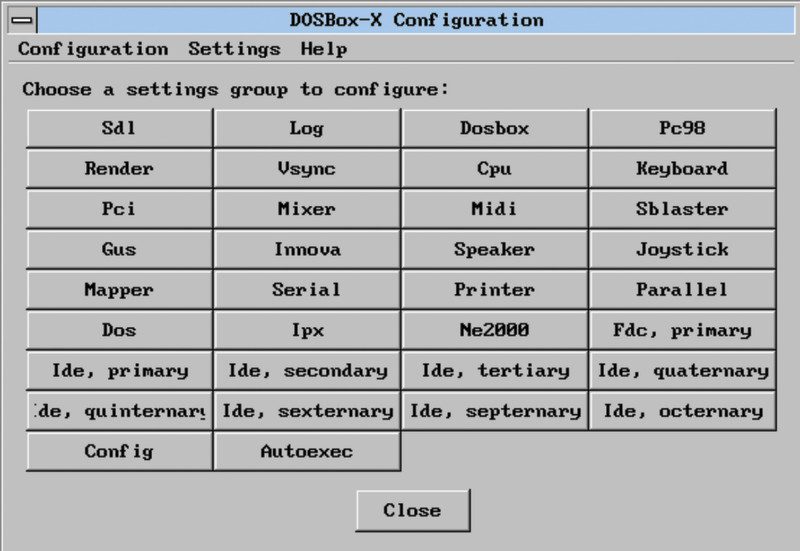
As well as being human-readable and conveniently editable in a text editor, you can modify this long and extensively commented file from within DOSBox-X using the configuration GUI in the main menu. This is handy, since DOSBox‑X’s configuration has more options than that of vanilla DOSBox.
Customise your config
For this tutorial, we’ve created some config files that you can download from The MagPi GitHub page. The code box will run most DOS software. As well as editing your main DOSBox-X config, you can launch DOSBox-X with a specific config file – useful if you wish to easily switch between different OS setups – using the following command-line switch:
dosbox-x -conf yourfile.conf
We’ll take advantage of that later to help install Windows 3.11. Note that your custom config files need only include lines that vary from the defaults. In the following steps, we’ll create a config file optimised for playing late-era DOS games on Raspberry Pi 4 with 4GB or 8GB RAM.
Graphics, scalers, and performance
The default config is already well optimised to run DOS software on most systems, but we should make a few adjustments to improve performance on Raspberry Pi’s hardware.
Leave the fullscreen setting as false, as you can enable and disable fullscreen mode using DOSBox‑X’s menus or the F12+F keyboard shortcut; fullresolution should be left as ‘desktop’.
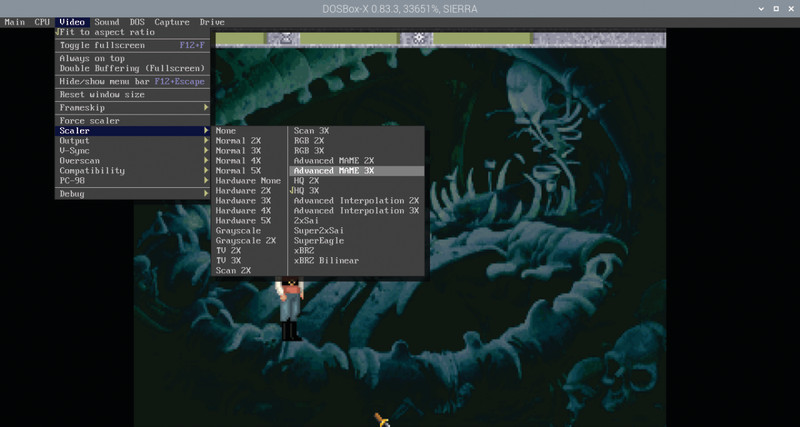
To get proper aspect ratio correction and reasonable graphical fidelity at 1280×720, you should set the output to opengl, aspect to true, and select a scaler up to interpolate low-res graphics. Scaler choice is largely a matter of personal taste, so use the Video menu options to try a few. If your sound becomes choppy, you’re pushing Raspberry Pi’s capabilities too far.
autoexec.bat
autoexec.batAt the end of the config file is autoexec, where we’ll put all our MOUNT and IMGMOUNT lines to assign drive letters to directories and floppy or CD images, and any commands to run at boot.
In our sample config, we’ve used MOUNT to set /home/pi/dos as DOS’s drive C. It’s here that we’ll copy and install all our software to.
If you use the IMGMOUNT command with multiple file names of CD or floppy images, you’ll be able to swap between those images in order to swap between media. To swap floppies, use F12+LEFT-CTRL+D. To swap CD or DVDs, use F12+LEFT-CTRL+C.
Using DOSBox-X
Like DOSBox, DOSBox-X uses the open-source FreeDOS operating system, rather than Microsoft’s proprietary MS-DOS. Navigation through directories isn’t too different to using a Bash terminal, particularly as a number of Bash commands have been included, such as LS as an alternative to DOS’s DIR, and CD .. alongside the usual DOS CD.. command. To run a .exe, .com, or .bat file, just type its name without the extension.
To capture and release your mouse, use the LEFT-CTRL+F10 shortcut. The autolock entry under SDL config enables capture-on-clock.
Buy Windows 3.11
Now we’ll install Windows for Workgroups 3.11, released in December 1993. The biggest challenge is finding a copy to install – usually ageing floppy disks, or disk images if you made backups. We’re working from a set of disk images.
If you don’t already have one and don’t fancy the second-hand market, you can, surprisingly, find it included in Microsoft Visual Studio Subscriptions (formerly MSDN Subscriptions), currently priced at £33.54 per month, for the benefit of developers working on backwards compatibility.
Install Windows
Copy the contents of each installation disk or image to a /win311 subdirectory of the dos directory tree we made earlier; you can do this as you normally would on the desktop or at the command line, or by using DOSBox-X’s IMGMOUNT to mount them and using the DOS COPY command while switching disks. At the command line, start DOSBox-X with a Windows-suitable config file – download ours from GitHub.
dosbox-x -conf win311.conf
CD WIN311
SETUP
Windows 3.11 will install itself. Reboot.
CD WINDOWS
WIN
Using Windows 3.x
If you’ve only ever used Windows 95 or later, Windows 3.x’s interface may feel somewhat alien. There’s no Start button and if you want to quit back to the DOS prompt, you have to open Program Manager’s File menu and select Exit Windows…
The default Program Manager folders, each full of shortcuts to helpful software and settings, are clearly labelled. To explore your mounted DOS drives, open Main and then File Manager. Accessories include MS Paint precursor Paintbrush, a Sound Recorder, and even a Media Player.
A line at the top left of each opened window allows you to move and close it, while minimise and maximise buttons are at the right.
Boot Raspberry Pi to DOS
Once you’ve configured DOSBox-X – and any relevant window managers – to your satisfaction, you can complete your pitch-perfect 1990s PC simulation by booting straight to DOS. Open a Terminal window and type:
mkdir /home/pi/.config/autostart
mousepad /home/pi/.config/autostart/dosbox.desktop
Add the following to the new text file:
[Desktop Entry]
Type=Application
Name=DOSBox
Exec=/usr/bin/dosbox-x
This will use DOSBox-X’s default config file. You’ll need to enable fullscreen in your DOSBox-X config for this to launch correctly, and opengl-dependent aspect ratio correction is also strongly advised.


