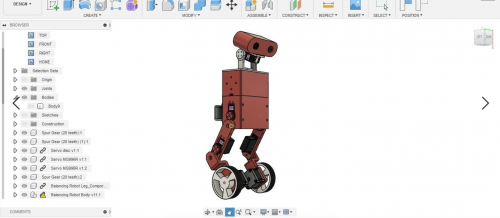
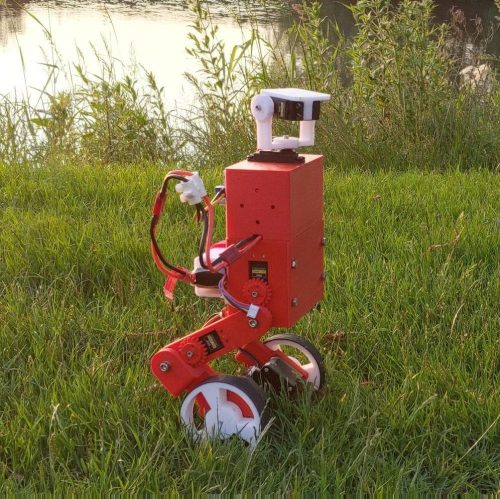
You in the community seemed so impressed with this recent Boston Dynamics–inspired build that we decided to feature another. This time, maker Harry was inspired by Boston Dynamics’ research robot Handle, which stands 6.5 ft tall, travels at 9 mph and jumps 4 feet vertically. Here’s how Harry made his miniature version, MABEL (Multi Axis Balancer Electronically Levelled).
MABEL has individually articulated legs to enhance off-road stability, prevent it from tipping, and even make it jump (if you use some really fast servos). Harry is certain that anyone with a 3D printer and a “few bits” can build one.
MABEL builds on the open-source YABR project for its PID controller, and it’s got added servos and a Raspberry Pi that helps interface them and control everything.
[youtube https://www.youtube.com/watch?v=DS-QJv-ae3s?feature=oembed&w=500&h=281]
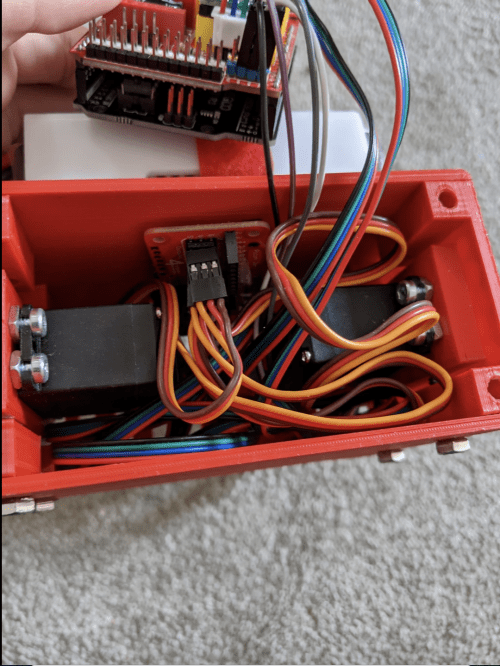
Thanks to a program based on the open-source YABR firmware, an Arduino handles all of the PID calculations using data from an MPU-6050 accelerometer/gyro. Raspberry Pi, using Python code, manages Bluetooth and servo control, running an inverse kinematics algorithm to translate the robot legs perfectly in two axes.
Kit list
If you want to attempt this project yourself, the files for all the hard 3D-printed bits are on Thingiverse, and all the soft insides are on GitHub.
-

-
 – Werbung –
IKSolve is the class that handles the inverse kinematics functionality for MABEL (IKSolve.py) and allows for the legs to be translated using (x, y) coordinates. It’s really simple to use: all that you need to specify are the home values of each servo (these are the angles that, when passed over to your servos, make the legs point directly and straight downwards at 90 degrees).

MABEL is designed to work by listening to commands on the Arduino (PID contoller) end that are sent to it by Raspberry Pi over serial using pySerial. Joystick data is sent to Raspberry Pi using the Input Python library. Harry first tried to get the joystick data from an old PlayStation 3 controller, but went with the PiHut’s Raspberry Pi Compatible Wireless Gamepad in the end for ease.

Keep up with Harry’s blog or give Raspibotics a follow on Twitter, as part 3 of his build write-up should be dropping imminently, featuring updates that will hopefully get MABEL jumping!
Website: LINK


Schreibe einen Kommentar
Du musst angemeldet sein, um einen Kommentar abzugeben.