As someone interested in giving old tech a new lease of life, the idea came naturally. “I was inspired by the many high quality network audio streaming devices sold by the major stereo component brands such as Sony, Cambridge Audio, NAD and so on but I couldn’t justify the cost,” he explains.
“I figured they just play back digital audio so I started looking at DIY options. I knew I wanted a standard-sized stereo component and decided an old stereo tuner would be reasonably-priced because they are not in very high demand, even among audiophile collectors.”
Treble buy
Alan purchased three Sony ST-JX411s so that he could mix-and-match the best looking parts (“most were dented and dirty,” he says). He liked its look and noted it had space for a decent-sized LCD. “The Sony tuner has a retro vibe but doesn’t look too dated, and it fits in with much of my second hand stereo equipment,” he says. “I also thought that a repurposed tuning knob would be a nice touch for a streaming player – few attractive modern tuners have one.”
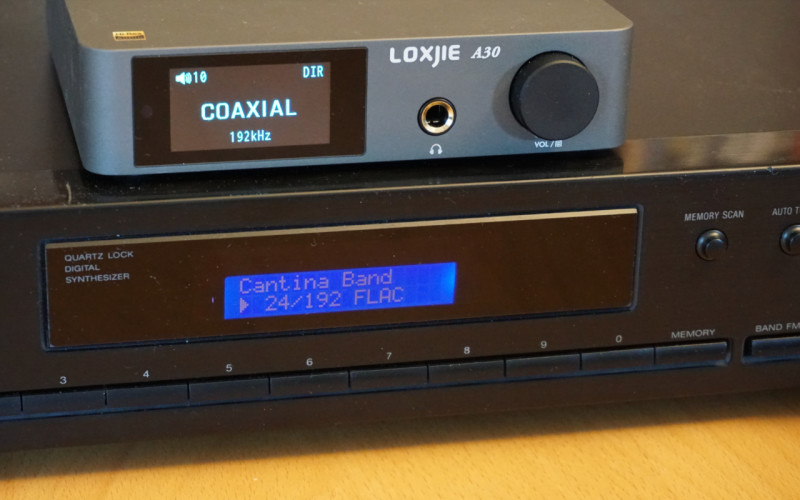
The front panels were important. “I wanted to play a playlist or start and stop the device without using a web interface on my computer or phone,” he explains. “Another requirement was for an alphanumeric display for the currently playing song, title and file format. Since my amplifier already had a digital-to-analogue converter [DAC], I wanted quality digital audio – S/PDIF – too.”
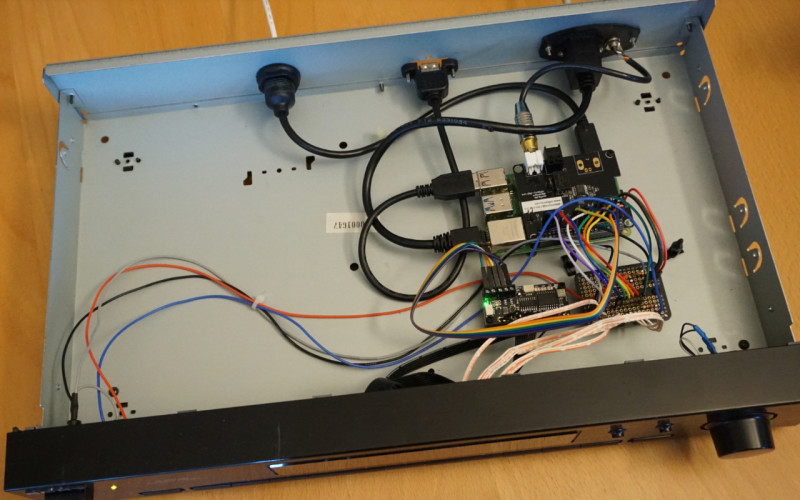
For the audio quality, Alan chose a HiFiBerry Digi2 Pro which uses the I2S sound port for S/PDIF audio output (without a DAC, he’d have opted for a DAC HAT such as the Raspberry Pi DAC Pro). To connect everything together, he used a small proto PCB board with some male headers. “That way I could use female-to-female jumpers to connect to the Pi GPIO pins,” he says.
Setting the tone
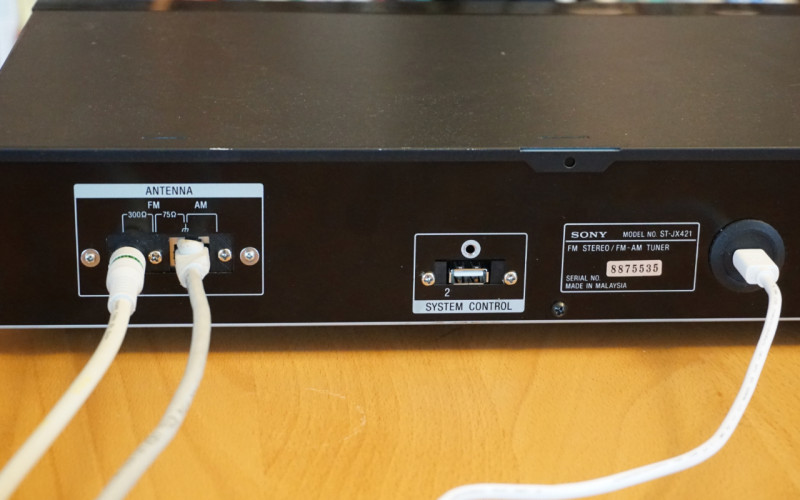
Alan retained the logic board which houses the front-panel buttons. “The main challenges related to reverse-engineering these buttons and I’m not sure I would have accomplished the project without a schematic diagram I found online,” Alan continues. As it was, Alan was able to read row and column values, reducing the number of wires from 17 to 11. He also replaced the logic board’s vacuum fluorescent with a new alphanumeric LCD, and Raspberry Pi’s ports were extended to the tuner’s back panel.
To control the functions, Alan used the open-source project moOde. “I had already been using moOde on Raspberry Pi 4 and I was happy with its features and audio quality,” he says. “I also liked the simplicity of the moOde API, so I didn’t have to spend much time figuring that out.”
So how does it fare? Great, as it happens. “It works very well, with no issues,” Alan says. “And since I’m using the original board passively – that is with no power applied – there’s not as much to wear out or go wrong. I now use the music streaming player almost every day and the audio quality is indistinguishable from the original source material, at least to my ears.”


