GPIO Zero is a zero-boilerplate Python library that makes physical computing with Python more accessible and helps people progress from zero to hero.
Today, I’m pleased to announce the release of GPIO Zero v1.5.0. It’s packed full of updates, including new features, bug fixes, and lots of improvements to the documentation.
Guido, the creator of Python, happened across the library recently, and he seemed to like it:
Guido van Rossum on Twitter
GPIOzero I love you! https://t.co/w3CnUGx3yO
Pin factories – take your pick
GPIO Zero started out as a friendly API on top of the RPi.GPIO library, but later we extended it to allow other pin libraries to be used. The pigpio library is supported, and that includes the ability to remotely control GPIO pins over the network, or on a Pi Zero over USB.
This also gave us the opportunity to create a “mock” pin factory, so that we could emulate the effect of pin changes without using real Raspberry Pi hardware. This is useful for prototyping without hardware, and for testing. Try it yourself!
As well as the pin factories we provide with the library (RPi.GPIO, pigpio, RPIO, and native), it’s also possible to write your own. So far, I’m aware of only one custom pin factory, and that has been written by the AIY team at Google, who created their own pin factory for the pins on the AIY Vision Kit. This means that you can connect devices to these pins, and use GPIO Zero to program them, despite the fact they’re not connected to the Pi’s own pins.
If you have lots of experience with RPi.GPIO, you might find this guide on migrating from RPi.GPIO to GPIO Zero handy.
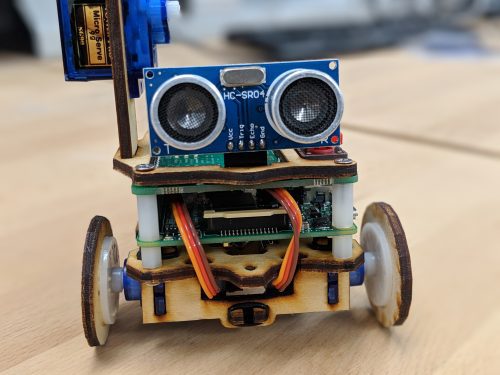
Ultrasonic distance sensor
We had identified some issues with the results from the DistanceSensor class, and we dealt with them in two ways. Firstly, GPIO Zero co-author Dave Jones did some work under the hood of the pins API to use timing information provided by underlying drivers, so that timing events from pins will be considerably more accurate (see #655). Secondly, Dave found that RPi.GPIO would often miss edges during callbacks, which threw off the timing, so we now drop missed edges and get better accuracy as a result (see #719).

The best DistanceSensor results come when using pigpio as your pin factory, so we recommend changing to this if you want more accuracy, especially if you’re using (or deploying to) a Pi 1 or Pi Zero.
Connecting devices
A really neat feature of GPIO Zero is the ability to connect devices together easily. One way to do this is to use callback functions:
button.when_pressed = led.on
button.when_released = led.off
Another way is to set the source of one device to the values of another device:
led.source = button.values
In GPIO Zero v1.5, we’ve made connecting devices even easier. You can now use the following method to pair devices together:
led.source = button
Read more about this declarative style of programming in the source/values page in the docs. There are plenty of great examples of how you can create projects with these simple connections:
Testing
An important part of software development is automated testing. You write tests to check your code does what you want it to do, especially checking the edge cases. Then you write the code to implement the features you’ve written tests for. Then after every change you make, you run your old tests to make sure nothing got broken. We have tools for automating this (thanks pytest, tox, coverage, and Travis CI).
But how do you test a GPIO library? Well, most of the GPIO parts of our test suite use the mock pins interface, so we can test our API works as intended, abstracted from how the pins behave. And while Travis CI only runs tests with mock pins, we also do real testing on Raspberry Pi: there are additional tests that ensure the pins do what they’re supposed to. See the docs chapter on development to learn more about this process, and try it for yourself.
pinout
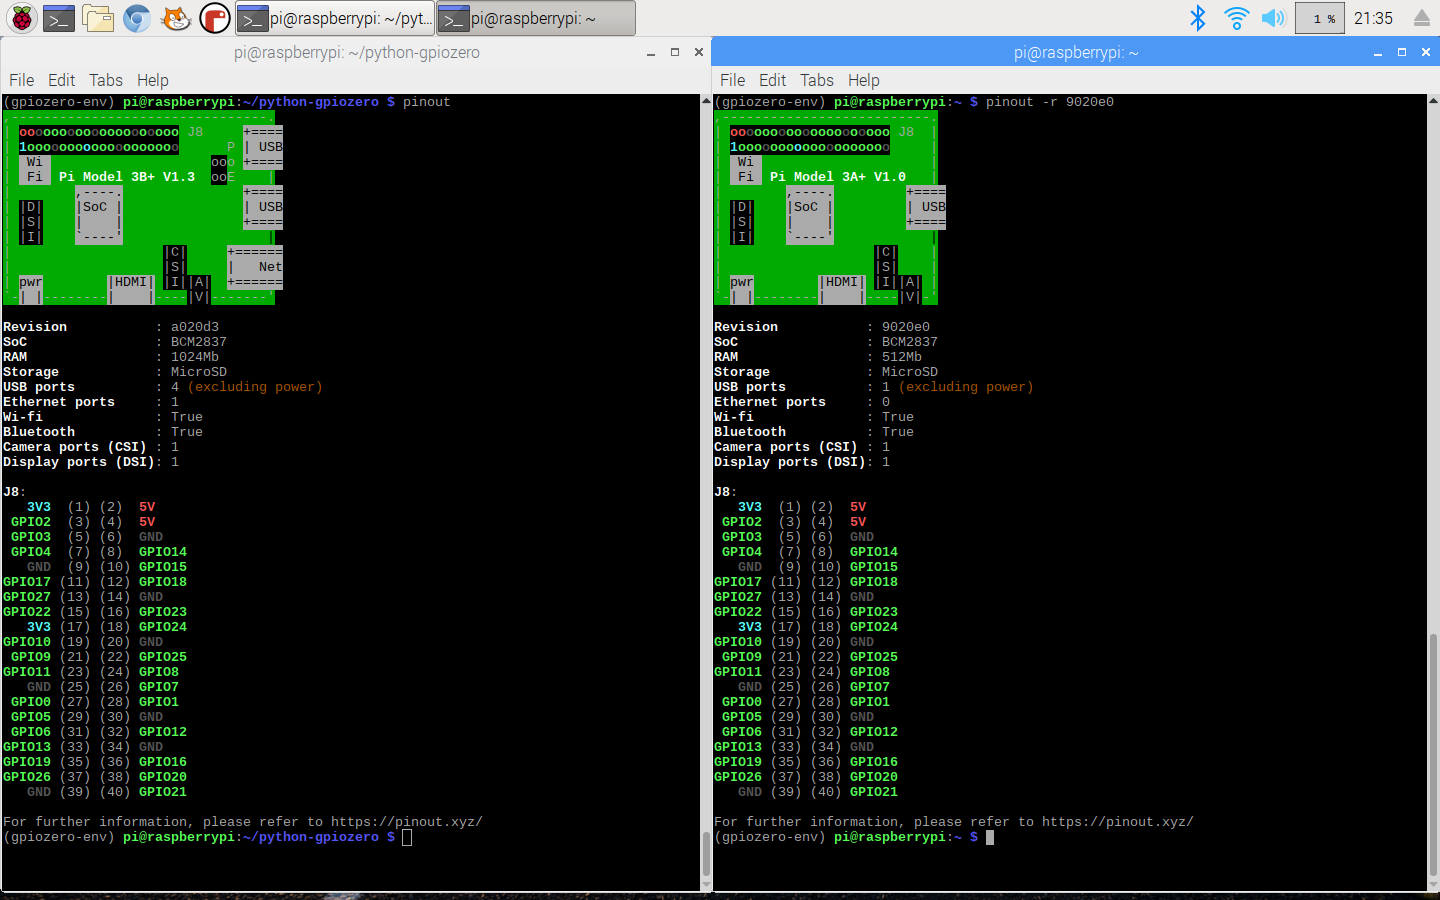
You may remember that the last major GPIO Zero release introduced the pinout command line tool. We’ve added some new art for the Pi 3A+ and 3B+:
pinout also now supports the -x (or --xyz) option, which opens the website pinout.xyz in your web browser.
Zero boilerplate for hardware
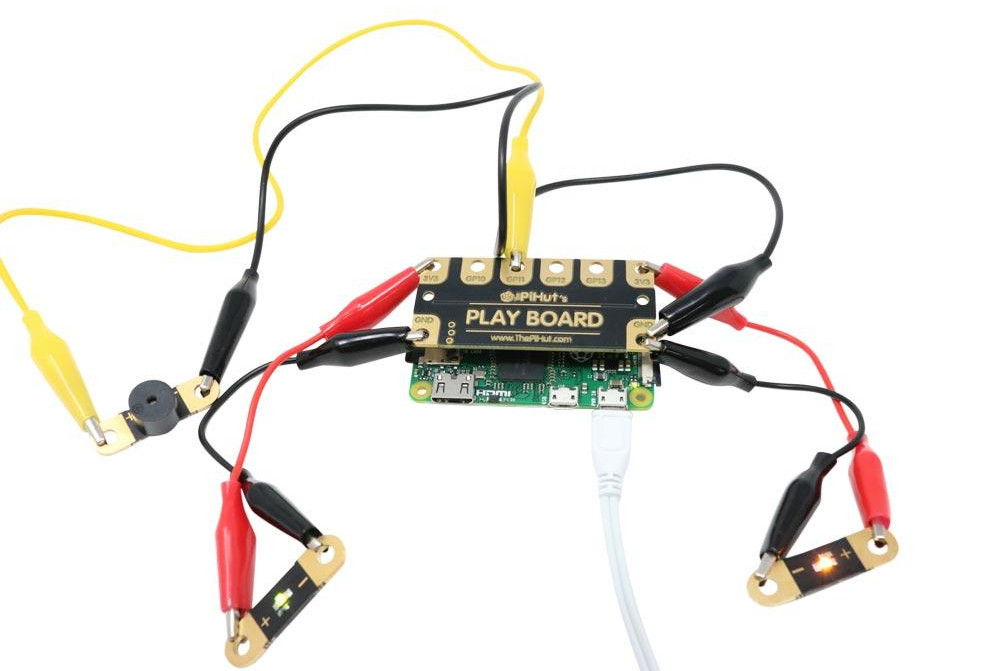
The goal of all this is to remove obstacles to physical computing, and Rachel Rayns has designed a wonderful board that makes a great companion to GPIO Zero for people who are learning. Available from The Pi Hut, the PLAY board provides croc-clip connectors for four GPIO pins, GND, and 3V3, along with a set of compatible components:

Since the board simply breaks out GPIO pins, there’s no special software required. You can use Scratch or Python (or anything else).
New contributors
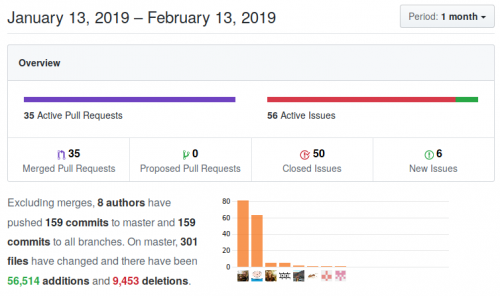
This release welcomed seven new contributors to the project, including Claire Pollard from PiBorg and ModMyPi, who provided implementations for TonalBuzzer, PumpkinPi, and the JamHat. We also passed 1000 commits!

Watch your tone
As part of the work Claire did to add support for the Jam HAT, she created a new class for working with its buzzer, which works by setting the PWM frequency to emit a particular tone. I took what Claire provided and added some maths to it, then Dave created a whole Tones module to provide a musical API. You can play buzzy jingles, or you can build a theremin:
GPIO Zero theremin
from gpiozero import TonalBuzzer, DistanceSensor buzzer = TonalBuzzer(20) ds = DistanceSensor(14, 26) buzzer.source = ds
…or you can make a siren:
GPIO Zero TonalBuzzer sine wave
from gpiozero import TonalBuzzer from gpiozero.tools import sin_values buzzer = TonalBuzzer(20) buzzer.source = sin_values()
The Tones API is a really neat way of creating particular buzzer sounds and chaining them together to make tunes, using a variety of musical notations:
>>> from gpiozero.tones import Tone
>>> Tone(440.0)
>>> Tone(69)
>>> Tone('A4')
We all make mistakes
One of the important things about writing a library to help beginners is knowing when to expect mistakes, and providing help when you can. For example, if a user mistypes an attribute or just gets it wrong – for example, if they type button.pressed = foo instead of button.when_pressed = foo – they wouldn’t usually get an error; it would just set a new attribute. In GPIO Zero, though, we prevent new attributes from being created, so you’d get an error if you tried doing this. We provide an FAQ about this, and explain how to get around it if you really need to.
Similarly, it’s common to see people type button.when_pressed = foo() and actually call the function, which isn’t correct, and will usually have the effect of unsetting the callback (as the function returns None). Because this is valid, the user won’t get an error to call their attention to the mistake.
In this release, we’ve added a warning that you’ll see if you set a callback to None when it was previously None. Hopefully that will be useful to people who make this mistake, helping them quickly notice and rectify it.
Update now
Update your Raspberry Pi now to get the latest and greatest GPIO Zero goodness in your (operating) system:
sudo apt update
sudo apt install python3-gpiozero python-gpiozero
Note: it’s currently syncing with the Raspbian repo, so if it’s not available for you yet, it will be soon.
What’s next?
We have plenty more suggestions to be working on. This year we’ll be working on SPI and I2C interfaces, including I2C expander chips. If you’d like to make more suggestions, or contribute yourself, find us over on GitHub.
Website: LINK


