First of all a Happy New Year to all our Community here on blogdot.tv and on our Social Channels 🙂
We are back in the new year with a quick made tutorial for everyone who wanted to make a game boy by your self ^^ so let’s start…
THIS TUTORIAL IS BASED ON GETTING THE TFT TOUCH SCREEN WORKING WITH FULL HW SUPPORT / 60FPS AND OPENGL SUPPORT!!! THIS IS NOT A DESIGN TUTORIAL…
Parts List:
37€ – Raspberry Pi 3 (better take a 3, with built in wifi and bluetooth) https://www.cyberport.at/raspberry-pi-3-modell-b-1-gb-1123-00G_544.html
33€ – TFT Screen for Pi (we took the Waveshare32, 3.2 Inch Toch Screen, inlc. 3 GPIO Buttons) https://www.conrad.at/de/raspberry-pi-display-modul-schwarz-rb-tft32-v2-raspberry-pi-a-b-b-raspberry-pi-1380381.html
10€ – 16 GB Micro SD Card (Take a fast one) https://www.conrad.at/de/microsdhc-karte-16-gb-sandisk-ultra-android-mit-80-mbs-und-sandisk-memory-zone-android-app-class-10-uhs-i-inkl-sd-adapter-inkl-android-software-1381008.html
15€ – 6.000 mAh Battery Pack with overvoltage surge (you need one with at least 2.0A output!!!) https://www.conrad.at/de/powerbank-zusatzakku-varta-powerpack-family-6000-li-ion-6000-mah-1424864.html
15€ – Speakers (those are the most problem because of the size, we found some old passive speakers from our old nokia mobile phone that we are using right now) these here are good to open easy https://www.amazon.de/dp/B01MYU3780?psc=1
10€ – Speaker Alternative: https://www.conrad.at/de/raspberry-pi-erweiterungs-platine-blau-sbc-soundmodule-raspberry-pi-raspberry-pi-2-b-raspberry-pi-3-b-raspberry-pi-a-raspberry-pi-b-raspberry-pi-1503744.html
10€ – SNES Retro Usb Controller (you can choose the style we took an old one , laying around ) https://www.amazon.de/CSL-Gamepad-Controller-Notebook-Retro-Design/dp/B00HFQEFTY/ref=sr_1_2?ie=UTF8&qid=1484006798&sr=8-2&keywords=snes%2Busb%2Bcontroller&th=1
SW List:
Retropie Image: https://retropie.org.uk/download/ we used retropie 4.1 in our tutorial
TFT Screen Driver: http://www.produktinfo.conrad.com/datenblaetter/1300000-1399999/001380381-an-01-de-8_13_CM__3_2__TOUCH_DISPLAY_320X240_PX.pdf
Installing Retropie
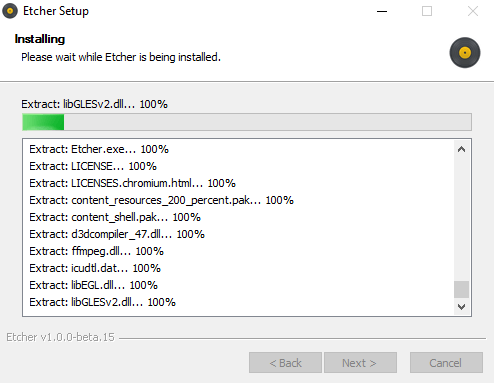
Download the Raspberry Pi Image from the Link above, and flash it with ETCHER (Win/Unix/Osx) https://etcher.io/ to your 16 GB SD Card.
This will take a while….
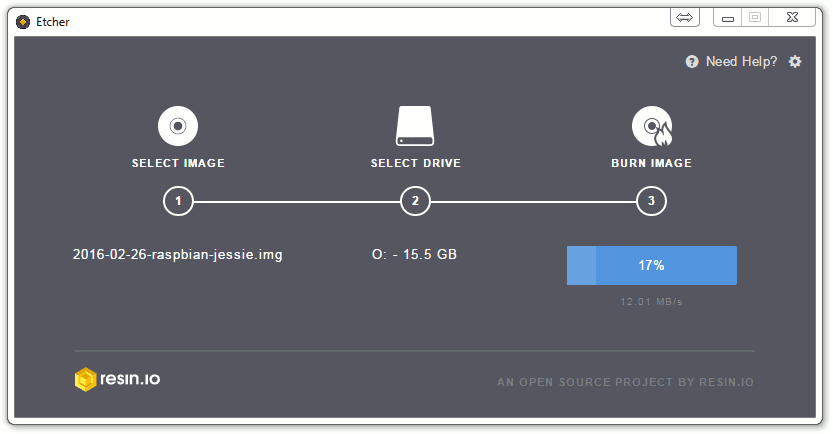
When finished , let’s get to the assembling 🙂
Assembling the PiBoy3
This is a nice funny video from Element 14 how to use the raspberry pi 3 cases with the pi, and also how to hock up all the cables, we really like it…
We just need the part to understand how to assemble the case, and also only for those people that never had a Raspberry pi in their own hands by now.
First Run:
Your Pi Setup with retropie hocked up to a screen and everythingyou can start you raspberry pi 3.
First it will resize your image on its own, so you don’t need to do it.
Second part is emulationstation where it wants to configure a controller, if your controller is hocked up you can set it up, or you can cancel it and leave it for later.
we gonna leave emulation station, you gonna do that with ‚ctrl‘ + ‚alt‘ F4 this should open a new terminal where you should be loged in automaticaly, if not the user is ‚pi‘ and the password: ‚raspberry‘
now we can update the pi for our tft screen to work!
Installing the TFT Screen
first we gonna edit the config.txt
sudo nano /boot/config.txt
add at the end of the line:
dtparam=spi=on
dtoverlay=waveshare32b:rotate=270
(THIS IS ONLY FOR THE WAVESHARE TFT DISPLAYS)
after this edit, let’s restart so the screen turns from white to black that’s good 🙂
back in emulationstation go straight into the only menu entrance retropie and choose retropie-setup
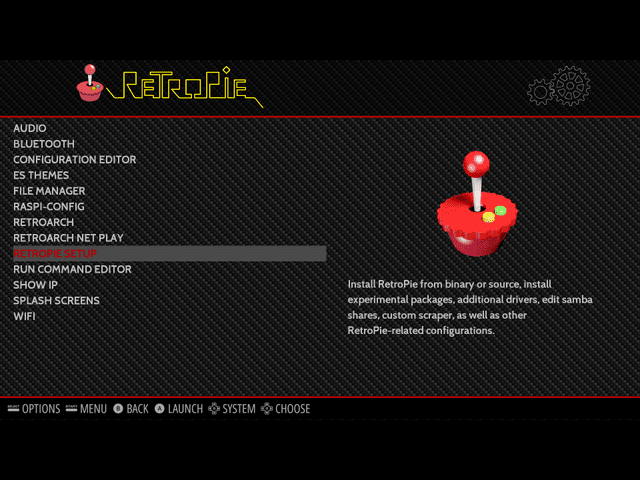
A new windows will open there u must choose Configuration/Tools and ‚raspiantools‘
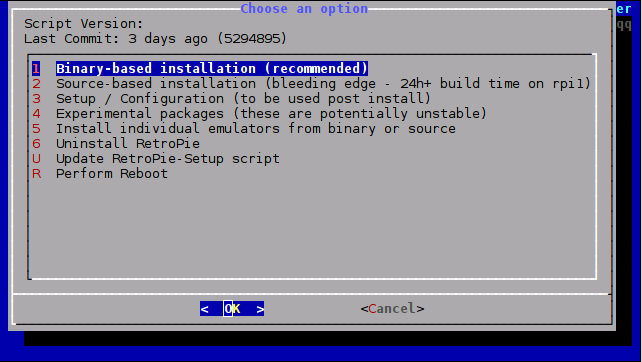
You will enter a new windows with the option to install Pixel Desktop. DO IT!! 🙂
Wait a few minutes to finish everything and return back to emulationstation. Restart your Raspberry Pi.
Again in emulationstation, enter the second terminal like we did above.
now we need to edit the desktop entries for the tft screen, sudo nano /usr/share/X11/xorg.conf.d/99-calibration.conf
just copy paste everything and save it with ‚ctrl + o‘ and exit with ‚ctrl + x‘
Section "InputClass"

Identifier "calibration"

MatchProduct "ADS7846 Touchscreen"

Option "Calibration" "160 3723 3896 181"

Option "SwapAxes" "1"

EndSection
and edit also the file sudo nano /usr/share/X11/xorg.conf.d/99-fbturbo.conf
change the file from:
Option "fbdev" "/dev/fb0"
to:
Option "fbdev" "/dev/fb1"
Driver Download:
cd /tmp

wget http://www.joy-it.net/anleitungen/rpi/tft32b/waveshare32b-overlay.dtb

sudo cp waveshare32b-overlay.dtb /boot/overlays/waveshare32b.dtbo
Reboot your Pi, and you should have your tft screen working with touch screen support 🙂 🙂
Now let’s get to the picki part Frames and Performance:
Performance:
Edit the file sudo nano /boot/config.txt
paste everything at the end of the file:
arm_freq=1100
 gpu_mem=333
 force_turbo=1
 core_freq=250
 disable_splash=1
 boot_delay=1
and comment out the three lines for the gpu memory setting:
#gpu_mem_256=128
 #gpu_mem_512=256
 #gpu_mem_1024=256
Now we have our Performance set to get the most games running and also to have a stable environment for the os.
WE ARE NOT RESPONSIBLE FOR ANY OVERCLOCKING DAMAGE!!!
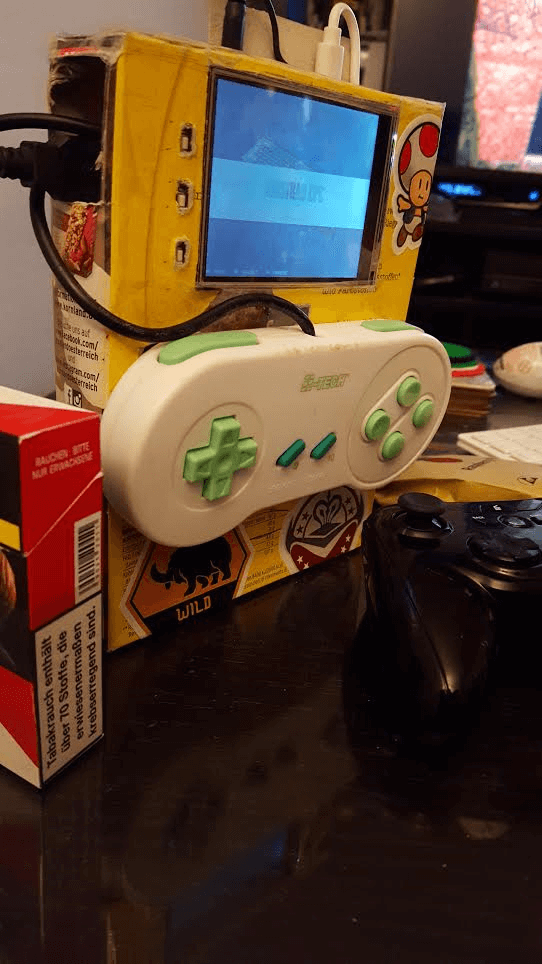
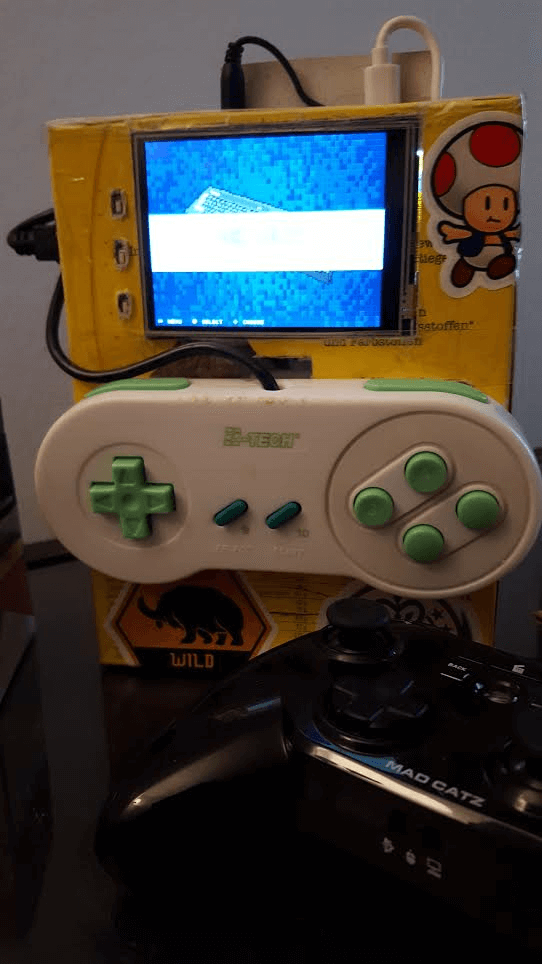
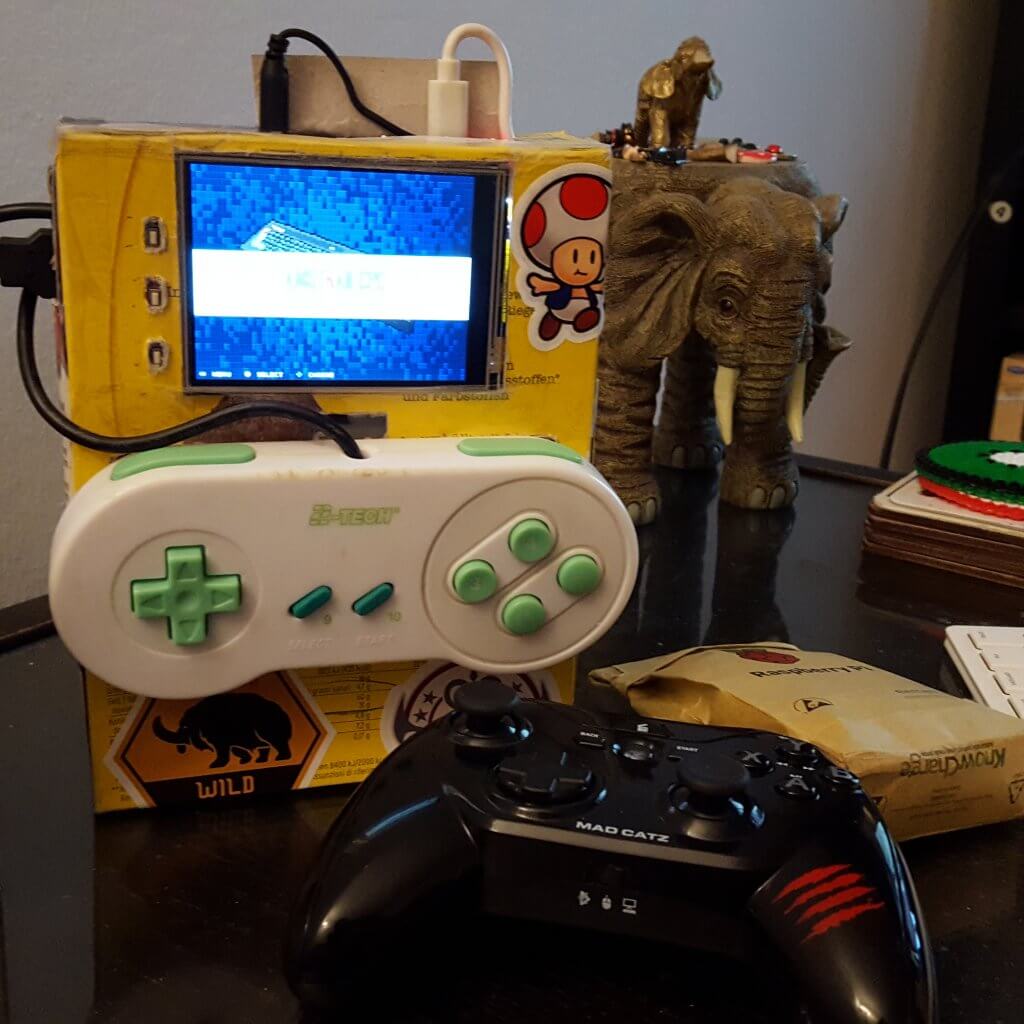
After our first Versions we realized, that the Design part will take a little bit longer…
MKI
MKII
MKIII
MKIV Design after 10 Days searching for the right box ^^
MKV next Design, 3D Printed from https://www.3dhubs.com/
we callculated a nice case for 25€ with pick up, so that is pretty ok 🙂
http://www.thingiverse.com/thing:629873
Hitting the 60 Frames – comming tommorow
Setting up the GPIO Buttons – comming tommorow
Our old Retropie Tutorials:
https://www.blogdot.tv/2014/08/17/raspberry-pi-retropie-2014-tutorial-make-gaming-console-100/
*OUTDATED*
https://www.blogdot.tv/2014/08/23/retropie-emulationstation-steam-xbmc-raspbian-os-fully-working-files-included/
*OUTDATED*

