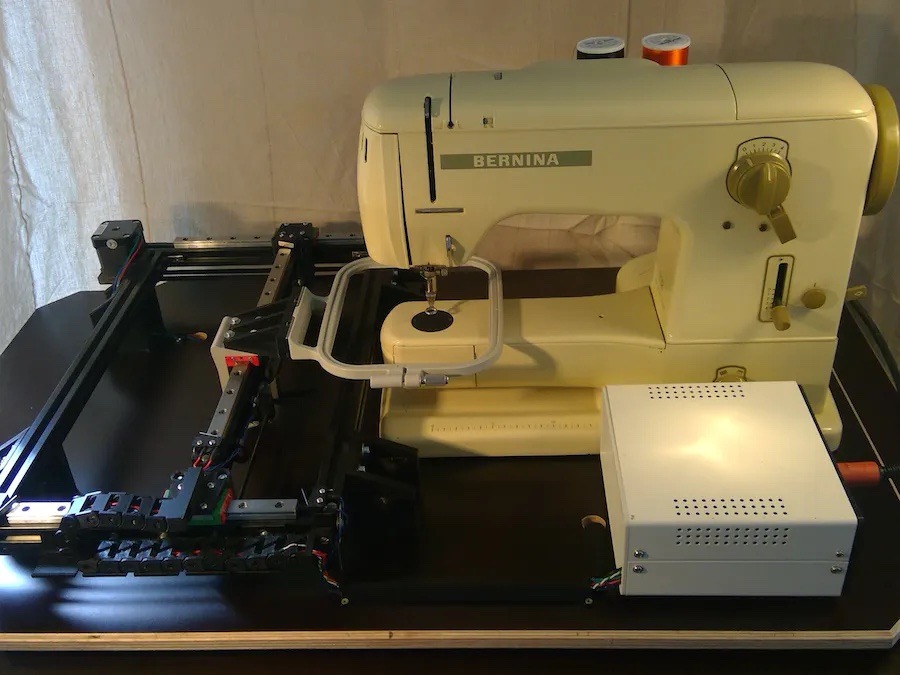
With a CNC (computer numerical control) embroidery machine, you can sew any custom patterns you want: text, logos, or goofy pictures. But commercial CNC embroidery equipment is expensive and consumer versions often leave a lot to be desired, which is why you might want to check out this write-up by SpaceForOne that explains how to upgrade a regular sewing machine for personalized CNC embroidery.
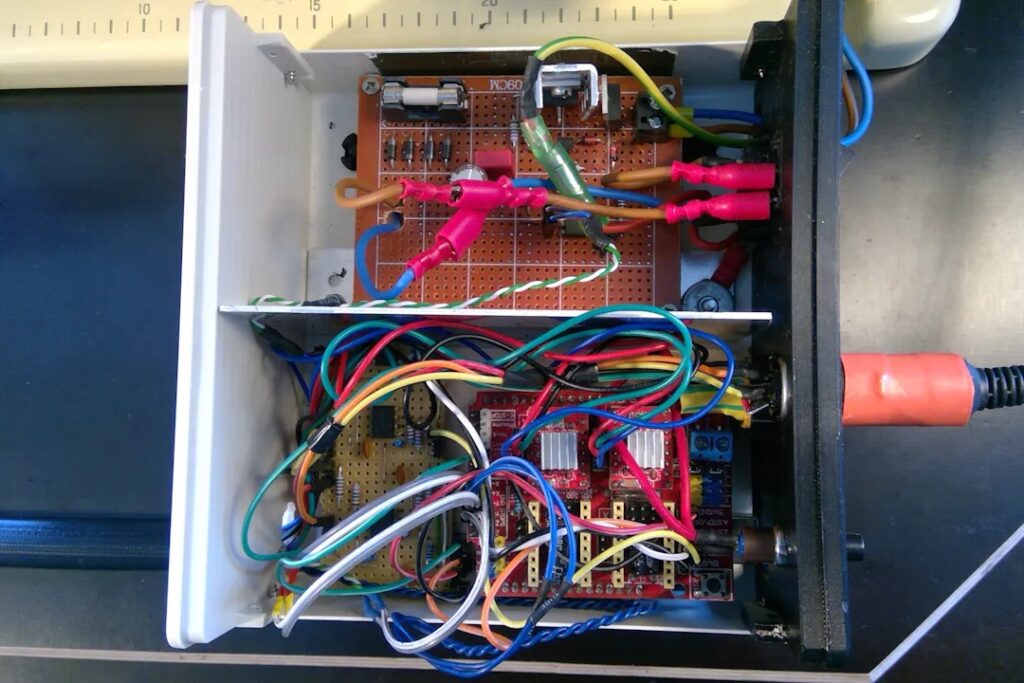
For this to work, the machine needs to be able to move an embroidery hoop in two axes on a plane perpendicular to the sewing needle. To do that, SpaceForOne used hardware similar to what you’d see on a 3D printer. The structure is aluminum extrusion and the axes ride on linear rails. Stepper motors move the axes and an Arduino Uno board controls those using a GRBL-compatible CNC shield that accepts standard G-code created in whatever software the user prefers.

You could simply start the G-code file while running the machine, but it would be really hard to avoid snags or putting lines where travel moves should be. That’s why SpaceForOne also interfaced with the sewing machine. The CNC shield controls the machine’s motor, while an optical sensor monitors the drive shaft speed and a break beam sensor detects when the needle is in the top position. Those let the Arduino control the operation of the sewing machine according to basic G-code commands.
There are many software options, but SpaceForOne used the InkStitch plugin for Inkscape. With that, the user can easily turn text or an image into G-code.


