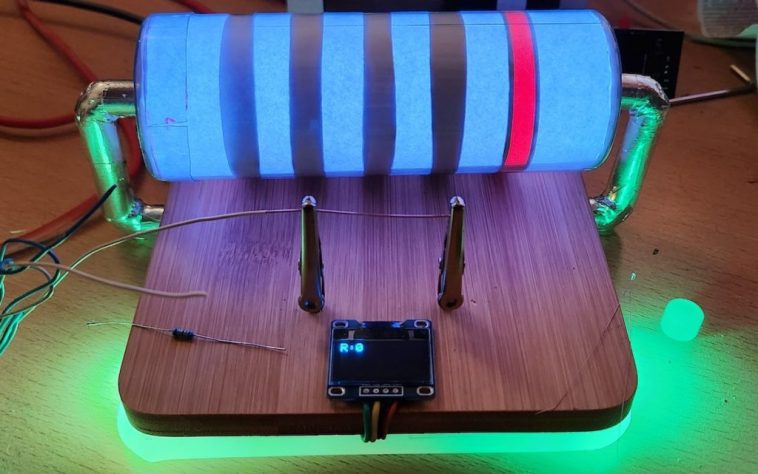
Resistor color codes are great, because they make it easy to identify a resistor’s value by referencing a simple chart (or memorizing that chart). But resistors are also very small and their color bands are hard for many of us to see clearly. Instead of buying a magnifying glass, J built the Great Resistor lamp that reproduces a resistor’s color code at a much larger scale.
To display a resistor’s value, one must first find that value. To measure the resistance of unknown resistors, J used an Arduino Nano and a 16-bit ADC (analog-to-digital converter) to measure the input and output voltages of a voltage divider circuit. One of the resistors in that circuit has a known value, while the second is the unknown resistor being tested. The three known values let the Arduino calculate the unknown value, which is the resistance of the tested resistor.

The Great Resistor then displays the resistor value in two ways. First, it shows the numerical value on a small 0.96” monochrome OLED screen. Second, it illuminates NeoPixel RGB LEDs in a tube to match the resistor’s color bands. Each color band section sits between foam dividers to isolate the colors. The Arduino determines the colors by looking at the first three digits of the resistance, which correspond to the first three bands. The fourth band is the multiplier. The fifth band specifies the tolerance of the resistor, though it isn’t clear how the Great Resistor determines that tolerance or if J always sets it to red (a loose tolerance).
The post The Great Resistor lamp makes color codes readable appeared first on Arduino Blog.
Website: LINK


