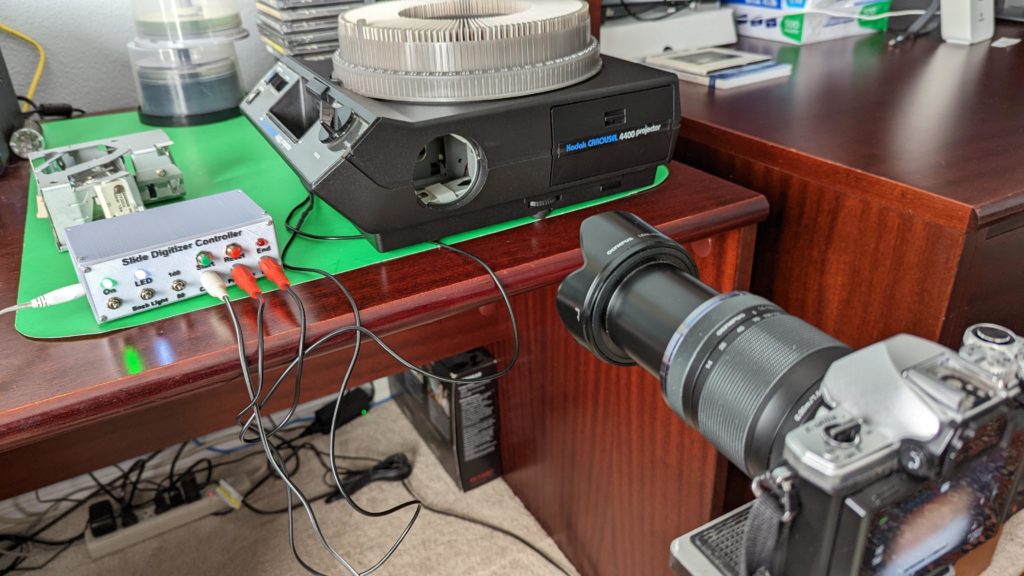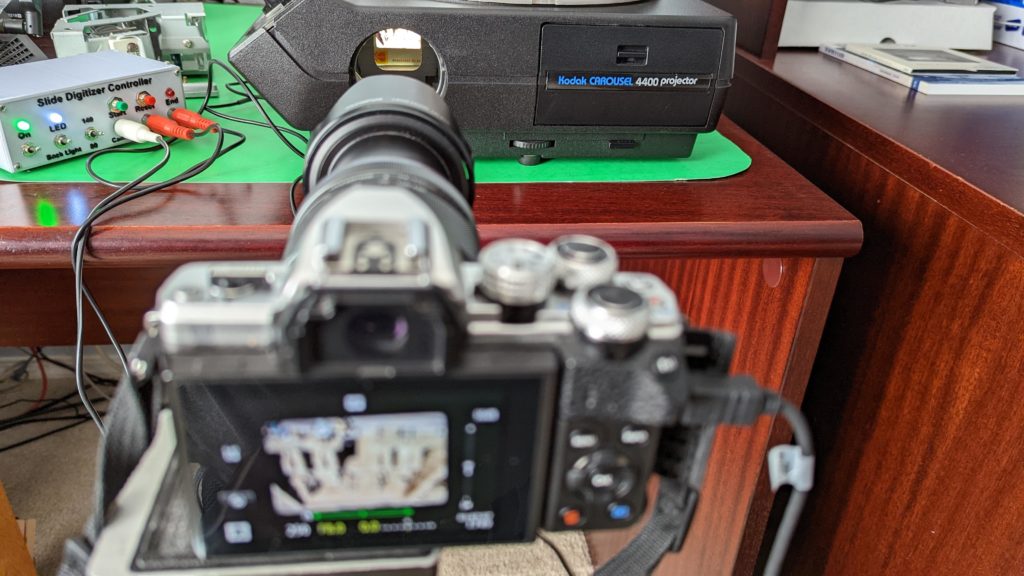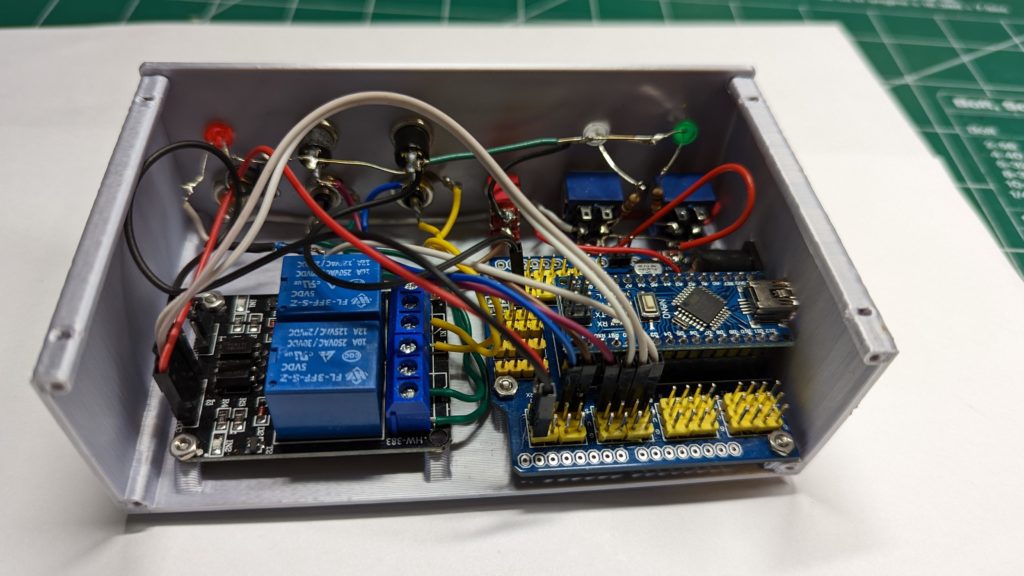
Sharing photos used to be a difficult task. Even after paying for someone to develop your photos and waiting to get them back, you’d end up with small prints that your friends would have to huddle around. One common alternative was 35mm slide projection. Photographers could snap images and then have them developed as 35mm slides. They could then pop those into a slide projector that would blow up the image on a screen or wall where everyone could see the photo. If your family has a large collection of 35mm slides, this Instructables tutorial will help you digitize them.
As great as 35mm slides were, they don’t have much of a place in our modern world. Not many people have working slide projectors these days and most would prefer digital photos that they can share on social media, store on their computer, or display on a TV. There are 35mm slide digitizing services, but those can cost more than 50 cents (USD) per slide. That becomes very expensive if your slide collection is large. If you have a slide projector, even if its projection bulb is burnt out, this tutorial will help you digitize the slides by snapping photos with a modern DSLR camera.

The idea here is to aim the DSLR camera lens at the slide where it sits in front of the projection lense. LEDs light up the slide (instead of the original projector bulb). You could snap each photo manually, but an Arduino Nano board can automate the process. If you follow the tutorial, the Arduino will wait for the camera to focus and stabilize, trigger the camera’s shutter, and then advance the carousel mechanism to load the next slide. It will repeat that process quickly while tracking the number of slides, so it can stop when it reaches the end of the carousel.

This makes it easy to digitize hundreds or even many thousands of 35mm slides with minimal labor. You’ll end up with digital photos (or raw image files) that you can use with modern devices.
Website: LINK


